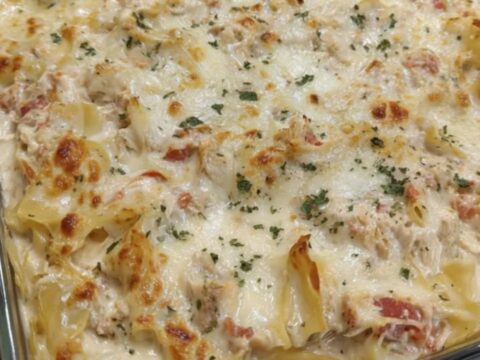
Dinner · Part 3 of 3: Tips & recipe card
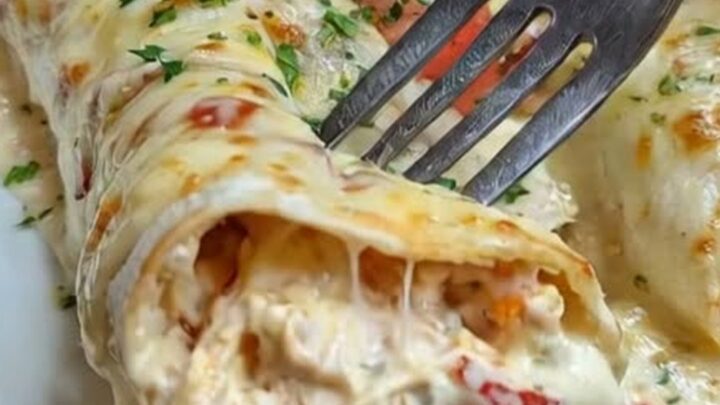
Creamy Queso Chicken Enchiladas for a Quick Weeknight Dinner Tips, FAQ & printable recipe
- Prep
- Cook
- Total
- Serves
- 6
Tips for success
If you are looking to save time, shred your chicken in batches using a stand mixer with the paddle attachment; this is the fastest way to get a uniform, fine texture that works perfectly in these enchiladas.
For a more sophisticated flavor profile, consider adding a squeeze of fresh lime juice over the finished dish just before serving. This bright acidity beautifully balances the heavy, creamy nature of the queso and elevates the overall dining experience for your guests.
When rolling the enchiladas, try to keep them as uniform in size as possible to ensure that they cook at the same rate in the oven.
If you find the tortillas are cracking, warm them briefly in the microwave for 10-15 seconds wrapped in a damp paper towel to increase their flexibility. This simple trick makes them much easier to handle and prevents them from breaking when you fold them over the chicken filling.
Variations
- Spicy Queso Chicken: Stir in a tablespoon of diced green chilies or jalapeños into the chicken and queso filling for a spicy kick that adds depth and heat to every bite.
- Black Bean and Chicken: Add half a cup of rinsed and drained black beans to the chicken mixture to introduce extra texture and heartiness to your enchilada filling.
Storage and make-ahead
- Fridge
- Keep in an airtight container for up to 3 days.
- Freezer
- Freeze in a freezer-safe dish for up to 1 month; thaw overnight in the fridge before reheating.
- Reheat
- Reheat in a 350°F oven until warmed through, or microwave individual portions until hot.
Store any leftovers in an airtight container to maintain moisture and prevent the tortillas from hardening. Place the container in the refrigerator within two hours of cooking to ensure food safety. When stored properly, the enchiladas will remain delicious for up to three days. Avoid storing them in a container that is too large, as the excess air can lead to faster drying of the sauce.
You can assemble the enchiladas up to 24 hours in advance, but keep the sauce separate until you are ready to bake. If you assemble the entire dish ahead of time, the tortillas may absorb too much of the sauce and become soft. For the best texture, keep the components chilled and assemble just before you are ready to put the dish in the oven for baking.
Serving ideas
Serve the enchiladas warm, ideally straight from the baking dish to keep the cheese at its optimal consistency. Because this dish is quite rich, it pairs beautifully with a side of light, crisp greens or a fresh cucumber salad to provide a refreshing contrast.
The creamy texture of the queso is best enjoyed when the dish has had a few minutes to rest, allowing the sauce to cling perfectly to the tortillas.
Present the dish with the fresh tomatoes and parsley already applied to add a pop of color that looks enticing on the plate. If you have guests, consider serving with a side of extra salsa or hot sauce so everyone can adjust the spice level to their personal preference.
The combination of the warm, cheesy filling and the cool, fresh toppings makes for a visually appealing and satisfying meal that feels special enough for any occasion.
Frequently asked questions
Can these enchiladas be made ahead of time?
What is the best way to reheat leftovers?
Are there gluten-free options for the tortillas?
Creamy Queso Chicken Enchiladas for a Quick Weeknight Dinner

Ingredients
- 3 cups cooked shredded chicken
- 6 flour tortillas
- 2 cups queso dip
- 1/4 cup diced tomatoes
- 1 tbsp fresh parsley, chopped
Instructions
- In a large mixing bowl, combine the shredded chicken with a small portion of the queso dip to ensure the filling is moist and flavorful. Stir well until the chicken is thoroughly coated in the creamy sauce.
- Spoon the chicken mixture into the center of each flour tortilla. Roll each tortilla tightly and place them seam-side down in a baking dish. Pour the remaining queso dip over the top of the arranged enchiladas, spreading it to cover them completely.
- Bake in a preheated oven at 350°F (175°C) until the cheese is bubbling and the chicken reaches an internal temperature of 165°F (74°C). Remove from the oven, top with diced tomatoes and fresh parsley, and let rest for 5 minutes before serving.
Estimated nutrition per serving
- Calories
- 420
- Protein
- 28.5 g
- Carbohydrates
- 32 g
- Fat
- 20.5 g
- Fiber
- 3 g
- Sugar
- 4 g
- Sodium
- 850 mg
Next recipe
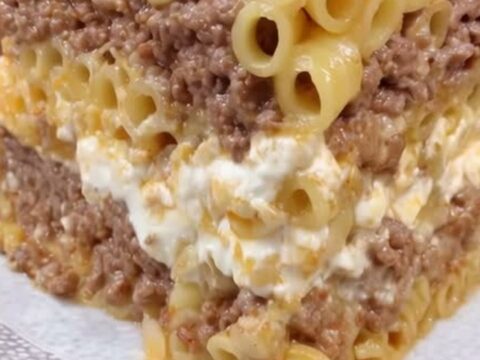
Authentic Greek Pastitsio with Creamy Béchamel
See the recipe → →This recipe is based on a short cooking video and is published under the pen name Clara Weller. It was checked before publication, but errors can slip through. Nutrition, when shown, is an estimate. Read more in our editorial policy and on our food safety page.
More recipes to try
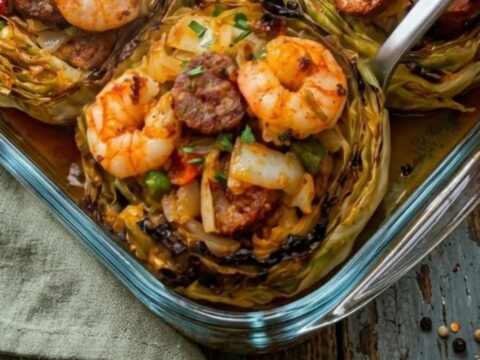
Cajun Shrimp and Sausage Stuffed Cabbage Steaks
Total time: 40 min
Cheesesteak Hamburger Helper Skillet
Total time: 25 min
Creamy Seafood Lasagna with Shrimp and Crab
Total time: 1 h 20 min
Creamy Chicken Alfredo Lasagna for a Decadent Dinner
Total time: 1 h 15 min
Crispy Herb-Crusted Chicken Cordon Bleu
Total time: 40 min