Desserts · Part 3 of 3: Tips & recipe card
Creamy No-Bake Coconut Cake for Easy Entertaining Tips, FAQ & printable recipe
- Prep
- Cook
- Total
- Serves
- 8
Tips for success
For a more intense coconut flavor, toast the shredded coconut lightly in a dry pan over medium heat until golden brown before adding it to the top of the cake. Allow the toasted coconut to cool completely before sprinkling it over the cream, as the heat can cause the cream to melt if added while warm.
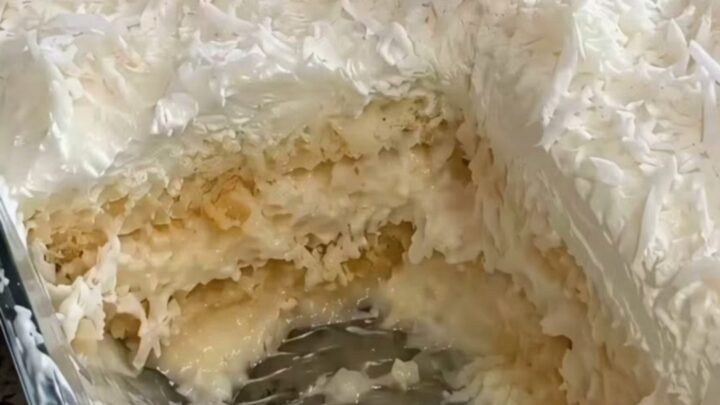
If you prefer a cleaner slice, dip your knife into hot water and wipe it dry between each cut. This technique warms the blade, allowing it to glide through the cream layers without dragging or pulling the soft wafers. This results in professional-looking slices that show off the beautiful, distinct layers of the cake clearly.
Variations
- Chocolate Coconut Twist: Replace vanilla wafers with chocolate wafer cookies for a rich, dark contrast. The chocolate cookies will soften into a cocoa-flavored base that pairs perfectly with the creamy coconut filling, adding another dimension of flavor to the dessert.
- Tropical Fruit Infusion: Add a thin layer of finely diced fresh mango or pineapple between the cream and cookie layers. The added fruit provides a bright, acidic contrast to the creamy, sweet coconut, creating a refreshing tropical variation that is perfect for summer gatherings.
Storage and make-ahead
- Fridge
- Keep refrigerated in an airtight container for up to 2 days.
Store the cake in the refrigerator, covered with plastic wrap or in an airtight container, to prevent it from absorbing other odors. It is best consumed within two days of preparation for the best texture.
After this time, the wafers may become excessively soft and the cream may begin to lose its light, aerated structure, affecting the overall quality of the dessert.
This cake is specifically designed to be made ahead of time. It actually benefits from resting in the refrigerator for at least four hours, or even overnight, as this allows the flavors to deepen and the wafer layers to reach the perfect, soft consistency.
Prepare it the day before your event to ensure it is perfectly set and ready to serve.
Serving ideas
Serve the cake chilled directly from the refrigerator to maintain its structure and refreshing quality. Use a small offset spatula or a wide cake server to lift each slice carefully from the glass baking dish.
Place each portion onto a chilled dessert plate to keep the cream from softening too quickly while being enjoyed at the table.
Complement the light coconut flavor by serving each portion with a few fresh berries or a drizzle of fruit coulis on the side. The acidity of fresh fruit provides a nice contrast to the richness of the coconut cream.
Avoid adding heavy sauces or overly sweet toppings, as they may overpower the delicate balance of the cake's flavor profile.
Frequently asked questions
Can this cake be made with a different type of milk?
How long should the cake chill before serving?
Why does the cream need to be whipped to soft peaks?
Creamy No-Bake Coconut Cake for Easy Entertaining
Ingredients
- 1 package vanilla wafer cookies
- 2 cups heavy cream
- 1 cup full-fat coconut milk
- 1 cup sweetened shredded coconut
Instructions
- In a large mixing bowl, combine the heavy cream and full-fat coconut milk. Use an electric mixer to whip the mixture until it reaches a thick, fluffy consistency that holds soft peaks.
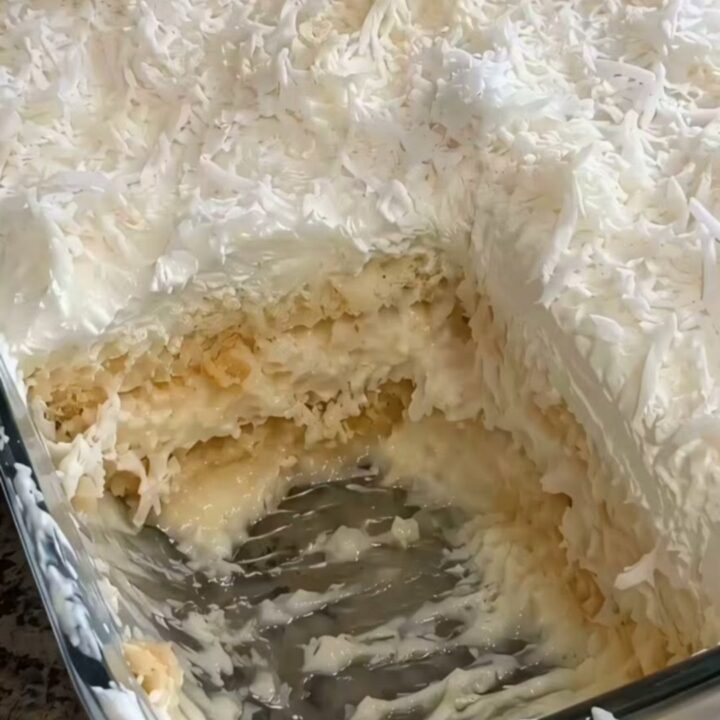
- Spread a thin layer of the whipped coconut cream into the bottom of an 8-inch glass baking dish. Arrange a layer of vanilla wafer cookies over the cream. Continue alternating layers of cream and cookies until all ingredients are used, finishing with a generous layer of coconut cream on top.
- Sprinkle the sweetened shredded coconut over the top of the cake. Place the dish in the refrigerator for at least four hours, or until the wafers have softened and the cream is set, then serve chilled.
Estimated nutrition per serving
- Calories
- 420
- Protein
- 3.5 g
- Carbohydrates
- 32 g
- Fat
- 31 g
- Fiber
- 1.5 g
- Sugar
- 22 g
- Sodium
- 180 mg
Next recipe
No-Bake Peach Cream Dessert Squares
See the recipe → →This recipe is based on a short cooking video and is published under the pen name Clara Weller. It was checked before publication, but errors can slip through. Nutrition, when shown, is an estimate. Read more in our editorial policy and on our food safety page.
More recipes to try
Creamy Strawberry Banana Pudding Dessert
Total time: 45 min
Sugar-Free German Chocolate Pie with Toasted Coconut and Pecans
Total time: 3 h 5 min
Easy Slow Cooker Lemon Dump Cake
Total time: 3 h 15 min
3-Ingredient Chocolate Mug Cake in Minutes
Total time: 5 min
Tender Sugar-Free White Cake for Any Occasion
Total time: 1 h 5 min