Desserts · Part 1 of 3: Ingredients
Creamy Milo Gulaman with Chewy Tapioca
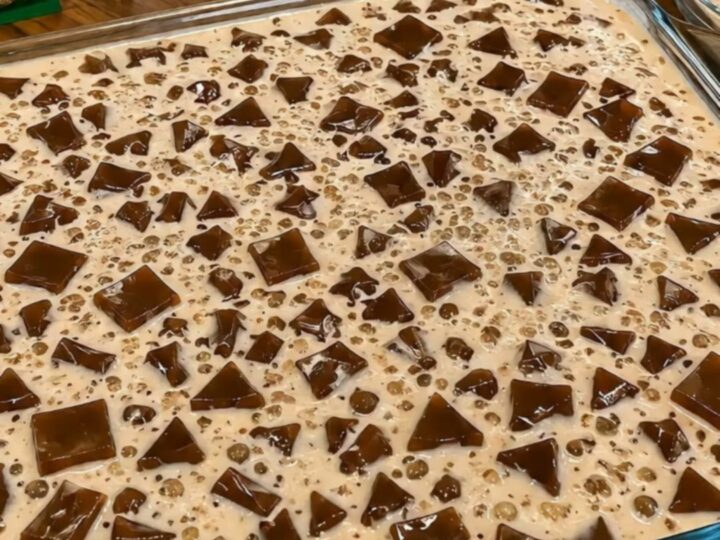
- Prep
- Cook
- Total
- Serves
- 6
Indulge in the refreshing combination of firm chocolate jelly and chewy tapioca pearls enveloped in a velvety, sweet cream sauce. This classic dessert is simple to assemble and offers a delightful contrast in textures that makes it a perfect choice for any gathering or casual weekend treat. Experience the joy of a homemade dessert that looks as good as it tastes, providing a cooling and satisfying experience for everyone at the table.
Milo gulaman is a beloved dessert known for its comforting sweetness and satisfying chewiness. By combining cocoa-infused jelly with bouncy tapioca pearls and a rich blend of condensed milk and cream, this dish creates a luxurious experience that feels both nostalgic and sophisticated.
Follow these steps to create a beautiful, clear-tray dessert that highlights the glistening jelly cubes and the creamy, milky suspension. It is a straightforward process that rewards patience with a truly impressive result. Whether you are hosting a party or simply looking for a sweet treat to enjoy after dinner, this recipe delivers consistent quality and flavor that will keep everyone coming back for more.
Ingredients
Jelly Base
- 1 packet chocolate jelly powder
Filling
- 1 cup tapioca pearls
Creamy Sauce
- 1 can sweetened condensed milk
- 1 cup all-purpose cream
Why this recipe works
The method of using a pre-packaged jelly base ensures a consistent, firm texture that holds up well when folded into the cream. By allowing the jelly to set completely before slicing, the cubes maintain their structure and visual appeal throughout the mixing process.
This structural integrity is vital for the final presentation, ensuring that every serving contains distinct, beautiful cubes of chocolate jelly that contrast perfectly with the smooth, milky sauce.
Combining the condensed milk and all-purpose cream creates a thick, flavorful liquid base that coats the tapioca pearls and jelly cubes perfectly. This balance of sweetness and dairy richness is essential for the characteristic flavor profile of traditional gulaman desserts.
The creaminess acts as a binding agent, bringing all the individual elements together into a cohesive, delicious, and visually stunning dessert that is both elegant and incredibly easy to prepare for any occasion.
Notes and substitutions
Use high-quality all-purpose cream for the best results, as it provides the necessary thickness and mild flavor to balance the intense sweetness of the condensed milk. If preferred, heavy whipping cream can be used for a slightly lighter texture. Ensure that the cream is well-chilled before mixing, as this helps maintain the desired temperature and consistency of the final dish, especially when serving it on a warm day.
Select a clear glass tray for assembly to showcase the beautiful colors and textures of the ingredients. The transparency of the container enhances the presentation, making the jelly cubes and pearls stand out against the creamy backdrop when served at the table.
Always keep the dessert refrigerated until the very last moment to ensure the textures remain firm and the sauce stays perfectly chilled for the best possible eating experience.
- all-purpose cream: heavy whipping cream
- chocolate jelly powder: unflavored gelatin powder mixed with 3 tbsp cocoa powder and sugar
Equipment
- medium saucepan
- glass tray
- ladle
- knife
- mixing bowl
- colander
Up next · Part 2 of 3
3 steps · 20 min of cooking · what to look for at each stage
Step-by-step instructions (Part 2)