Dinner · Part 3 of 3: Tips & recipe card
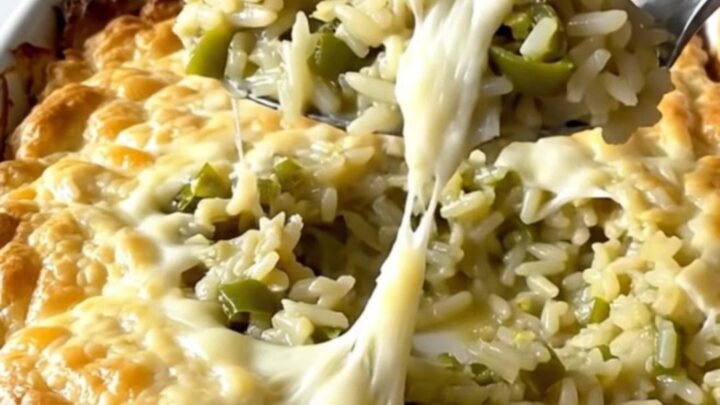
Creamy Green Chile Rice Casserole Tips, FAQ & printable recipe
- Prep
- Cook
- Total
- Serves
- 6
Tips for success
To add an extra layer of flavor, you can stir a small amount of garlic powder or onion powder into the broth before pouring it over the rice.
This enhances the savory profile of the casserole without requiring additional preparation time. If you prefer a slightly spicier dish, you can add a dash of your favorite hot sauce to the liquid mixture before baking.
Serving the casserole immediately after the resting period ensures the best texture. If you are preparing this for a larger group, you can easily double the recipe using two separate baking dishes. Avoid overcrowding a single dish, as this will prevent the rice from cooking evenly and may result in an uneven texture throughout the casserole.
Variations
- Tex-Mex Style: Stir in a half cup of black beans and some diced red bell pepper to the liquid base for added texture and color. This version pairs perfectly with a side of fresh salsa.
- Herbed Version: Incorporate a tablespoon of dried oregano and a teaspoon of cumin into the broth for an earthy, aromatic flavor profile that complements the green chiles perfectly.
Storage and make-ahead
- Fridge
- Store in an airtight container for up to 3 days.
- Freezer
- Freezing is not recommended as the creamy sauce may separate upon thawing.
- Reheat
- Reheat individual portions in the microwave or in a small oven-safe dish until heated through.
Allow any leftovers to cool completely at room temperature for no more than two hours before transferring them to an airtight container. Place the container in the refrigerator promptly to maintain safety and quality. The rice will stay fresh and flavorful for up to three days when stored properly in the coldest part of your refrigerator.
You can assemble the base and the liquid components up to two hours before baking, but it is best to add the cheese just before placing the dish in the oven.
If you assemble it too far in advance, the rice may absorb too much liquid, resulting in a denser final texture. For the best results, keep the components separate until you are ready to bake.
Serving ideas
This creamy green chile rice casserole serves beautifully alongside roasted poultry, grilled meats, or even as a standalone vegetarian main dish when accompanied by a fresh side salad.
Use a large serving spoon to scoop through the layers, ensuring each portion includes a generous amount of the cheesy, golden top layer and the tender, flavorful rice from the bottom.
For a vibrant presentation, consider garnishing the dish with freshly chopped cilantro or a squeeze of lime juice just before serving.
These fresh elements cut through the richness of the cheese and cream, providing a bright contrast that elevates the overall dining experience. Serve warm directly from the baking dish to keep the cheese at its most delicious, melted consistency.
Frequently asked questions
Can this be made with brown rice?
Why does the cheese turn brown too quickly?
What is the best way to ensure the rice is fully cooked?
Creamy Green Chile Rice Casserole

Ingredients
- 2 cups long-grain white rice, dry
- 2 cups creamy green chile broth
- 2 cups shredded Monterey Jack cheese
Instructions
- Preheat your oven to 350°F (175°C). In a large rectangular ceramic baking dish, spread the dry long-grain rice in an even, smooth layer across the bottom of the pan to ensure uniform cooking.
- Pour the creamy green chile broth over the layer of dry rice. Use a spoon if necessary to ensure the rice is fully submerged. Evenly strew the shredded Monterey Jack cheese over the top of the liquid layer.
- Place the baking dish into the preheated oven and bake until the rice is tender, the liquid is absorbed, and the cheese is melted and lightly golden on top. Remove from the oven and let rest for five minutes before serving to allow the sauce to set.
Estimated nutrition per serving
- Calories
- 380
- Protein
- 12 g
- Carbohydrates
- 45 g
- Fat
- 16 g
- Fiber
- 1.5 g
- Sugar
- 2 g
- Sodium
- 450 mg
Next recipe

Crockpot Greek Feta Pork Chops for an Easy Weeknight Dinner
See the recipe → →This recipe is based on a short cooking video and is published under the pen name Clara Weller. It was checked before publication, but errors can slip through. Nutrition, when shown, is an estimate. Read more in our editorial policy and on our food safety page.
More recipes to try
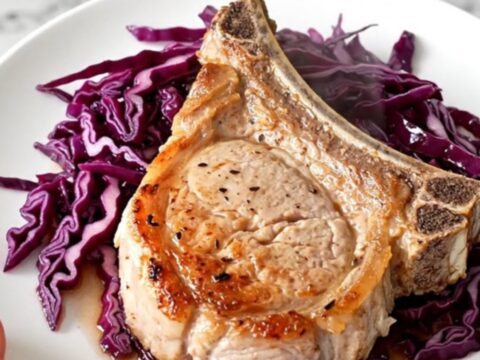
Slow Cooker Bewitched Pork Chops and Braised Cabbage
Total time: 6 h 15 min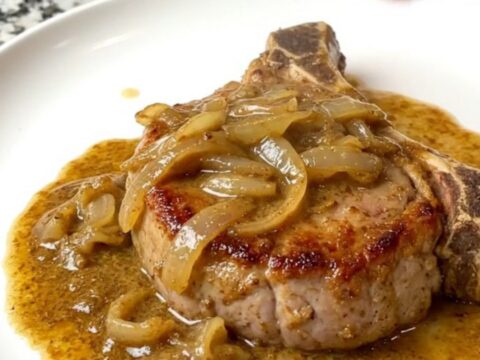
Creamy Smoked Chile Pork Chops for the Slow Cooker
Total time: 4 h 15 min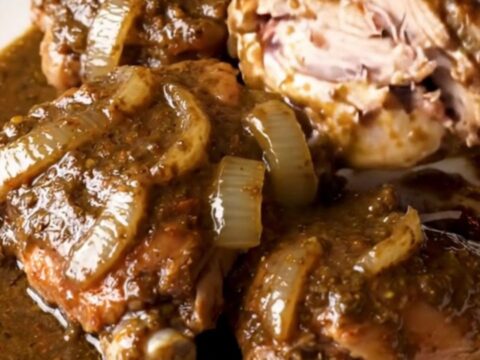
Slow Cooker Turkey Mole: A Tender and Flavorful Dinner
Total time: 5 h 15 min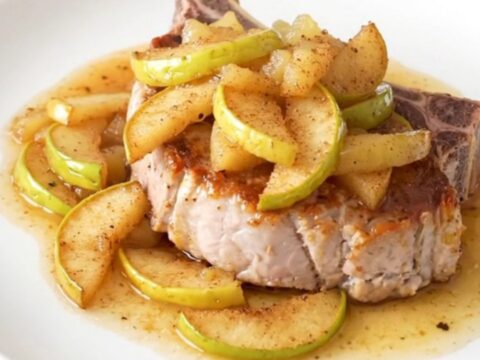
Slow Cooker Apple Pie Pork Chops
Total time: 4 h 10 min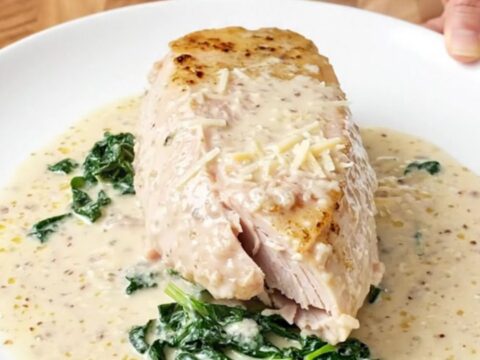
Creamy Slow Cooker Turkey Florentine
Total time: 4 h 15 min