Dinner · Part 3 of 3: Tips & recipe card
Creamy Garlic Herb Shells and Cheese Bake Tips, FAQ & printable recipe
- Prep
- Cook
- Total
- Serves
- 4
Tips for success
If you prefer a more pronounced garlic flavor, you can add a small amount of roasted garlic paste into the cream sauce before pouring it over the shells. This adds a sweet, mellow intensity that complements the herbs perfectly.
Additionally, if the sauce seems too thick before baking, you can thin it with a tablespoon of milk or vegetable broth to ensure the pasta has enough liquid to cook through properly.
For a more textured topping, consider mixing a small amount of toasted breadcrumbs with the cheese before sprinkling it over the dish. This provides a crunchy contrast to the creamy pasta underneath.
Keep an eye on the dish during the final minutes of baking, as the cheese can go from perfectly golden to burnt quite rapidly depending on the heat intensity of your specific oven.
Variations
- Spinach and Garlic Shells: Stir in two cups of fresh baby spinach leaves into the cream sauce before pouring it over the pasta. The spinach will wilt perfectly during the baking process, adding a vibrant color and subtle earthiness to the dish.
- Spicy Garlic Herb Shells: Add a teaspoon of crushed red pepper flakes to the cream sauce for a subtle heat that cuts through the rich cheddar. This variation is ideal for those who enjoy a bit of warmth in their pasta dishes.
Storage and make-ahead
- Fridge
- Keep in an airtight container for up to 3 days.
- Freezer
- Not recommended, as the cream sauce may separate upon thawing.
- Reheat
- Reheat in the oven at 350°F until warmed through, or microwave in 30-second intervals.
Allow any leftovers to cool to room temperature for no more than two hours before transferring them to an airtight container. Keep the dish covered to prevent it from absorbing other odors in the refrigerator. Properly stored, the pasta bake will maintain its quality for up to three days, though the texture is best when consumed shortly after the initial cooking.
You can assemble the dish up to four hours in advance, but do not bake it until you are ready to serve. Keep the assembled dish covered and refrigerated if you plan to wait longer than an hour. Note that the dry pasta will absorb some of the sauce while sitting, so you may need to add a splash of extra cream or milk before placing it in the oven to ensure it remains moist.
Serving ideas
Serve this dish directly from the baking dish for a rustic presentation that highlights the golden cheese crust. Because it is a rich and hearty meal, it pairs exceptionally well with a crisp, acidic side salad featuring a lemon vinaigrette to cut through the creaminess.
Freshly cracked black pepper or a sprinkling of fresh parsley can be added right before serving to provide a bright, aromatic finish to each individual plate.
For a more complete meal, consider serving the pasta alongside steamed green vegetables like broccoli or asparagus. The simplicity of the shells and cheese allows it to act as a versatile base that complements a variety of side dishes.
Ensure that each portion includes a generous amount of the golden cheese crust from the top, which is the most flavorful part of the dish, to provide the perfect balance of textures.
Frequently asked questions
Can this be made with different types of cheese?
Why is the pasta still hard after baking?
Is it possible to use fresh pasta instead of dry?
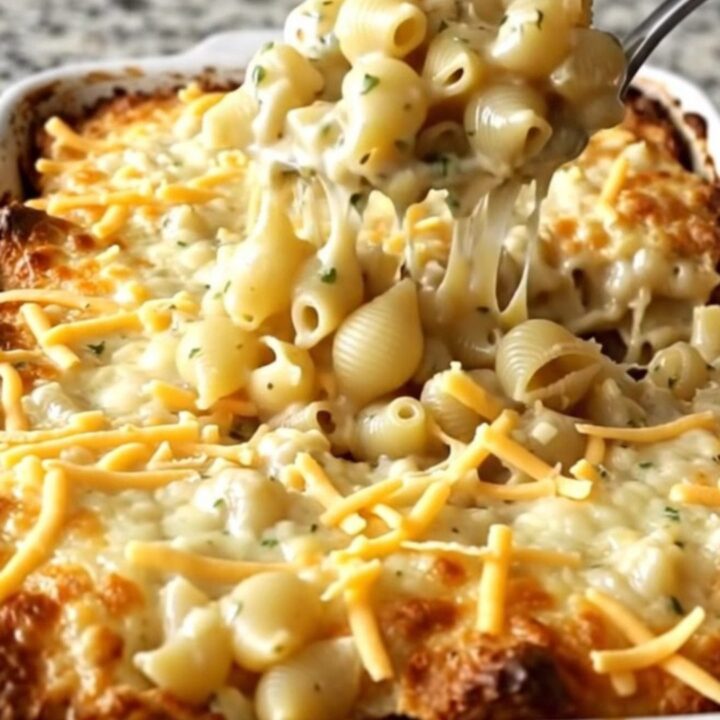
Creamy Garlic Herb Shells and Cheese Bake
Ingredients
- 1 lb dry medium pasta shells
- 2 cups garlic herb cream sauce
- 2 cups shredded white cheddar cheese
Instructions
- Preheat the oven to 375°F (190°C). Arrange the dry pasta shells evenly across the bottom of a large rectangular ceramic baking dish, ensuring they are spread out to cover the surface area effectively.
- Pour the garlic herb cream sauce over the dry shells, making sure that every piece of pasta is thoroughly coated and submerged in the liquid. Sprinkle the shredded white cheddar cheese evenly over the top of the dish.
- Place the baking dish into the preheated oven. Bake for approximately 25 minutes or until the sauce is bubbling vigorously and the cheese on top has melted into a golden, slightly browned crust. Remove from the oven and let rest for 5 minutes before serving.
Estimated nutrition per serving
- Calories
- 520
- Protein
- 18 g
- Carbohydrates
- 62 g
- Fat
- 22 g
- Fiber
- 3 g
- Sugar
- 4 g
- Sodium
- 650 mg
Next recipe
Three Cheese Garlic Bread Pizza Bake
See the recipe → →This recipe is based on a short cooking video and is published under the pen name Clara Weller. It was checked before publication, but errors can slip through. Nutrition, when shown, is an estimate. Read more in our editorial policy and on our food safety page.
More recipes to try
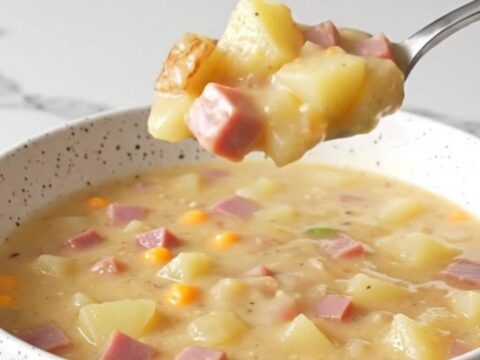
Crockpot Jalapeno Popper Ham Chowder
Total time: 4 h 15 min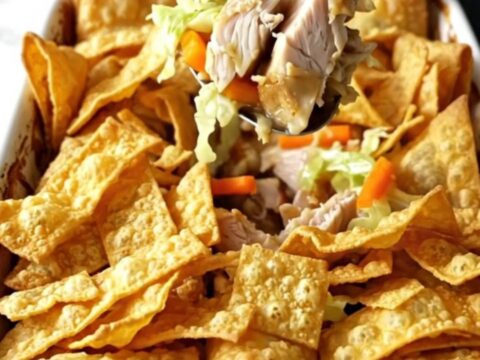
Crispy Chicken Egg Roll Casserole
Total time: 55 min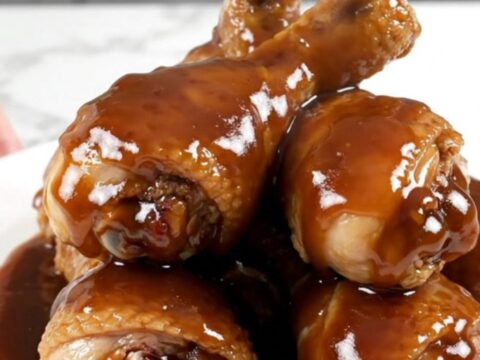
Slow Cooker Molasses BBQ Chicken Drumsticks
Total time: 4 h 15 min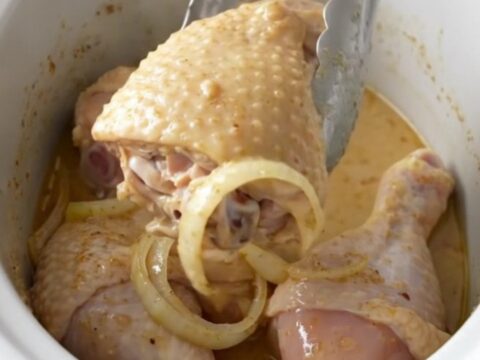
Slow Cooker Buttermilk Gravy Chicken Leg Quarters
Total time: 6 h 15 min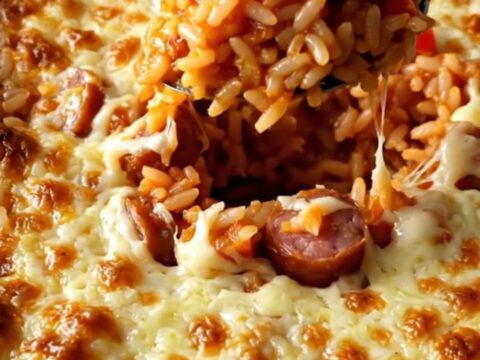
Easy Smoked Sausage Unstuffed Pepper Rice Bake
Total time: 1 h