Dinner · Part 1 of 3: Ingredients
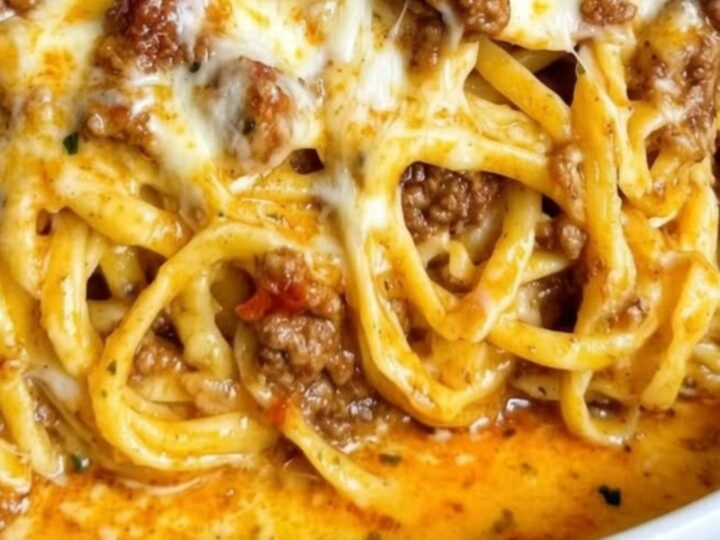
Creamy Garlic Cheddar Beef Spaghetti
- Prep
- Cook
- Total
- Serves
- 4
Elevate a simple weeknight dinner with this luxurious, creamy garlic cheddar beef spaghetti. This dish combines the heartiness of ground beef with a rich, velvety cheese sauce that coats every strand of pasta perfectly.
It is a foolproof recipe that delivers maximum flavor with minimal effort, making it an ideal choice for busy evenings when comfort is the top priority. The combination of savory beef and sharp cheddar creates a classic profile that is universally loved and incredibly satisfying for any occasion.
The beauty of this spaghetti recipe lies in its simplicity and the way it transforms pantry staples into a restaurant-quality meal. By browning the beef properly and creating a smooth, emulsified cheese sauce, the result is a cohesive and indulgent dish. The garlic adds a layer of depth that balances the richness of the cheddar, ensuring every bite is flavorful and balanced.
This recipe is designed to be straightforward, allowing the natural ingredients to shine without unnecessary complications or lengthy preparation times. Whether serving a family or hosting a small gathering, this pasta dish is sure to be the highlight of the meal.
Ingredients
Main Ingredients
- 1 lb ground beef
- 1 lb spaghetti
- 3 cloves garlic, minced
Sauce
- 2 cups cheddar cheese, shredded
Why this recipe works
The method of browning the beef first ensures that the meat develops a deep, savory crust, which provides the foundation for the entire dish. By sautéing the garlic in the rendered fat, the aromatics are fully infused into the meat, creating a more complex flavor profile than simply adding them to the sauce later. This step is crucial for building a robust base that stands up well to the sharp bite of the cheddar cheese.
Emulsifying the sauce by slowly melting the cheese into the warm beef mixture creates a stable, velvety texture that clings to the pasta rather than sliding off. This technique ensures that the final result is creamy and indulgent, providing the signature cheese pull that makes this dish so appealing.
By tossing the cooked spaghetti directly into the sauce, the starch from the pasta helps to bind the components together, resulting in a perfectly coated and cohesive meal.
Notes and substitutions
When choosing the cheddar, opting for a block and shredding it manually provides a much smoother melt compared to pre-shredded varieties, which often contain anti-caking agents that can affect the texture. A sharp or extra-sharp cheddar is recommended to provide a more balanced flavor. If a milder taste is preferred, a medium cheddar or even a combination of Monterey Jack can be substituted to achieve the desired level of creaminess and stretch.
For the equipment, a large skillet or wide-bottomed pan is essential to provide enough surface area for the beef to brown without steaming. Using tongs is the most effective way to incorporate the pasta into the sauce, as it allows for a gentle tossing motion that keeps the spaghetti intact.
Ensure the heat is kept low once the cheese is added to maintain the integrity of the sauce and prevent the fat from separating, which can happen if the temperature is too high.
- ground beef: ground turkey or ground chicken for a different flavor profile
- cheddar cheese: a blend of cheddar and mozzarella for an extra stretchy cheese pull
Equipment
- large pot
- large skillet
- tongs
- colander
- cheese grater
Up next · Part 2 of 3
3 steps · 20 min of cooking · what to look for at each stage
Step-by-step instructions (Part 2)