Dinner · Part 1 of 3: Ingredients
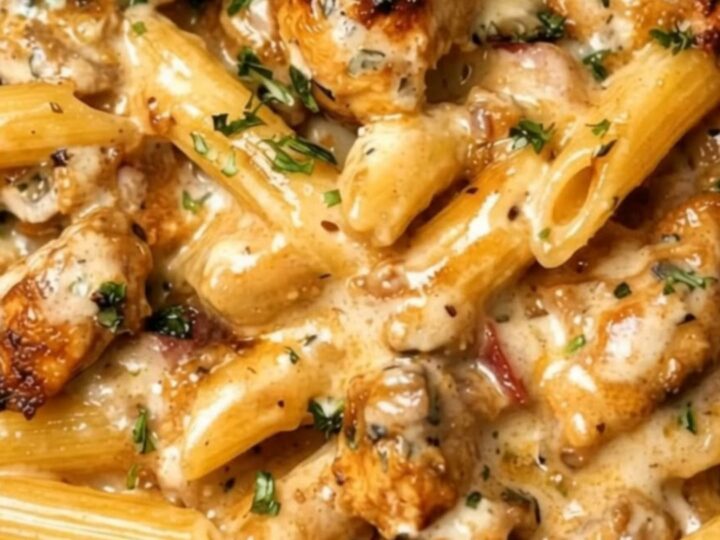
Creamy Garlic Butter Chicken Penne
- Prep
- Cook
- Total
- Serves
- 4
Transform your weeknight dinner into a restaurant-quality experience with this decadent creamy garlic butter chicken penne. This dish combines succulent, pan-seared chicken with a silky, garlic-infused cream sauce that clings to every ridge of the penne pasta.
It is the ultimate comfort food for those chilly evenings when only something warm, savory, and deeply satisfying will do. With minimal ingredients and straightforward steps, this recipe delivers maximum flavor without requiring hours in the kitchen, ensuring a delicious meal is always within reach.
The magic of this recipe lies in the simplicity of its components. By searing the chicken first, a depth of flavor is developed that carries through the entire dish. The sauce, built directly in the same pan, incorporates those flavorful browned bits, while the cream cheese provides a luxurious, velvety texture that is impossible to resist.
This dish is designed to be served immediately, allowing the sauce to remain glossy and perfectly emulsified around the pasta. Whether hosting a casual dinner or simply treating yourself to a hearty meal, this chicken penne is guaranteed to impress with its rich, savory profile.
Ingredients
- 1 lb boneless skinless chicken breast, cut into bite-sized pieces
- 12 oz penne pasta
Sauce
- 3 tbsp butter
- 3 cloves garlic, minced
- 8 oz cream cheese, softened
Garnish
- fresh parsley, chopped, for serving
Why this recipe works
The method of searing the chicken before building the sauce creates a flavorful foundation. By using the same skillet, the juices and browned bits from the meat are integrated into the sauce, deepening the overall flavor profile. This approach ensures that every piece of chicken is seasoned throughout while maintaining a succulent texture that pairs perfectly with the smooth, garlic-heavy cream sauce.
The use of cream cheese instead of traditional heavy cream results in a thicker, tangier sauce that adheres better to the pasta shapes. The penne is the ideal vessel for this preparation, as its hollow center and ridges capture the garlic-butter mixture, ensuring that each forkful is balanced. By controlling the heat during the sauce creation, the emulsion remains stable and glossy, creating the signature comfort-food experience.
Notes and substitutions
For the best results, use fresh, high-quality chicken breasts and ensure they are patted dry before searing to achieve a golden-brown crust. The garlic should be freshly minced rather than using pre-jarred versions to ensure the most vibrant flavor.
Softening the cream cheese to room temperature before adding it to the skillet is essential, as this prevents lumps and ensures the sauce becomes silky smooth quickly without overcooking the garlic.
The choice of skillet matters when preparing this dish. A heavy-bottomed stainless steel or cast-iron pan is ideal for searing the chicken effectively. If the sauce happens to be too thick, do not hesitate to add a small splash of reserved pasta water or a little chicken broth.
This simple adjustment ensures the final texture remains perfectly coating and luxurious, allowing the flavors of the garlic and butter to shine through in every single bite.
- cream cheese: heavy cream and parmesan cheese for a lighter texture
- penne pasta: any short pasta shape like rigatoni or fusilli
Equipment
- large pot
- colander
- large skillet
- tongs
- chef knife
- cutting board
Up next · Part 2 of 3
3 steps · 15 min of cooking · what to look for at each stage
Step-by-step instructions (Part 2)