Dinner · Part 3 of 3: Tips & recipe card
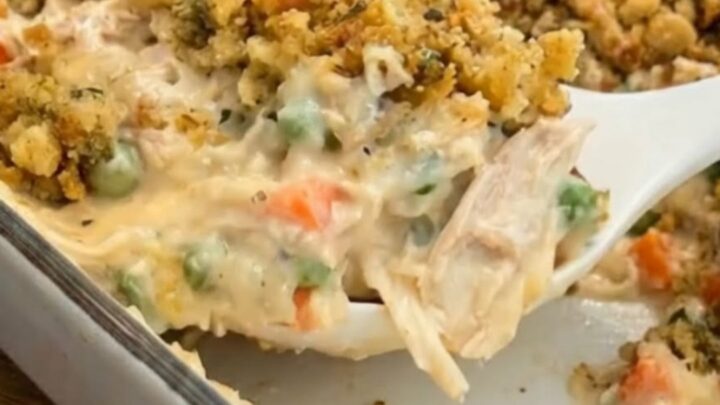
Creamy Chicken and Stuffing Casserole Tips, FAQ & printable recipe
- Prep
- Cook
- Total
- Serves
- 6
Tips for success
For a deeper flavor profile, consider adding a small amount of sautéed onions or garlic to the chicken mixture before combining it with the soup. This adds a layer of aromatic complexity that elevates the dish. If you enjoy a bit of heat, a dash of cayenne pepper or hot sauce stirred into the creamy base can provide a subtle kick that balances the richness of the soup and the savory stuffing.
If the stuffing begins to brown too quickly in the oven, you can loosely cover the baking dish with a piece of aluminum foil for the final 10 minutes of baking.
This technique protects the top layer while ensuring the chicken base continues to cook through. Always let the dish rest for at least 10 minutes before serving, as this is crucial for the sauce to set and for the flavors to fully harmonize.
Variations
- Cheesy Chicken Stuffing: Stir in one cup of shredded cheddar cheese into the chicken mixture before adding the stuffing. The cheese adds a rich, gooey texture and a savory depth that pairs perfectly with the creamy soup base.
- Herb-Roasted Chicken: Add a tablespoon of fresh, chopped rosemary and thyme to the chicken mixture. This simple addition introduces a bright, earthy aroma that elevates the comfort food profile of the entire dish.
Storage and make-ahead
- Fridge
- Store in the refrigerator for up to 3 days in a sealed container.
- Freezer
- Freeze for up to 2 months in a freezer-safe container; thaw in the fridge overnight before reheating.
- Reheat
- Reheat in the oven at 350°F (175°C) until warmed through or in the microwave in short bursts.
Store any leftovers in an airtight container in the refrigerator. The casserole maintains its flavor and texture well for up to three days.
When storing, ensure the casserole has cooled to room temperature, but do not leave it out for more than two hours to prevent bacterial growth. Label the container with the date so you can track its freshness and prioritize consuming it within the recommended window.
You can assemble the chicken and vegetable base up to 24 hours in advance and keep it in the refrigerator. However, it is best to prepare the stuffing topping just before baking to ensure it maintains its texture and does not become soggy.
If you do assemble the whole dish ahead of time, keep the stuffing separate and add it immediately before putting the casserole into the oven for the best results.
Serving ideas
Serve this casserole hot, straight from the baking dish. It pairs beautifully with a side of steamed green beans or a crisp garden salad, which provides a fresh, acidic contrast to the rich, creamy nature of the main dish.
A simple side of roasted asparagus or a light vinaigrette-dressed arugula salad can also help balance the meal, making it feel complete and well-rounded for any family dinner.
When serving, use a large spoon to scoop out generous portions, ensuring that every plate receives a good balance of the creamy chicken base and the crispy stuffing topping. If desired, you can garnish individual plates with a sprinkle of fresh parsley or chives to add a pop of color and a fresh, herbal note that brightens the overall presentation of the meal before it is enjoyed by your guests.
Frequently asked questions
Can this be made without cream of chicken soup?
How can the stuffing stay crispy?
Is it possible to use rotisserie chicken?
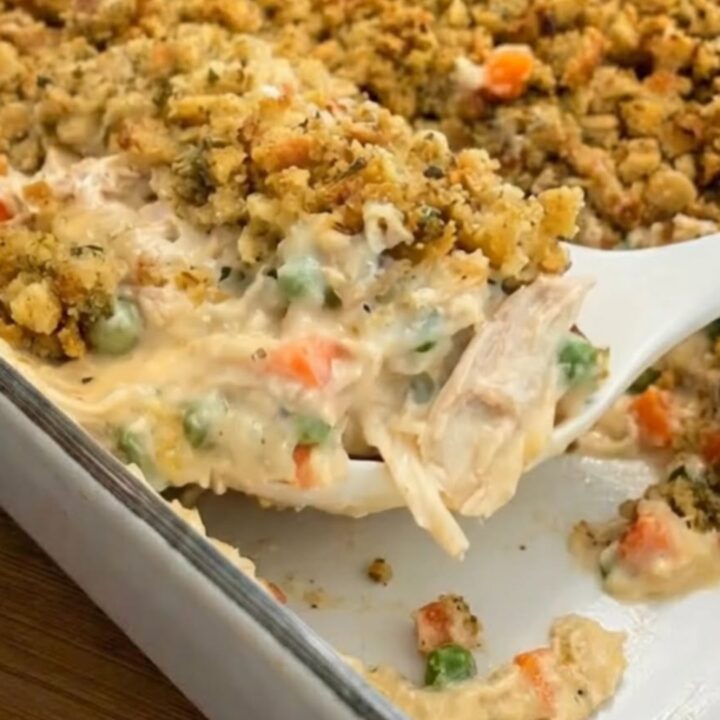
Creamy Chicken and Stuffing Casserole
Ingredients
- 2 lbs chicken breast, cut into bite-sized pieces
- 1 cup frozen peas and carrots
- 1 can cream of chicken soup
- 1 box stuffing mix, prepared according to package
Instructions
- Preheat the oven to 375°F (190°C). In a large mixing bowl, combine the diced chicken breast with the cream of chicken soup and the frozen peas and carrots. Stir the mixture thoroughly until every piece of chicken is evenly coated in the creamy sauce, ensuring the vegetables are distributed throughout the mixture to provide balanced flavor and texture in every bite.
- Transfer the chicken and vegetable mixture into a 9x13 inch baking dish, spreading it out into an even layer with a spoon. Take the prepared stuffing mix and spread it carefully over the top of the chicken mixture. Use the back of the spoon to gently press the stuffing down so it creates a compact, flavorful crust that will turn golden and crisp during the baking process.
- Place the baking dish into the preheated oven. Bake for 40 minutes, or until the stuffing is golden brown and the chicken reaches an internal temperature of 165°F (74°C). Remove the dish from the oven and allow it to rest for at least 10 minutes before serving. This resting period allows the sauce to thicken slightly and makes it much easier to scoop into portions.
Estimated nutrition per serving
- Calories
- 450
- Protein
- 32 g
- Carbohydrates
- 35 g
- Fat
- 18 g
- Fiber
- 2 g
- Sugar
- 3 g
- Sodium
- 850 mg
Next recipe

Easy Pepperoni Pizza Bake with Fluffy Biscuit Dough
See the recipe → →This recipe is based on a short cooking video and is published under the pen name Clara Weller. It was checked before publication, but errors can slip through. Nutrition, when shown, is an estimate. Read more in our editorial policy and on our food safety page.
More recipes to try

Hearty Shipwreck Casserole with Ground Beef and Vegetables
Total time: 1 h 5 min
Easy Cheesy Mexican Chicken Casserole
Total time: 55 min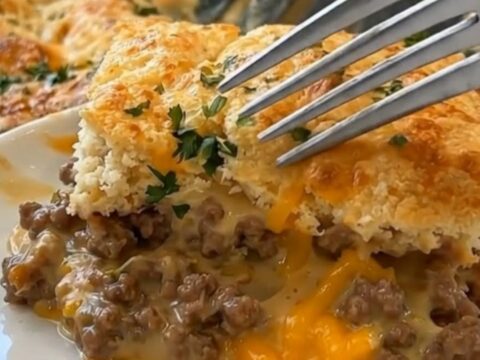
Cheddar Bay Ground Beef Cobbler
Total time: 55 min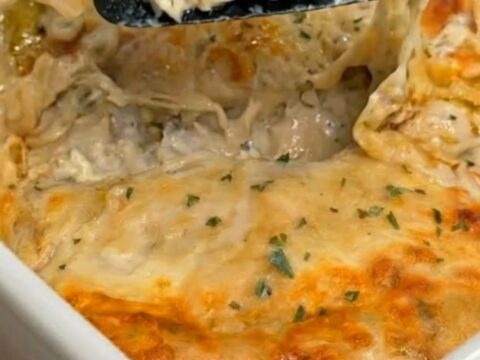
Creamy White Chicken Enchiladas for Comforting Dinners
Total time: 55 min
Creamy King Ranch Chicken Casserole
Total time: 1 h