Dinner · Part 1 of 3: Ingredients
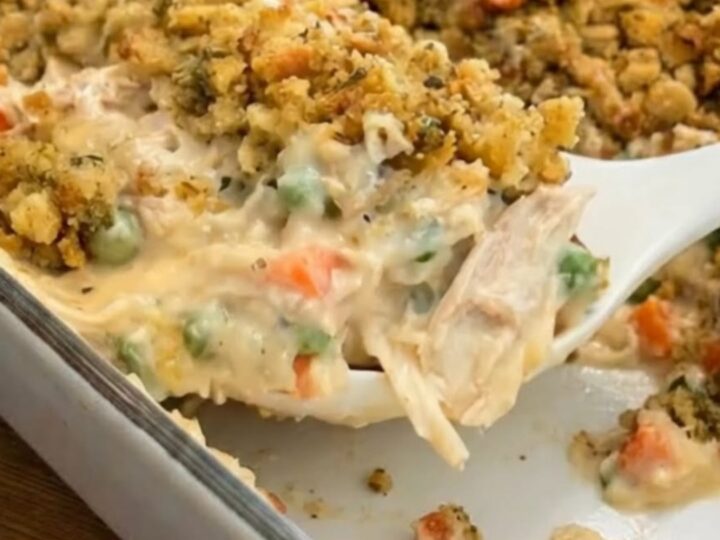
Creamy Chicken and Stuffing Casserole
- Prep
- Cook
- Total
- Serves
- 6
Discover a comforting classic that simplifies dinner time effortlessly. This creamy chicken and stuffing casserole brings together tender, juicy poultry with savory vegetables and a perfectly golden topping, creating a meal that feels like home in every single spoonful.
Whether it is a busy weeknight or a slow weekend, this dish delivers consistent satisfaction without the need for multiple pots and complicated techniques. It is truly the ultimate solution for those who appreciate hearty, flavorful, and reliable family-style cooking.
This chicken and stuffing casserole is a masterclass in efficient comfort food preparation. By combining a creamy, seasoned base with a savory breadcrumb topping, this recipe achieves a perfect balance of textures and flavors.
The cream of chicken soup acts as a natural binder and sauce, keeping the chicken incredibly moist as it bakes alongside the vegetables. The stuffing adds a classic, savory crunch that contrasts beautifully with the tender, creamy filling beneath. It is a straightforward, no-fuss approach that guarantees a delicious result every time you put it in the oven.
Ingredients
Main Ingredients
- 2 lbs chicken breast, cut into bite-sized pieces
- 1 cup frozen peas and carrots
- 1 can cream of chicken soup
Topping
- 1 box stuffing mix, prepared according to package
Why this recipe works
The method relies on a single baking dish, which minimizes cleanup and ensures that all the juices from the chicken and the savory notes from the stuffing meld together perfectly during the cooking process. By mixing the chicken directly with the creamy soup and vegetables, you create a self-contained sauce that thickens as it cooks, ensuring that every portion is rich and moist without requiring a separate stovetop preparation.
The use of a prepared stuffing mix provides an instant layer of seasoned herbs and breadcrumbs that would otherwise take considerable time to assemble. Placing the stuffing over the wet ingredients allows it to absorb just enough moisture from the steam to stay soft on the bottom while the heat of the oven crisps the top layer, providing a delightful textural contrast that defines this classic dish.
Notes and substitutions
For the best results, choose a high-quality cream of chicken soup as it provides the primary seasoning and texture for the base. If you prefer a more customized flavor profile, you can add a pinch of dried thyme or poultry seasoning to the chicken mixture before layering.
Ensure that the chicken is cut into uniform, bite-sized pieces; this is essential for consistent cooking and ensures that every serving contains the perfect ratio of chicken to vegetables.
The choice of baking dish is important for this recipe; a standard 9x13 inch glass or ceramic dish works best for even heat distribution. If you find yourself without a specific ingredient, feel free to substitute the peas and carrots with other quick-cooking frozen vegetables like corn or green beans.
Always ensure your oven is fully preheated before inserting the dish, as this is critical for achieving the desired golden-brown crust on the stuffing topping.
- cream of chicken soup: cream of mushroom soup or a homemade white sauce
- chicken breast: boneless chicken thighs for extra moisture
Equipment
- 9x13 inch baking dish
- mixing bowl
- large spoon
- chef's knife
- cutting board
Up next · Part 2 of 3
3 steps · 40 min of cooking · what to look for at each stage
Step-by-step instructions (Part 2)