Dinner · Part 1 of 3: Ingredients
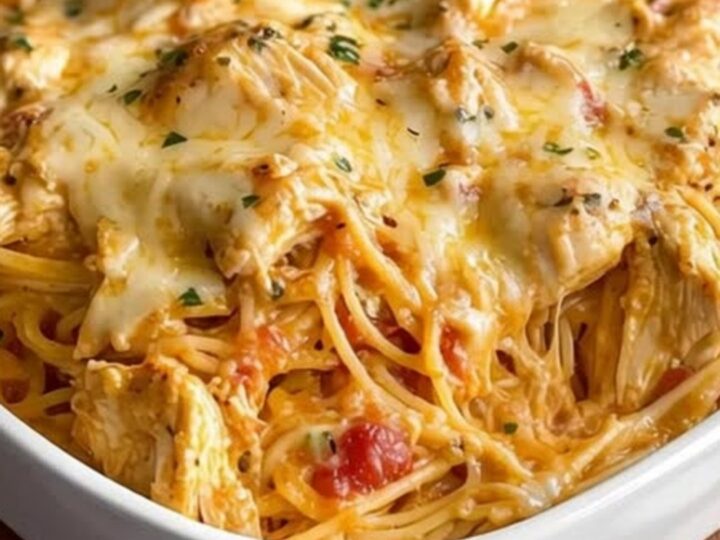
Creamy Cheesy Rotel Chicken Spaghetti Casserole
- Prep
- Cook
- Total
- Serves
- 6
Bring the family together with a comforting, ultra-creamy pasta bake that delivers maximum flavor with minimal effort. This dish combines tender spaghetti, juicy chicken, and a rich tomato-chili sauce, all smothered under a thick layer of melted mozzarella. It is the perfect cozy recipe for busy weeknights when everyone craves a warm, satisfying, and indulgent meal.
This classic Southern-style pasta casserole is a crowd-pleasing favorite that never fails to satisfy. By combining cooked spaghetti with a creamy sauce made from cream cheese and diced tomatoes with green chilies, you get a beautiful balance of rich, velvety texture and a subtle kick of heat.
Shredded chicken absorbs all the wonderful flavors, while a generous topping of mozzarella cheese melts into a golden, bubbling crust under the broiler. It is an incredibly comforting dish that feels like a warm hug on a plate.
Ingredients
- 12 oz spaghetti
- 1 1/2 lb boneless skinless chicken breasts
- 1 cup chicken broth
- 8 oz cream cheese, softened
- 10 oz canned diced tomatoes with green chilies
- 2 cups shredded mozzarella cheese
Why this recipe works
Cooking the chicken directly in broth ensures that every single bite of poultry is infused with deep flavor and remains incredibly juicy. Rather than using pre-cooked chicken that can dry out, this method allows the meat to absorb the savory chicken juices as it simmers.
The seasoned broth is then used as the base for the creamy sauce, preserving all the delicious chicken juices instead of letting them go to waste.
Melting cream cheese directly into the warm broth creates an instant, velvety emulsion without the need for a complex flour-based roux. The high fat content of the cream cheese stabilizes the sauce, preventing it from separating or curdling when mixed with the acidic diced tomatoes and green chilies.
This results in a consistently smooth, rich sauce that clings perfectly to every strand of spaghetti, ensuring a cohesive and decadent texture throughout the entire casserole.
Notes and substitutions
For the best results, select a high-quality dry spaghetti that can stand up to being boiled and then baked without turning mushy. Standard long-cut spaghetti works beautifully, but you can also use linguine or fettuccine if preferred. When cooking the pasta, make sure to boil it just until al dente, as it will continue to cook and absorb moisture from the creamy sauce while baking in the oven.
When it comes to the cheese, freshly shredded mozzarella is highly recommended over pre-bagged varieties. Pre-shredded cheese is coated with anti-caking agents like potato starch, which prevents it from melting smoothly and can result in a grainy texture.
Shredding your own mozzarella from a block ensures a flawless, gooey melt and that spectacular, dramatic cheese pull when lifting a piping hot portion from the casserole dish.
- cream cheese: Sour cream or heavy cream can be used as a substitute, though the sauce may be slightly thinner.
- mozzarella cheese: Sharp cheddar, Monterey Jack, or Pepper Jack cheese melt beautifully and add a nice flavor profile.
Equipment
- large pot
- medium pot
- colander
- whisk
- tongs
- 9x13-inch baking dish
- instant-read meat thermometer
Up next · Part 2 of 3
6 steps · 25 min of cooking · what to look for at each stage
Step-by-step instructions (Part 2)