Desserts · Part 1 of 3: Ingredients
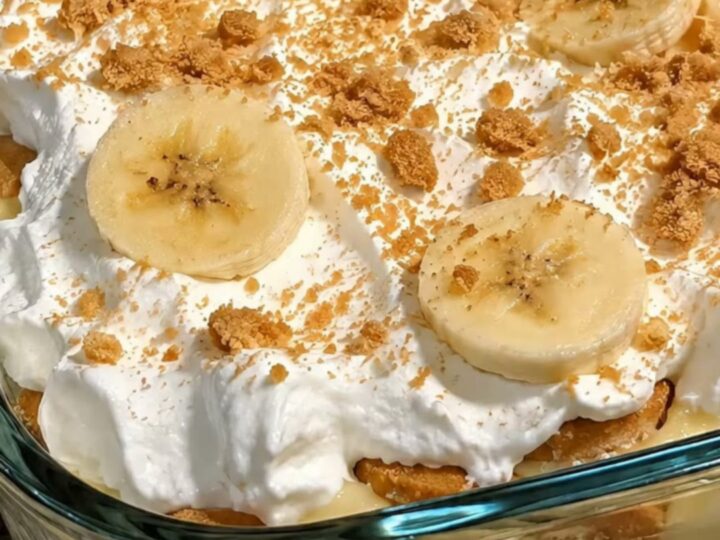
Classic Southern Banana Pudding
- Prep
- Cook
- Total
- Serves
- 8
Indulge in the nostalgic charm of classic Southern banana pudding, a dessert defined by its velvety texture and layers of sweet, fruity goodness. This recipe brings together simple pantry staples to create a sophisticated yet approachable treat that defines comfort in every single bite. Perfect for family gatherings, potlucks, or a quiet evening at home, this dish relies on the harmonious balance of crisp wafers, ripe bananas, and smooth custard to delight the palate.
Banana pudding is a cornerstone of Southern dessert tradition, celebrated for its ease of assembly and its ability to please guests of all ages. By layering store-bought vanilla wafers with a rich vanilla custard and fresh, ripe banana slices, you create a dessert that transforms over time in the refrigerator.
The magic happens as the wafers absorb a small amount of the pudding, resulting in a soft, cake-like texture that contrasts beautifully with the fresh fruit. It is a quintessential no-bake dessert that requires minimal effort but delivers maximum satisfaction, making it an ideal choice when you need a reliable, crowd-pleasing sweet for any occasion.
Ingredients
Layers
- 12 oz vanilla wafers
- 4 large bananas, sliced
- 3 cups vanilla pudding, prepared
- 8 oz whipped topping
Why this recipe works
The method of layering ingredients is essential to the success of this dessert. By starting with a layer of wafers, you create a structural base that keeps the pudding from becoming too runny.
The subsequent layers of bananas and pudding allow the flavors to permeate the wafers, softening them to the perfect consistency while maintaining the integrity of the banana slices. This precise order ensures that every scoop contains a balanced ratio of fruit, cookie, and cream.
Allowing the assembled dessert to rest in the refrigerator is a crucial step that cannot be skipped. During this time, the starch in the wafers interacts with the moisture in the pudding, creating a harmonious texture that defines authentic banana pudding.
This rest period also allows the banana flavor to distribute throughout the custard, deepening the overall profile of the dish. Proper chilling ensures the pudding sets to a scoopable consistency, making the final presentation clean and professional.
Notes and substitutions
Choosing the right ingredients is key to achieving the classic taste. Use ripe bananas that are yellow with just a few brown spots, as these offer the best sweetness and texture. If the bananas are too green, they will lack flavor, and if they are too soft, they will turn into mush too quickly. High-quality vanilla pudding, whether made from scratch or a high-end mix, provides the necessary richness that carries the entire dish forward.
Equipment-wise, a deep glass dish is recommended to showcase the beautiful layers of the pudding. The transparency of the glass allows you to monitor the assembly and ensures the final result is visually appealing.
While a standard spoon is sufficient for serving, using a slightly larger serving spoon helps maintain the structural integrity of the layers when transferring portions to dessert plates. Ensure all ingredients are at room temperature before assembly to allow for easier spreading.
- vanilla wafers: shortbread cookies or graham crackers
- whipped topping: freshly whipped heavy cream with sugar
Equipment
- large glass serving dish
- large spoon
- knife
- cutting board
Up next · Part 2 of 3
4 steps · 10 min of cooking · what to look for at each stage
Step-by-step instructions (Part 2)