Desserts · Part 1 of 3: Ingredients
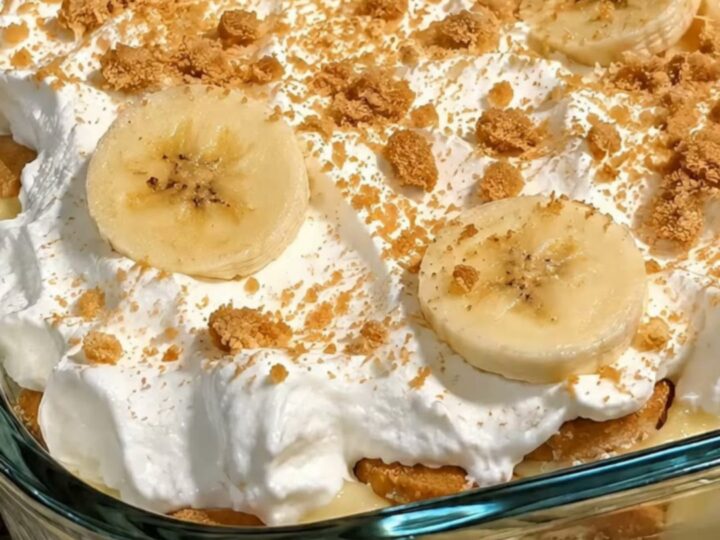
Classic Southern Banana Pudding with Vanilla Wafers
- Prep
- Cook
- Total
- Serves
- 8
Discover the secret to the ultimate Southern comfort dessert that brings everyone to the table. This banana pudding is a harmonious blend of textures, combining silky custard, tender fruit, and softened wafers that melt in the mouth.
It is the quintessential treat for family gatherings, potlucks, or a quiet weekend indulgence at home. With minimal prep and maximum flavor, this classic recipe ensures a professional result every single time you prepare it for guests or family members.
Southern banana pudding is a cherished dessert known for its simplicity and depth of flavor. By layering high-quality vanilla custard with perfectly ripe bananas and crisp vanilla wafers, the ingredients transform over time into a cohesive, creamy masterpiece.
This recipe focuses on achieving the perfect ratio of custard to fruit, ensuring each spoonful offers a balanced experience. Whether served in a traditional glass dish to showcase the beautiful layers or in individual portions, it remains a favorite for its comforting, familiar taste and impressive presentation.
Ingredients
Pudding Base
- 3 cups vanilla pudding, prepared
Layers
- 1 box vanilla wafers
- 4 bananas, sliced
Topping
- 2 cups whipped topping
Why this recipe works
The layering method is essential because it allows the vanilla custard to penetrate the wafers, transforming them from crisp to cake-like. This process creates a uniform texture throughout the dish, making the pudding cohesive rather than just a collection of separate ingredients. The natural moisture from the bananas also contributes to this softening effect, which is why the pudding improves significantly after resting in the refrigerator for several hours.
Using a glass casserole dish is not just for aesthetic appeal; it serves a functional purpose by allowing the cook to monitor the distribution of layers. Maintaining consistent thickness for each layer ensures that every serving contains the perfect balance of banana, wafer, and custard.
This methodical approach to assembly ensures that the final result is visually stunning and consistently delicious, providing a reliable outcome that meets the expectations of a traditional Southern-style dessert.
Notes and substitutions
The choice of vanilla wafers is critical for the success of this dish. Traditional wafers provide the necessary structure and flavor that define the classic Southern style. While other cookies can be substituted, they may not offer the same level of absorption or the iconic vanilla profile that complements the custard perfectly. Always select a high-quality wafer to ensure the best possible texture after the chilling period.
Equipment selection plays a vital role in the final presentation. A clear glass dish is highly recommended as it highlights the alternating layers of yellow custard, white cream, and golden wafers.
A wide rubber spatula is the best tool for spreading the pudding without disturbing the delicate layers beneath. Ensure the spatula is clean and flexible, as this allows for smooth, even distribution of the whipped topping and pudding layers during the assembly process.
- vanilla pudding: butterscotch or banana flavored pudding for a different flavor profile
- whipped topping: homemade stabilized whipped cream made with heavy cream and sugar
Equipment
- 9-inch glass casserole dish
- mixing bowl
- rubber spatula
- knife
- cutting board
Up next · Part 2 of 3
3 steps · 15 min of cooking · what to look for at each stage
Step-by-step instructions (Part 2)