Breakfast · Part 1 of 3: Ingredients
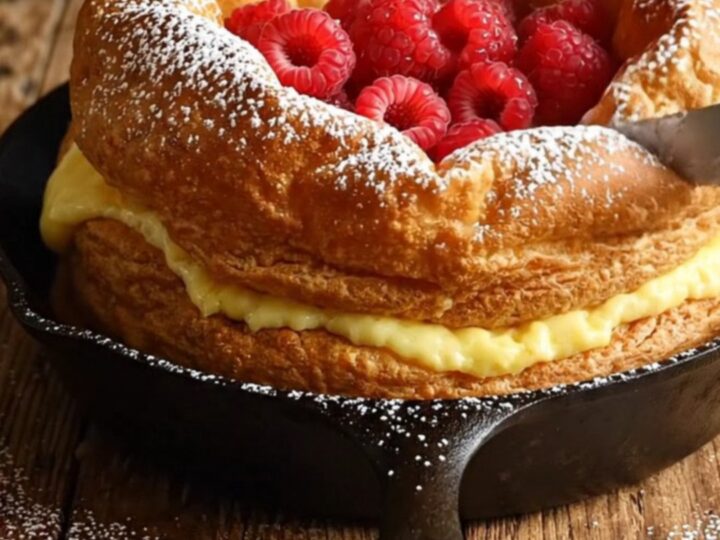
Classic One-Blender Dutch Baby Pancake
- Prep
- Cook
- Total
- Serves
- 2
Discover the secret to a restaurant-quality Dutch baby pancake that comes together with minimal effort and just one blender. This classic oven-baked treat is a showstopper for any breakfast or brunch table, offering a delightful combination of crispy, golden-brown edges and a soft, custardy center that is sure to impress everyone who tastes it.
Simple, effective, and undeniably delicious, this recipe takes the mystery out of achieving that perfect, dramatic lift every single time.
A Dutch baby, also known as a German pancake, is a unique oven-baked delicacy that relies on steam and egg-based structure to puff up into a beautiful, irregular shape.
Unlike traditional pancakes that require individual flipping on a stovetop, this version is poured into a pre-heated, buttered cast-iron skillet and baked until it reaches its full, impressive potential. The result is a light, airy, and slightly sweet pancake that serves as the perfect canvas for fresh fruit, bright citrus, and a dusting of sugar.
Ingredients
Batter
- 3 eggs, room temperature
- 120 ml whole milk
- 65 g all-purpose flour
- 15 g sugar
- 5 ml vanilla extract
Cooking
- 35 g butter, for the skillet
Garnish
- 80 g fresh raspberries
- powdered sugar, for serving
- fresh lemon juice, to taste
Why this recipe works
The method relies on the thermal shock created by pouring room-temperature batter into a sizzling hot, butter-coated cast-iron skillet. This immediate contact with high heat causes the liquid in the batter to turn into steam rapidly, which forces the pancake to expand and puff up against the sides of the pan. This physical reaction is essential for creating the signature tall, crispy walls that define a perfect Dutch baby pancake.
Blending the ingredients ensures a perfectly smooth batter that is fully aerated. The high-speed blending process incorporates air bubbles into the egg and flour mixture, providing the necessary lift during the baking process.
By using a blender, the cook achieves a uniform consistency that allows the pancake to rise evenly throughout the skillet, resulting in a delicate texture that is both satisfyingly crispy on the outside and tenderly custard-like on the inside.
Notes and substitutions
For the best results, ensure the eggs and milk are at room temperature before blending. This allows the ingredients to emulsify more readily, creating a lighter batter that puffs up more effectively in the oven. If the ingredients are cold, the batter may not rise as high, leading to a denser final product. Using a well-seasoned cast-iron skillet is recommended, as it retains heat exceptionally well and contributes to the crispy texture of the pancake edges.
All-purpose flour is the standard choice here, providing enough structure to hold the pancake's form without making it tough. While the recipe calls for specific amounts, feel free to adjust the garnish based on seasonal availability.
Fresh berries, stone fruit, or even a simple squeeze of lemon juice can brighten the flavor profile significantly. Always ensure the oven is fully preheated before adding the batter to the skillet to guarantee the necessary temperature for a successful rise.
- whole milk: a non-dairy milk alternative such as soy or oat milk can be used if preferred
Equipment
- blender
- cast-iron skillet
- oven
Up next · Part 2 of 3
3 steps · 16 min of cooking · what to look for at each stage
Step-by-step instructions (Part 2)