Desserts · Part 3 of 3: Tips & recipe card
Classic No-Bake Chocolate Icebox Cake Tips, FAQ & printable recipe
- Prep
- Cook
- Total
- Serves
- 8
Tips for success
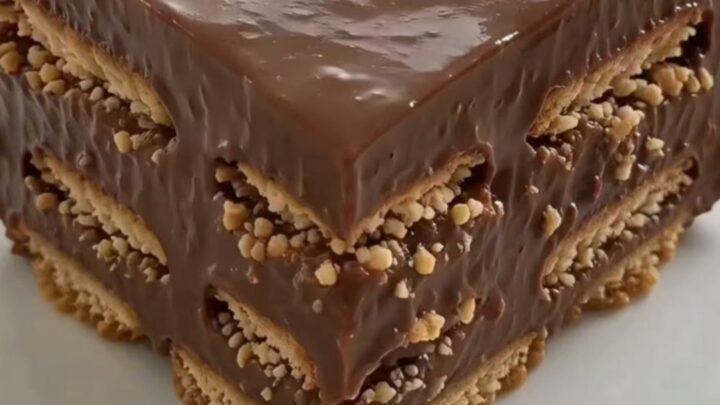
For the cleanest slices, dip a sharp knife into hot water and wipe it dry between each cut. This technique melts the ganache slightly, allowing the knife to pass through the biscuit layers without dragging or crumbling the edges of the cake.
To add a touch of texture, consider sprinkling a few crushed biscuits or shaved chocolate over the top of the ganache just before serving.
This provides a subtle crunch that contrasts beautifully with the creamy interior and adds a sophisticated visual element to the finished dessert.
Variations
- Mocha Icebox Cake: Incorporate one tablespoon of instant espresso powder into the chocolate pudding before layering. This adds a sophisticated depth of flavor that complements the sweetness of the chocolate.
- White Chocolate Variation: Substitute the chocolate pudding and ganache with white chocolate versions for a lighter, creamier dessert. Add a touch of vanilla extract to enhance the delicate flavor profile.
Storage and make-ahead
- Fridge
- Keep refrigerated at or below 40°F (4°C) for up to 3 days.
- Freezer
- Freezing is not recommended as it changes the texture of the pudding and makes the biscuits mushy upon thawing.
- Reheat
- Serve chilled; reheating is not applicable for this dessert.
Store the cake in the refrigerator, covered tightly with plastic wrap or in an airtight container.
This prevents the dessert from absorbing other flavors in the fridge and keeps the ganache from drying out. Consume the cake within three days for the best texture and flavor profile.
This recipe is specifically designed to be made ahead of time. In fact, it is best when prepared 24 hours in advance, as this allows the biscuits to reach the perfect level of tenderness. Assemble the cake completely and refrigerate until ready to serve for maximum convenience.
Serving ideas
Serve the cake chilled, directly from the refrigerator, to maintain the structure of the layers.
Use a square spatula to lift the slices carefully from the baking dish, ensuring the bottom biscuit layer remains intact. Place each slice on a small dessert plate for an elegant presentation.
Pair the cake with a side of fresh berries or a dollop of unsweetened whipped cream to balance the intensity of the chocolate.
The tartness of raspberries or strawberries provides a refreshing contrast to the richness of the ganache, making each serving a well-rounded and delightful dessert experience.
Frequently asked questions
Can the cake be assembled in a different shape dish?
Why do the biscuits become too soft?
Is it possible to use homemade pudding?
Classic No-Bake Chocolate Icebox Cake
Ingredients
- 24 count plain tea biscuits
- 2 cups chocolate pudding, store-bought or made ahead
- 1 cup chocolate ganache, store-bought or made ahead
Instructions
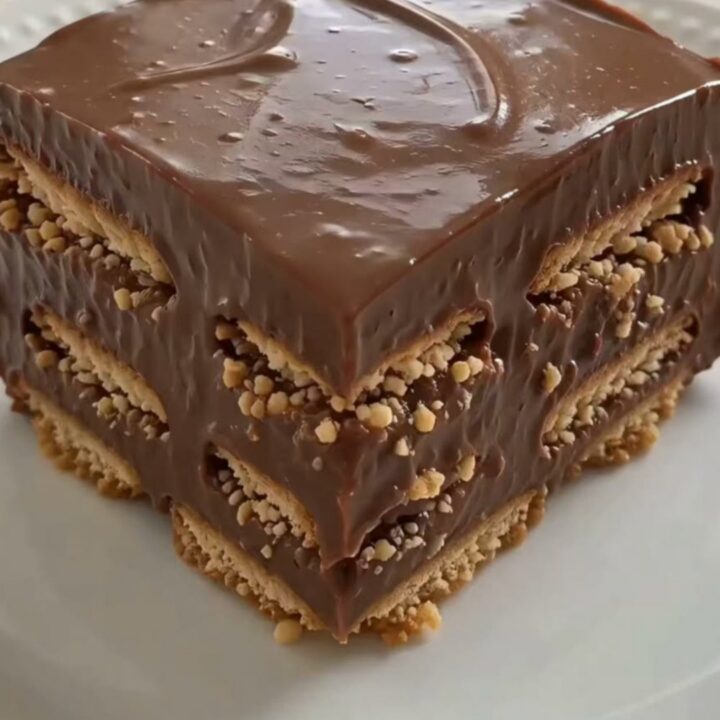
- Arrange a single layer of tea biscuits at the bottom of an 8x8 inch baking dish, breaking them if necessary to ensure the bottom is fully covered without large gaps.
- Spread a generous, even layer of chocolate pudding over the biscuits using an offset spatula. Repeat the process by adding another layer of biscuits followed by the remaining pudding.
- Pour the rich chocolate ganache over the top layer, smoothing it out to the edges. Place the dish in the refrigerator for at least four hours to allow the biscuits to soften and the layers to set.
Estimated nutrition per serving
- Calories
- 350
- Protein
- 4.5 g
- Carbohydrates
- 42 g
- Fat
- 18 g
- Fiber
- 1.5 g
- Sugar
- 28 g
- Sodium
- 210 mg
Next recipe
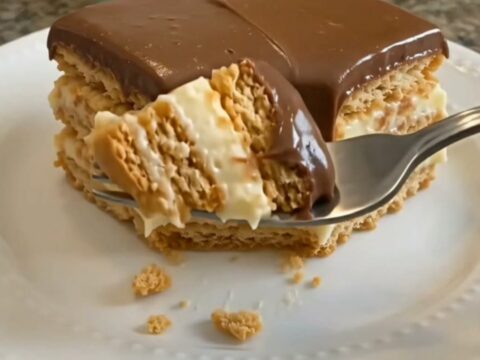
Easy No-Bake Eclair Cake for Any Occasion
See the recipe → →This recipe is based on a short cooking video and is published under the pen name Clara Weller. It was checked before publication, but errors can slip through. Nutrition, when shown, is an estimate. Read more in our editorial policy and on our food safety page.
More recipes to try
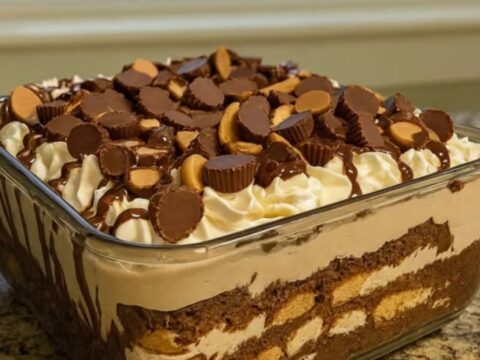
Decadent Peanut Butter Chocolate Trifle for Easy Entertaining
Total time: 1 h 30 min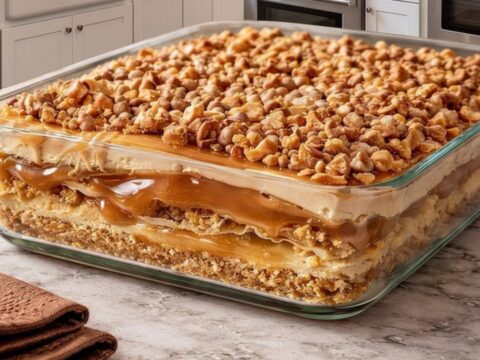
Peanut Butter Crunch Lasagna: A Decadent Layered Dessert
Total time: 2 h 20 min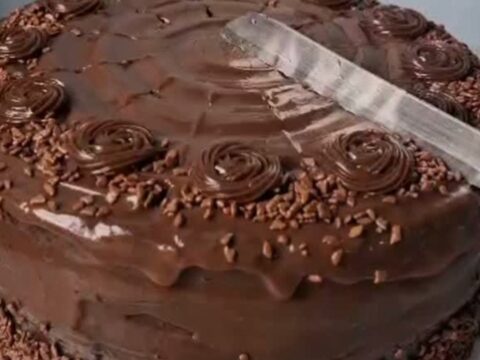
Decadent Matilda Chocolate Fudge Cake
Total time: 1 h 55 min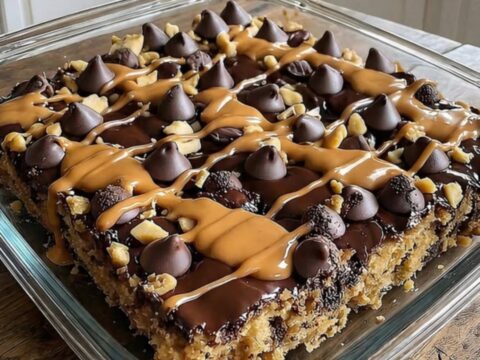
Decadent Peanut Butter Cup Dump Cake
Total time: 1 h 5 min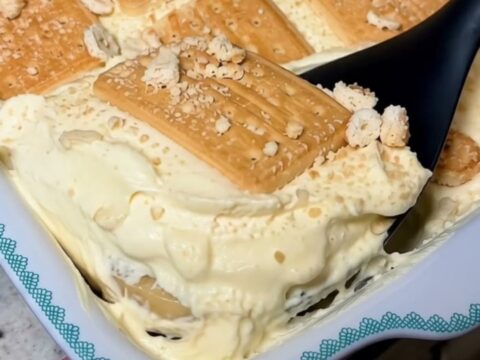
Creamy Banana Pudding Biscuit Dessert
Total time: 2 h 15 min