Desserts · Part 2 of 3: Instructions
Classic No-Bake Chocolate Icebox Cake Step-by-step instructions
- Prep
- Cook
- Total
- Serves
- 8
Before you start
Before beginning, ensure all ingredients are at room temperature to facilitate easy spreading of the pudding and ganache. Prepare the workspace by clearing sufficient room in the refrigerator to hold the 8x8 inch baking dish on a level surface.
Gather the offset spatula and ensure the dish is clean and dry. If using homemade pudding or ganache, ensure they have cooled completely to room temperature before starting the assembly process to prevent the biscuits from becoming too soggy too quickly.
Ingredients at a glance (3)
- 24 count plain tea biscuits
- 2 cups chocolate pudding, store-bought or made ahead
- 1 cup chocolate ganache, store-bought or made ahead
Instructions
Foundation Layering
- Layering the baseArrange a single layer of tea biscuits at the bottom of an 8x8 inch baking dish, breaking them if necessary to ensure the bottom is fully covered without large gaps.Look for The dish base is completely covered by a uniform layer of biscuits.Tip Ensure the biscuits are pressed firmly together for a solid foundation.
The biscuits should be arranged in a tight, single layer that covers the entire bottom of the baking dish. Look for a stable base that will support the weight of the pudding layers without shifting as the assembly progresses.
Pudding Application
- Adding the chocolate fillingSpread a generous, even layer of chocolate pudding over the biscuits using an offset spatula. Repeat the process by adding another layer of biscuits followed by the remaining pudding.Look for The pudding is smooth and the layers are neatly stacked.Tip Use a light hand when spreading to avoid displacing the bottom biscuit layer.
The pudding should be spread in an even, uniform layer that reaches the edges of the dish. Check that each layer of biscuits is thoroughly covered to ensure consistent moisture distribution throughout the entire cake.
Ganache Finish
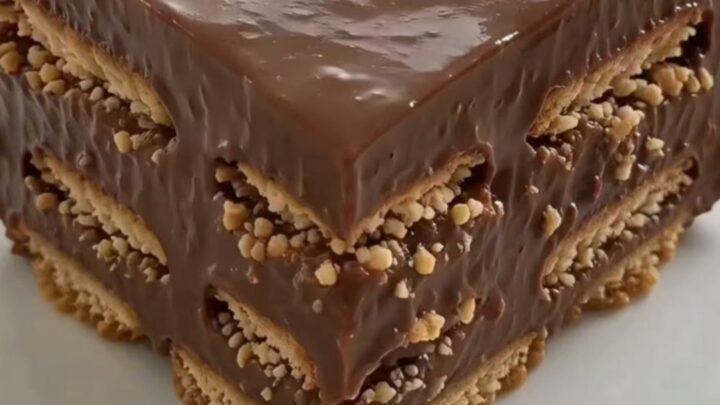
- Glazing and chillingPour the rich chocolate ganache over the top layer, smoothing it out to the edges. Place the dish in the refrigerator for at least four hours to allow the biscuits to soften and the layers to set.Look for The ganache is glossy and the cake feels firm to the touch.Tip Cover the dish loosely with plastic wrap to prevent the ganache from absorbing fridge odors.
The ganache should be smooth, glossy, and completely cover the top surface of the cake. Ensure there are no gaps or uneven ridges, providing a professional and polished appearance that is ready for the final chilling phase.
Common mistakes
A common mistake is using a pudding that is too thin, which can lead to a cake that does not hold its shape when sliced. Ensure the pudding is sufficiently thick before assembly.
Another error is rushing the chilling process; if the cake is not allowed to set long enough, the layers will slide apart during service. Avoid using flavored biscuits that might overpower the delicate balance of the chocolate layers unless a specific variation is intended.
How to tell it’s done
The cake is considered done when it has been refrigerated for at least four hours, or ideally overnight.
The ganache should be set and slightly firm to the touch, and the biscuits should have softened significantly, allowing a knife to glide through the layers without resistance.
There are no raw proteins involved in this recipe, so food safety is centered on proper cooling and storage temperatures.
Up next · Part 3 of 3
2 variations · storage & make-ahead · 3 answers · printable card
Tips, FAQ & printable recipe (Part 3)← Back to the ingredients (Part 1)