Dinner · Part 1 of 3: Ingredients
Classic Hearty Beef Lasagna with Rich Sauce
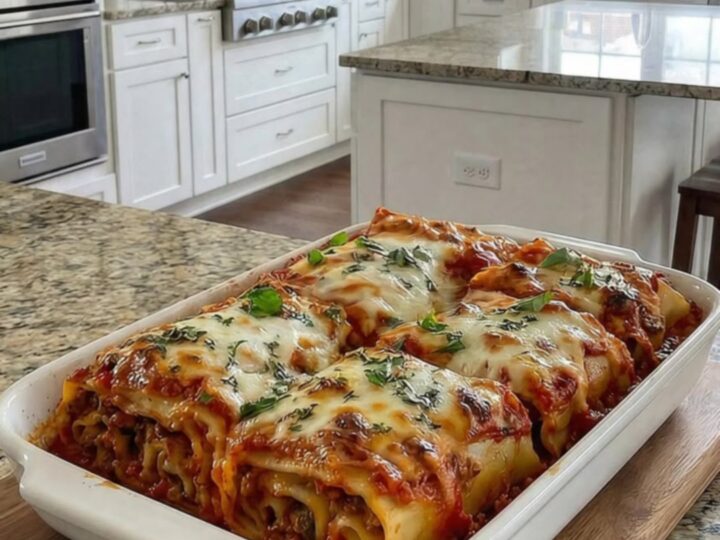
- Prep
- Cook
- Total
- Serves
- 8
Discover the secret to a perfect, restaurant-quality lasagna made right in your own home. This recipe focuses on the essential balance of savory meat, creamy cheese, and tender pasta that defines a truly great Italian-American classic.
With simple ingredients and a straightforward method, achieving those beautiful, distinct layers is easier than ever. Whether for a cozy family dinner or a weekend gathering, this reliable recipe ensures satisfying results every single time you pull it from the oven.
Lasagna is the ultimate comfort dish, combining layers of hearty ingredients into one harmonious meal. This version uses a classic meat sauce, creamy ricotta, and plenty of shredded mozzarella to create that signature cheese pull everyone loves.
By keeping the steps clear and the ingredients accessible, this recipe simplifies the process without sacrificing any of the traditional flavor. Follow these instructions carefully to create a balanced, delicious dish that highlights the quality of your ingredients and the care put into every layer.
Ingredients
Meat Sauce
- 1 lb ground beef
- 24 oz marinara sauce
Assembly
- 12 oz lasagna noodles
- 15 oz ricotta cheese
- 16 oz mozzarella cheese, shredded
Why this recipe works
The method of layering meat sauce, noodles, and cheeses ensures that every bite contains a perfect balance of textures and flavors. By using a pre-simmered meat sauce, the flavors have time to meld, preventing the lasagna from becoming watery during the baking process.
This layering technique also promotes structural integrity, allowing the lasagna to hold its shape when sliced, which is essential for that beautiful presentation and satisfying mouthfeel.
Pre-cooking the noodles to an al dente state ensures they retain some bite while absorbing the moisture from the sauce during the long bake time. This step is vital for achieving the correct texture throughout the dish, preventing the pasta from becoming mushy or overcooked. The careful layering of cheese acts as a binder, while the final bake period creates the iconic golden crust that adds a delightful contrast to the soft interior layers.
Notes and substitutions
For the best results, use a high-quality marinara sauce, as it serves as the base for the entire dish's flavor profile. Freshly shredded mozzarella cheese is highly recommended over pre-shredded varieties, as it melts more smoothly and provides a superior cheese pull. When choosing the ground beef, a lean-to-fat ratio of 85/15 or 90/10 works best to provide enough flavor without creating excess grease that can make the lasagna feel heavy.
Regarding equipment, a sturdy 9x13 inch baking dish is ideal for this recipe, providing enough depth for multiple layers without overflowing. A high-quality spatula is also essential for serving, as it allows for clean removal of the slices without disrupting the delicate layers.
If the oven temperature varies, keep an eye on the top to prevent the cheese from browning too quickly; aluminum foil can be used to cover the dish if the crust browns before the center is hot.
- ground beef: Ground turkey or a mixture of ground beef and Italian sausage for added flavor.
- ricotta cheese: Cottage cheese can be used for a slightly different texture and protein boost.
Equipment
- large skillet
- 9x13 inch baking dish
- spatula
- pot for boiling pasta
Up next · Part 2 of 3
3 steps · 1 h of cooking · what to look for at each stage
Step-by-step instructions (Part 2)