Desserts · Part 2 of 3: Instructions
Classic French Canelés with a Crispy Caramelized Shell Step-by-step instructions
- Prep
- Cook
- Total
- Serves
- 12
Before you start
Before starting, ensure that all ingredients are measured precisely. Use room-temperature eggs to ensure they incorporate smoothly into the batter. Prepare the copper molds thoroughly with beeswax, as this is the secret to both the flavor and the easy release of the finished pastry.
Have your wire rack ready for cooling, and clear enough space in your refrigerator to store the batter for the full twenty-four hours without any interruptions to the temperature.
Ingredients at a glance (9)
- 500 ml milk
- 50 g butter
- 250 g sugar
- 100 g flour
- 2 whole eggs
- 2 yolks
- 1 pod vanilla pod
- 50 ml dark rum
- 1 tbsp beeswax, melted for coating
Instructions
Batter Preparation and Resting
- Prepare the BatterIn a saucepan, heat the milk and butter until the butter is melted. In a large bowl, combine the sugar, flour, whole eggs, and egg yolks. Gradually whisk in the warm milk mixture until smooth. Add the scraped vanilla pod seeds and the dark rum. Strain the batter through a fine mesh sieve to remove any lumps.Look for The batter should be completely smooth and homogeneous after straining.Tip Whisk gently to avoid incorporating too much air, which can cause the caneles to rise too much and collapse during baking.
- Rest the BatterTransfer the strained batter to a container, cover it tightly, and place it in the refrigerator. Allow the batter to rest in the cold for twenty-four hours. This resting period is critical for the flour to hydrate fully and for the flavors to develop properly.Look for The batter will thicken slightly and the flavors will become more pronounced during the long rest.Tip Ensure the container is airtight to prevent the batter from absorbing any odors from the refrigerator.
The batter must be completely smooth after straining, with no visible lumps of flour or egg. It should have a thin, consistent texture. After resting for twenty-four hours, the batter will appear slightly thickened and smell aromatic from the vanilla and rum.
Ensure it remains chilled throughout this time to prevent any premature fermentation or separation of ingredients before the baking begins.
Molding and Initial High-Heat Bake
- Prepare the MoldsPreheat the oven to 450°F (232°C). Brush the interior of the copper molds with a thin, even layer of melted beeswax. Ensure the wax reaches the rim of the molds to facilitate easy release after baking.Look for The molds should have a thin, translucent coating of wax inside.Tip If the wax is too thick, the excess will pool at the bottom, creating an uneven crust.
- Initial BakePour the rested, room-temperature batter into the prepared molds, filling them about three-quarters full. Place the molds in the preheated oven and bake at 450°F (232°C) for 15 minutes to set the exterior and begin the caramelization process.Look for The edges will start to firm up and take on a golden hue.Tip Do not open the oven door during this initial phase to maintain a consistent temperature.
The molds should be coated with a very thin, even layer of beeswax. When pouring the batter, fill them only to the specified level to allow for proper expansion. During the first 15 minutes of baking at 450°F (232°C), the edges should start to set and turn a light golden brown. The kitchen should begin to smell of caramelized sugar and rich vanilla as the initial phase concludes.
Low-Temperature Bake and Unmolding
- Lower Temperature BakeReduce the oven temperature to 375°F (190°C) and continue baking for another 45 minutes until the caneles are a deep, mahogany black color. To ensure the eggs are fully cooked through, the internal temperature must reach 160°F (71°C).Look for The caneles should feel firm to the touch with a very dark, brittle, and caramelized exterior shell.Safe temperature 160°F (71°C) internal temperature (egg dishes)Tip Watch closely during the final minutes to ensure the crust caramelizes deeply without burning.
- Unmold and ServeRemove the molds from the oven and carefully unmold the caneles while they are still warm, as this makes them easier to release. Place them on a wire rack to cool slightly before serving for the best texture contrast.Look for The caneles should release easily from the copper molds with a crisp sound.Tip Serve them within a few hours of baking for the best crunch.
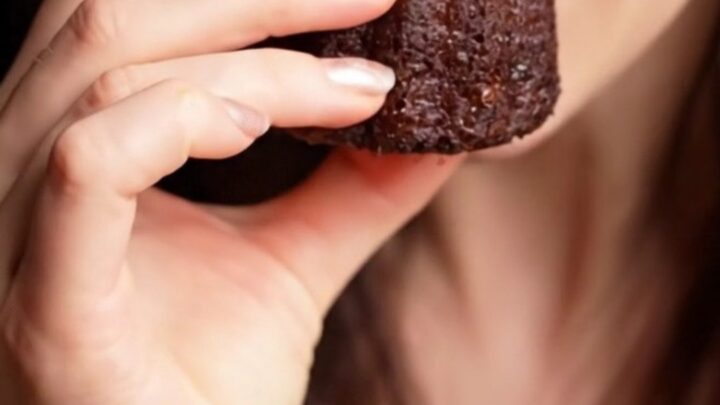
After reducing the heat, the pastries will continue to darken significantly. They should remain in the oven until they reach a deep mahogany shade. Upon removal, the Canelés should feel firm and rigid.
They must be unmolded while still warm to ensure they release smoothly; if they cool too much in the molds, the beeswax will harden and make extraction difficult, potentially damaging the delicate crust.
Common mistakes
Common mistakes include rushing the resting phase, which results in a texture that is too airy and lacking in the characteristic custard-like density. Another error is failing to coat the molds adequately with beeswax, which causes the pastries to stick.
Finally, removing the pastries from the oven before they are dark enough will result in a soft, pale crust that lacks the signature satisfying crunch.
How to tell it’s done
The Canelés are done when the exterior has turned a deep, dark mahogany color, almost black, and the shell feels very hard and brittle to the touch. The internal temperature must reach 160°F (71°C) to ensure the custard is set properly. The pastries should release cleanly from the molds when inverted, showing a smooth, caramelized pattern on the exterior without any sticking.
- Egg dishes: 160°F (71°C) in the thickest part
Up next · Part 3 of 3
2 variations · storage & make-ahead · 3 answers · printable card
Tips, FAQ & printable recipe (Part 3)← Back to the ingredients (Part 1)