Desserts · Part 1 of 3: Ingredients
Classic French Canelés with a Crispy Caramelized Shell
- Prep
- Cook
- Total
- Serves
- 12
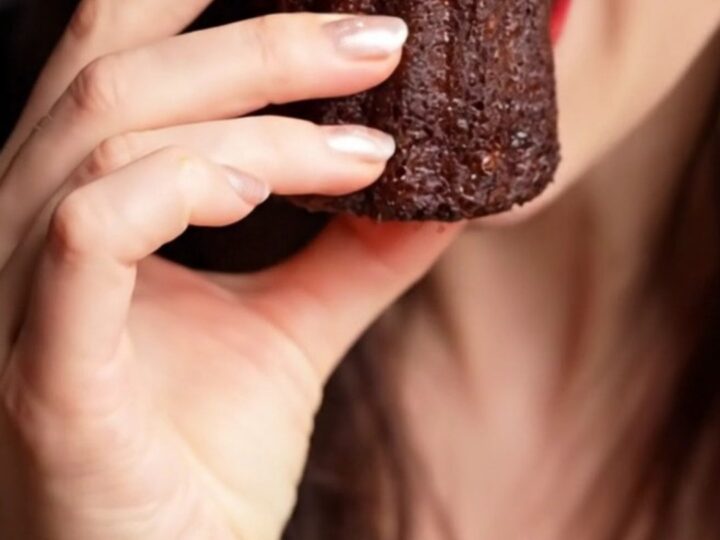
Discover the secret to the most iconic French pastry: the Canelé de Bordeaux. With its signature deep mahogany, caramelized crust and a hidden, silky vanilla custard center, this dessert is a masterpiece of texture and flavor.
Learn how to achieve that perfect crunch and soft interior with this authentic, detailed method that requires patience and precision for a professional-grade result in your own kitchen.
The Canelé is a classic French pastry originating from Bordeaux, famous for its complex preparation and incredible sensory experience. Achieving the perfect balance between the brittle, dark, caramelized shell and the tender, aromatic custard inside is a rewarding challenge for any baker.
This recipe guides you through the traditional technique, emphasizing the importance of resting the batter and using authentic copper molds to create the iconic texture that defines a true Canelé. Follow these steps to bring a touch of French patisserie sophistication into your home, ensuring a delightful treat that impresses with every bite.
Ingredients
Batter Ingredients
- 500 ml milk
- 50 g butter
- 250 g sugar
- 100 g flour
- 2 whole eggs
- 2 yolks
- 1 pod vanilla pod
- 50 ml dark rum
Molding
- 1 tbsp beeswax, melted for coating
Why this recipe works
The technique relies on the slow hydration of the batter during the twenty-four-hour resting period in the refrigerator. This rest is essential for the proteins in the flour to stabilize, which prevents the pastries from rising excessively and ensures the custard remains dense and creamy rather than becoming overly airy or cake-like during the high-heat baking process.
Baking at a high temperature initially is vital to trigger the rapid caramelization of the sugars on the outer surface of the batter.
This creates the signature brittle, mahogany-colored crust that acts as a protective vessel for the delicate, rum-infused custard inside. The subsequent drop in temperature allows the center to cook through gently, ensuring a perfect texture throughout.
Notes and substitutions
The choice of equipment is paramount for success; copper molds are the gold standard for Canelés because they conduct heat exceptionally well, ensuring the even, deep caramelization required for the exterior.
If copper is unavailable, heavy-duty steel molds are the next best option, though they may require slight adjustments to baking times to achieve the same level of crispness.
Regarding ingredients, using high-quality vanilla beans or premium pure vanilla extract is non-negotiable, as the flavor is the centerpiece of the custard. Additionally, the dark rum provides a necessary depth that balances the sweetness of the sugar and the richness of the milk and eggs, creating the complex flavor profile that makes these pastries so unique and memorable.
- dark rum: Use dark rum for the classic flavor, but a high-quality brandy can be substituted if necessary to maintain the aromatic profile.
- beeswax: While beeswax is essential for the traditional texture and release, a food-grade silicone spray or a mixture of beeswax and butter may be used as a modern alternative.
Equipment
- whisk
- mixing bowl
- copper canele molds
- saucepan
- fine mesh sieve
- refrigerator
Up next · Part 2 of 3
6 steps · 1 h of cooking · what to look for at each stage
Step-by-step instructions (Part 2)