Dinner · Part 3 of 3: Tips & recipe card
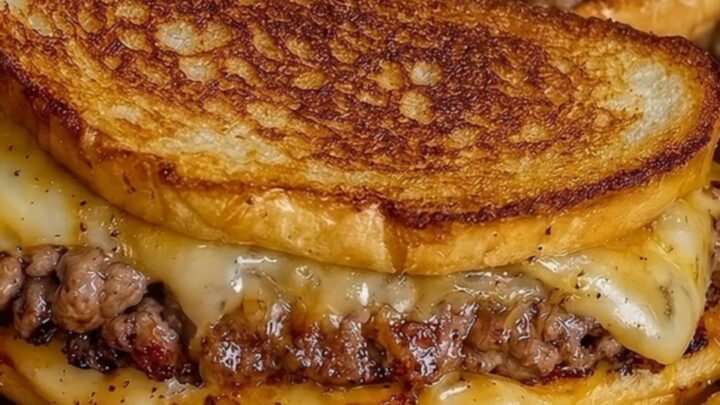
Classic Crispy Cheesy Patty Melt Tips, FAQ & printable recipe
- Prep
- Cook
- Total
- Serves
- 2
Tips for success
For an extra level of flavor, consider brushing the bread with a small amount of garlic-infused butter or adding a pinch of dried herbs like thyme to the butter before spreading. This subtle addition elevates the aroma of the sandwich as it toasts in the pan, creating a more complex flavor profile that pairs beautifully with the savory beef and melted cheese.
If you prefer a more uniform melt, place a lid over the skillet during the final minute of toasting. This traps the heat inside the pan, creating a gentle steam environment that encourages the cheese to melt faster without further browning the bread.
This technique is particularly useful if you are using thick slices of cheese that require a little extra time to reach that perfect, stringy consistency.
Variations
- Caramelized Onion Melt: Add thin slices of yellow onion to the skillet while searing the beef. Cook until soft and golden brown, then layer them over the patty before adding the cheese and toasting.
- Spicy Patty Melt: Incorporate a teaspoon of hot sauce into the ground beef before shaping the patties. You can also add a slice of pepper jack cheese instead of cheddar for an extra kick.
Storage and make-ahead
- Fridge
- Store in an airtight container for up to 2 days.
- Reheat
- Reheat in a skillet over low heat until the bread is crisp and the cheese is warm.
Store any leftovers in an airtight container to maintain freshness. While the patty melt is best enjoyed immediately for the ideal crisp texture, it can be kept in the refrigerator for up to two days.
Note that the bread will lose its signature crunch over time, so proper storage is essential to prevent it from becoming overly soft or dry before you are ready to reheat it for another meal.
You can shape the beef patties ahead of time and store them in the refrigerator, covered with plastic wrap, for up to 24 hours. However, for the best results, assemble and toast the sandwich just before serving.
This ensures the bread stays crisp and the cheese maintains its gooey texture, as these elements degrade quickly once the sandwich is fully cooked and stored for an extended period.
Serving ideas
Serve the patty melt immediately while it is hot and the cheese is at its peak meltiness. Slice the sandwich diagonally to showcase the layers of beef and cheese, which also makes it easier to handle and eat. A simple side of crispy fries or a crisp garden salad makes for a balanced and traditional diner-style meal that complements the savory nature of the sandwich perfectly.
Presentation is key for a satisfying dining experience. Place the sandwich on a clean white plate to let the golden-brown color of the bread stand out.
If desired, serve with a small bowl of pickles or a side of dipping sauce to add a bright, acidic contrast to the rich, cheesy beef. The goal is to highlight the contrast between the crunchy bread and the soft, molten interior.
Frequently asked questions
Can this be made on a griddle?
Why is the bread getting soggy?
How can the cheese be ensured to melt completely?
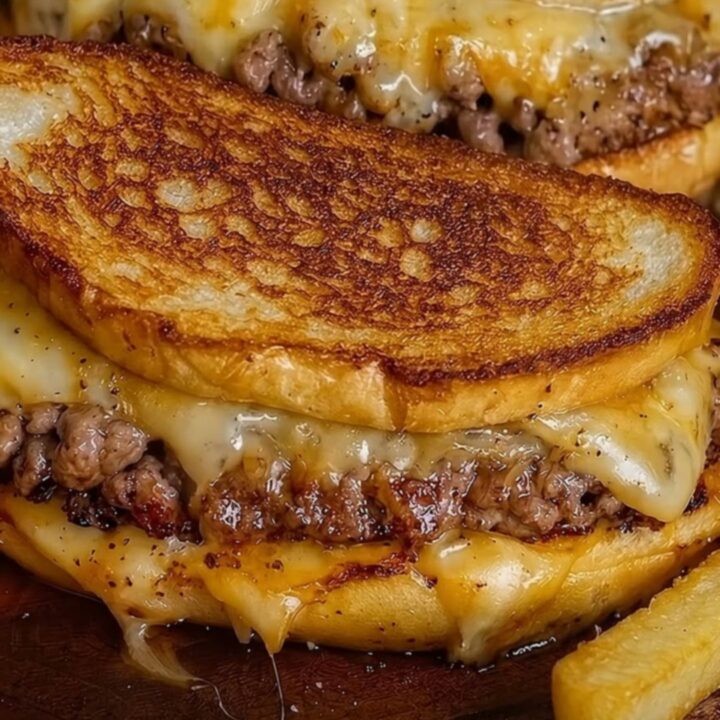
Classic Crispy Cheesy Patty Melt
Ingredients
- 1/2 lb ground beef
- 4 slices rye bread
- 4 slices cheddar cheese
- 2 tbsp unsalted butter, softened
Instructions
- Shape the ground beef into two thin, flat patties slightly larger than the bread slices. Season both sides with salt and pepper to taste before cooking.
- Heat a skillet over medium-high heat. Place the beef patties in the pan and sear until browned and cooked through, reaching an internal temperature of 160°F (71°C). Remove the patties from the pan and let them rest for 5 minutes.
- Butter one side of each slice of bread. Place two slices, butter-side down, in the skillet. Top with cheese, the cooked patty, more cheese, and the remaining bread, butter-side up. Toast until the bread is golden brown and the cheese is fully melted, flipping once carefully.
Estimated nutrition per serving
- Calories
- 650
- Protein
- 35 g
- Carbohydrates
- 32 g
- Fat
- 42 g
- Fiber
- 3 g
- Sugar
- 2 g
- Sodium
- 850 mg
Next recipe

Walking Taco Bake for an Easy Family Dinner
See the recipe → →This recipe is based on a short cooking video and is published under the pen name Clara Weller. It was checked before publication, but errors can slip through. Nutrition, when shown, is an estimate. Read more in our editorial policy and on our food safety page.
More recipes to try

Cheesy Potato and Pepperoni Roll
Total time: 45 min
Bacon Wrapped Cheesy Meatloaf: A Crispy, Melty Comfort Classic
Total time: 1 h 30 min
Creamy Cheesy Garlic Butter Beef and Rice Skillet
Total time: 40 min
Cheesy Pepperoni Potato Stromboli
Total time: 45 min
Loaded Potato Meatloaf Casserole for a Comforting Weeknight Dinner
Total time: 1 h 25 min