Dinner · Part 1 of 3: Ingredients
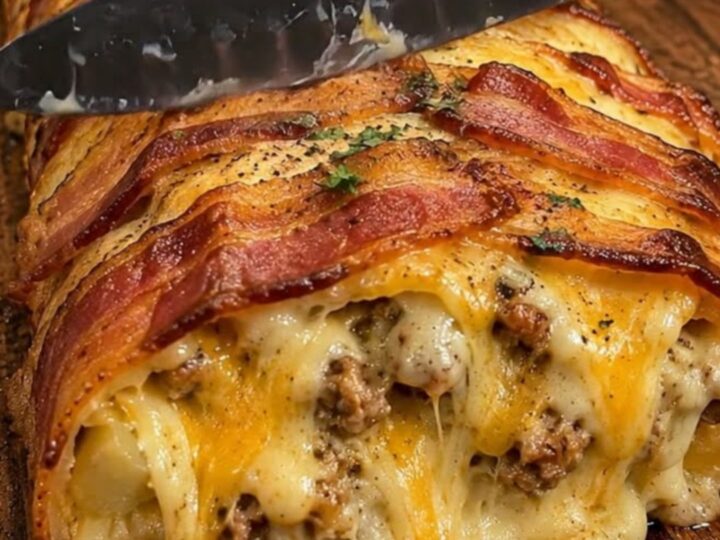
Bacon Wrapped Cheesy Meatloaf: A Crispy, Melty Comfort Classic
- Prep
- Cook
- Total
- Serves
- 6
Crispy bacon wrapping a juicy, tender meatloaf with a molten cheese center—this is comfort food at its most indulgent. The contrast of textures, from the salty crunch of the bacon to the creamy, gooey cheese that pulls with every slice, makes this a dinner that feels special without being fussy.
It's a one-pan wonder that comes together quickly and bakes into a stunning centerpiece for a family meal or a casual get-together.
This bacon wrapped cheesy meatloaf takes a classic homey dish and turns it into something irresistible. The meatloaf itself is seasoned simply with onion, garlic, and Worcestershire, then stuffed with a generous layer of cheddar cheese and wrapped in bacon slices.
As it bakes, the bacon crisps up into a salty, crunchy crust while the cheese melts into a luscious, pulling center. The result is a slice that's both hearty and elegant, perfect for a weeknight dinner or a Sunday supper. Serve it with mashed potatoes or a simple green salad for a complete meal.
Ingredients
- 2 lb ground beef
- 1 cup breadcrumbs
- 1/2 cup milk
- 2 large eggs
- 1/2 cup finely chopped onion
- 2 cloves minced garlic
- 1 tbsp Worcestershire sauce
- 1 tsp salt
- 1/2 tsp black pepper
- 2 cups shredded cheddar cheese
- 12 slices bacon
Why this recipe works
Wrapping the meatloaf in bacon serves two purposes: it insulates the meat as it bakes, keeping it moist and tender, and it creates a crispy, salty exterior that contrasts beautifully with the soft interior. The bacon also adds a smoky depth that permeates the meatloaf as the fat renders during cooking.
The cheese core is the surprise that makes every slice exciting. As the meatloaf bakes, the cheese melts and becomes gooey, creating a molten center that oozes out when you cut into it. The key is to enclose the cheese completely in the meat mixture so it doesn't leak out during baking, ensuring every bite has that creamy, cheesy pull.
Notes and substitutions
For the best texture, use ground beef with a moderate fat content, such as 80/20. Too lean, and the meatloaf can be dry; too fatty, and it may shrink excessively.
The breadcrumbs and milk act as a panade, keeping the meatloaf moist and tender. You can use plain or seasoned breadcrumbs—just adjust the salt accordingly if they're seasoned.
Cheddar is a classic choice for its sharp flavor and excellent melting properties, but you can experiment with other cheeses like pepper jack for heat, mozzarella for stretch, or a blend of your favorites.
The bacon should be thin-cut so it crisps up in the same time the meatloaf bakes. If using thick-cut bacon, you may need to partially cook it before wrapping.
- ground beef: ground turkey or a mixture of ground pork and beef can be used; adjust cooking time to ensure the internal temperature reaches 160°F (71°C).
- breadcrumbs: Use crushed saltine crackers or rolled oats for a different texture.
- cheddar cheese: Pepper jack, mozzarella, or provolone can be swapped in for a different melt and flavor.
- Worcestershire sauce: Soy sauce or steak sauce can replace Worcestershire for a similar savory boost.
Equipment
- large mixing bowl
- 9x5-inch loaf pan
- rimmed baking sheet
- aluminum foil
- spatula
- cutting board
- chef's knife
- meat thermometer
Up next · Part 2 of 3
6 steps · 1 h of cooking · what to look for at each stage
Step-by-step instructions (Part 2)