Appetizers · Part 1 of 3: Ingredients
Cinnamon Sugar Roasted Pumpkin Seeds
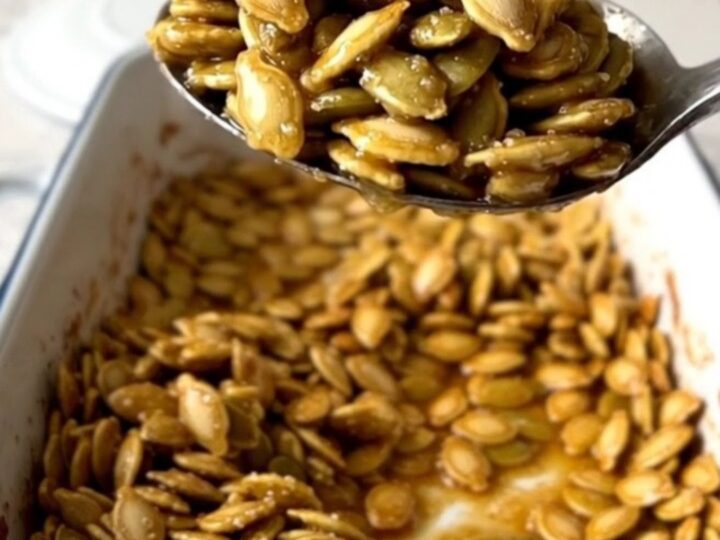
- Prep
- Cook
- Total
- Serves
- 4
Discover the simple joy of homemade roasted pumpkin seeds. With just a few ingredients and a quick trip to the oven, these seeds transform into a crunchy, sweet snack that beats anything from a store-bought bag. This method focuses on achieving the perfect golden crispness while balancing the warmth of cinnamon with the richness of butter. It is the ultimate way to utilize fresh pumpkin seeds or simply enjoy a satisfying treat whenever the craving strikes.
Roasted pumpkin seeds are a versatile snack that brings a satisfying crunch to any day. By roasting them at a steady, moderate temperature with a light coating of butter and cinnamon sugar, the natural nuttiness of the seeds is enhanced.
This recipe provides a straightforward approach to creating a golden, toasted snack that is both sweet and simple. Whether enjoyed as an afternoon treat or a quick snack while watching a movie, these seeds are consistently delicious and incredibly easy to master for any home cook.
Ingredients
- 2 cups raw pumpkin seeds
- 2 tbsp melted butter
- 2 tbsp cinnamon sugar
Why this recipe works
The key to this method is the low and slow roasting process. By using a large, shallow baker, the seeds are given ample space to dry out and toast evenly rather than steaming. This ensures that the moisture evaporates efficiently, leaving behind a crisp, firm texture that stays crunchy even after cooling. The butter acts as a vehicle for the cinnamon sugar, helping it adhere to the seeds while providing a rich, toasted flavor profile that complements the earthy nature of the pumpkin seeds.
Using a specific oven temperature of 325°F is crucial for preventing the sugar from scorching before the seeds are fully toasted. This moderate heat allows the cinnamon and sugar to melt into the butter and caramelize slightly on the surface of the seeds without turning bitter.
The result is a perfect balance of sweet, aromatic cinnamon and deep, toasted flavor. The brief resting period after cooking is also essential, as it allows the coating to set and crisp up, providing that desirable crunch in every single bite.
Notes and substitutions
When selecting raw pumpkin seeds, ensure they are clean and free of excessive pulp. If using seeds harvested from a fresh pumpkin, they must be thoroughly washed and dried completely before roasting.
Moisture is the enemy of a good crunch, so patting the seeds dry with paper towels is a vital step. If store-bought raw seeds are used, they are typically pre-cleaned, which saves considerable preparation time and ensures a consistent result every time this recipe is prepared for a quick snack.
The choice of equipment is simple but important. A large, enameled rectangular baker provides excellent heat distribution and a large surface area. If a similar dish is not available, a standard rimmed baking sheet can be used as a substitute, though it may require slightly shorter roasting times due to the thinner material.
The cinnamon sugar can be adjusted to personal preference, but the stated ratio provides a balanced sweetness that does not overwhelm the natural flavor of the pumpkin seeds during the roasting process.
- melted butter: melted coconut oil for a dairy-free alternative
- cinnamon sugar: a mixture of one tablespoon granulated sugar and one teaspoon ground cinnamon
Equipment
- large rectangular baker
- measuring cups
- small ramekin
- serving spoon
Up next · Part 2 of 3
3 steps · 25 min of cooking · what to look for at each stage
Step-by-step instructions (Part 2)