Dinner · Part 1 of 3: Ingredients
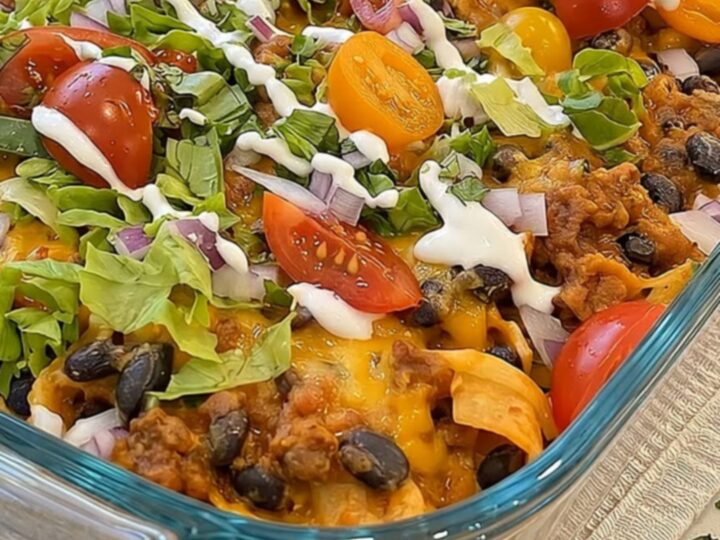
Cheesy Walking Taco Casserole with Crunchy Corn Chips
- Prep
- Cook
- Total
- Serves
- 6
Bring the fun of a classic fair food staple right to your family dinner table with this warm, comforting walking taco casserole. It combines seasoned ground beef, hearty black beans, and melted cheddar cheese, all baked to bubbly perfection over a base of crunchy corn chips. Finished with fresh, cool toppings, it delivers the ultimate contrast of textures and temperatures in every single bite.
Casseroles are the ultimate comfort food, but they can sometimes lack texture. This recipe solves that problem by using crunchy corn chips as a base, which hold up beautifully under a rich layer of seasoned ground beef and black beans. A generous blanket of shredded cheddar cheese binds everything together during baking, creating a gooey, satisfying pull when scooped.
Once out of the oven, cold toppings like crisp shredded lettuce, juicy diced tomatoes, and a smooth sour cream drizzle are added right before serving. This creates an incredibly satisfying contrast of hot, savory beef and cool, fresh toppings that will have everyone coming back for seconds.
Ingredients
- 1 lb ground beef
- 1 oz taco seasoning
- 15 oz canned black beans, drained
- 9 oz corn chips
- 2 cups shredded cheddar cheese
- 1/2 cup sour cream
- 1 cup shredded lettuce
- 1/2 cup diced tomatoes
Why this recipe works
The secret to this casserole lies in the layering technique, which preserves the structural integrity of the ingredients. Placing the corn chips at the bottom of the baking dish creates a sturdy, flavorful crust.
As the seasoned ground beef and black beans simmer and bake, their savory juices seep into the chips, softening them slightly while leaving the edges incredibly crisp. This ensures that every portion has both tender, flavorful bites and a satisfying crunch.
Baking the casserole with the cheese on top serves a dual purpose. It creates a bubbly, golden barrier that traps moisture within the beef and bean mixture, keeping the meat exceptionally juicy. At the same time, the melted cheddar forms a stretchy, gooey layer that holds the toppings in place. Adding the fresh toppings like lettuce and sour cream after baking prevents them from wilting, maintaining their vibrant colors and crisp textures.
Notes and substitutions
For the best results, select high-quality lean ground beef, such as a 90/10 or 93/7 blend, to prevent the casserole from becoming overly greasy. If using a higher-fat beef, be sure to drain the excess fat thoroughly after browning.
Standard taco seasoning packets work perfectly here, but look for low-sodium options if you prefer to control the salt levels. For the cheese, freshly shredded sharp cheddar melts much smoother than pre-packaged shredded cheese, which contains anti-caking agents.
The choice of corn chips is crucial for achieving the signature crunch of a walking taco. Standard-sized corn chips work best as they provide a dense, sturdy base that can support the heavy beef and cheese layers.
When it comes to toppings, ensure the lettuce is shredded finely and the tomatoes are seeded and diced small to keep the dish easy to scoop and eat. A clear glass baking dish is highly recommended so you can see the beautiful layers.
- ground beef: ground turkey or lean ground chicken for a lighter protein option
- black beans: pinto beans or chili beans, drained, depending on preference
Equipment
- skillet
- spatula
- 9x13-inch glass baking dish
- measuring cups
- measuring spoons
- chef's knife
Up next · Part 2 of 3
5 steps · 20 min of cooking · what to look for at each stage
Step-by-step instructions (Part 2)