Dinner · Part 3 of 3: Tips & recipe card
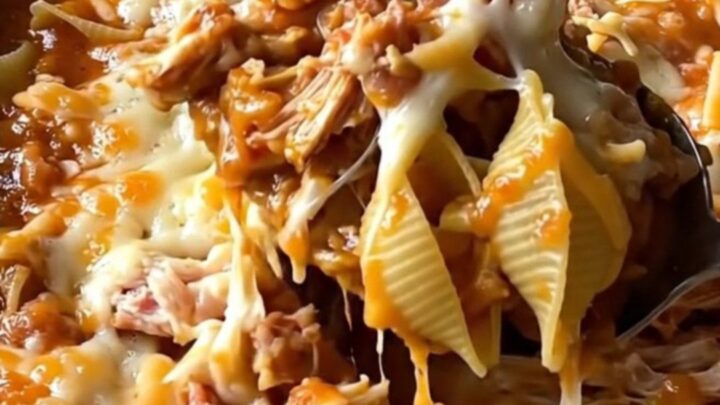
Cheesy Turkey Taco Shells Bake Tips, FAQ & printable recipe
- Prep
- Cook
- Total
- Serves
- 6
Tips for success
For an extra layer of flavor, consider adding a squeeze of fresh lime juice over the finished dish just before serving. The acidity of the lime brightens the rich, savory flavors of the turkey and melted cheese, providing a fresh contrast that elevates the entire meal. You can also sprinkle fresh cilantro over the top if you enjoy a herbal note, though it is entirely optional.
If you find that the edges of the pasta are drying out during the bake, try covering the baking dish more securely with aluminum foil. This traps more steam inside, which is particularly helpful if your oven tends to run hot.
If you prefer a slightly saucier dish, simply increase the amount of broth by a quarter cup, ensuring the pasta remains well-hydrated throughout the entire cooking time.
Variations
- Vegetarian Taco Bake: Replace the ground turkey with two cans of drained black beans and a cup of frozen corn. These ingredients provide a satisfying texture and flavor without the need for meat, making for a hearty vegetarian alternative.
- Spicy Pepper Bake: Incorporate diced jalapeños or a tablespoon of chopped chipotle peppers into the salsa mixture before pouring it over the pasta. This adds a significant heat level for those who enjoy a spicy kick in their taco-style dishes.
Storage and make-ahead
- Fridge
- Store in an airtight container for up to 3 days.
- Freezer
- Freeze in a freezer-safe container for up to 2 months.
- Reheat
- Reheat in the oven at 350°F until warmed through, or microwave individual portions until hot.
Allow any leftovers to cool to room temperature for no more than two hours before transferring them to an airtight container. Properly sealed, the bake will remain fresh and tasty in the refrigerator for up to three days.
When storing, try to keep the dish covered tightly to prevent the pasta from drying out or absorbing other odors from the refrigerator, ensuring it stays as moist as possible for your next meal.
You can assemble the base of the dish, including the pasta and turkey, a few hours before you plan to bake it, but add the liquids and cheese only when you are ready to cook.
If you add the liquid too far in advance, the dry pasta may absorb it and become mushy before it even enters the oven. Keep the assembled base covered in the refrigerator until you are ready to pour in the sauce and bake.
Serving ideas
This dish is best served immediately while the cheese is still warm and stretchy. Use a large serving spoon to scoop portions directly from the baking dish, ensuring everyone gets a good mix of the tender pasta, seasoned turkey, and melted cheese.
It is a hearty meal on its own, but it pairs beautifully with a simple side salad or some fresh vegetable sticks to add a bit of crunch to the dinner plate.
For those who enjoy extra toppings, you can offer a variety of condiments on the table such as sour cream, diced jalapeños, or additional salsa. Allowing everyone to customize their own portion adds a fun, interactive element to the meal. Ensure the dish is placed on a heat-safe surface when serving, as the ceramic baking dish will remain hot for quite some time after coming out of the oven.
Frequently asked questions
Can this be made ahead of time?
Why is the pasta still hard after baking?
Can ground beef be used instead of turkey?
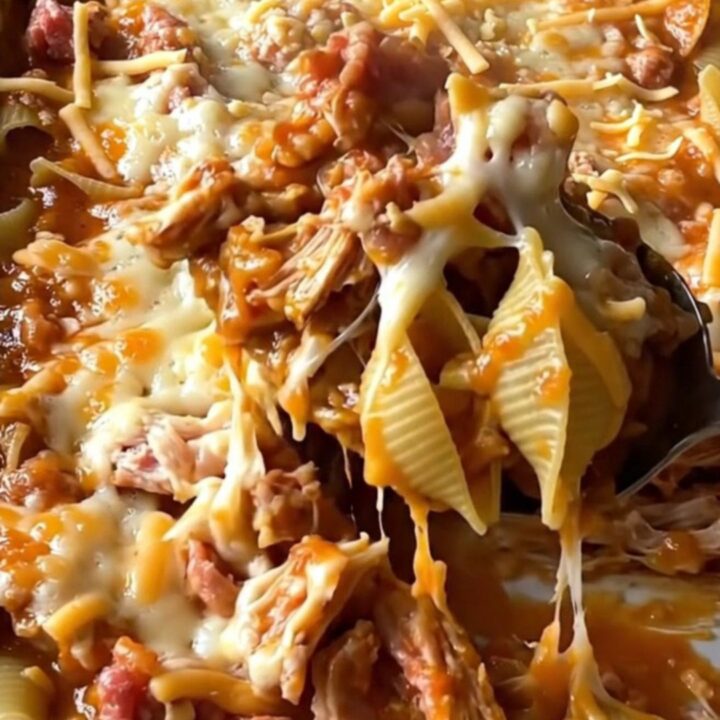
Cheesy Turkey Taco Shells Bake
Ingredients
- 1 lb dry pasta shells
- 1 lb ground turkey
- 2 cups taco-spiced salsa
- 1 cup chicken broth
- 2 cups Mexican-blend cheese
Instructions
- Preheat the oven to 375°F (190°C). In a large rectangular ceramic baking dish, spread the dry pasta shells evenly. Add the raw ground turkey, ensuring it is crumbled into small, bite-sized pieces throughout the dish to allow for even cooking.
- Pour the taco-spiced salsa and chicken broth over the shells and turkey using a glass pitcher. Ensure the liquid covers the pasta almost entirely so it softens during baking. Cover the dish with foil and bake for 30 minutes, or until the liquid is mostly absorbed.
- Remove the foil and scatter the Mexican-blend cheese thickly over the surface. Return the dish to the oven for an additional 5 minutes until the cheese is melted and bubbling. Ensure the turkey reaches an internal temperature of 165°F (74°C) to be fully cooked.
Estimated nutrition per serving
- Calories
- 480
- Protein
- 28 g
- Carbohydrates
- 52 g
- Fat
- 18 g
- Fiber
- 4 g
- Sugar
- 6 g
- Sodium
- 850 mg
Next recipe
Slow Cooker Pimento Cheese Pork Chops
See the recipe → →This recipe is based on a short cooking video and is published under the pen name Clara Weller. It was checked before publication, but errors can slip through. Nutrition, when shown, is an estimate. Read more in our editorial policy and on our food safety page.
More recipes to try
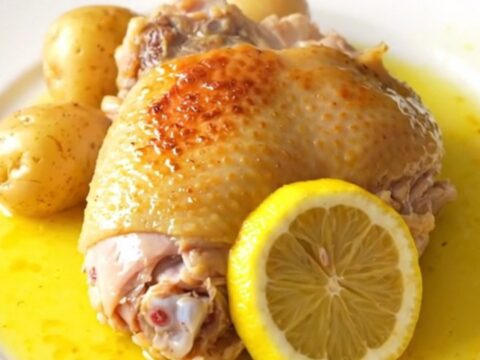
Crockpot Greek Lemon Turkey Thighs for Easy Weeknight Dinners
Total time: 5 h 15 min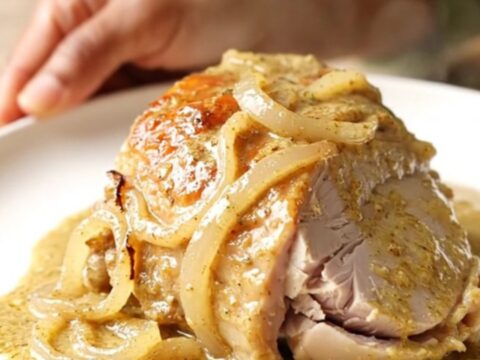
Crockpot Creamy Dijon Turkey Tenderloin
Total time: 4 h 15 min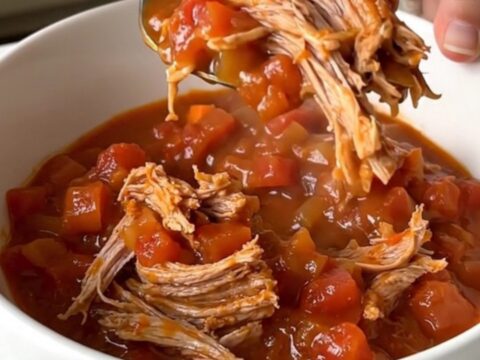
Easy Slow Cooker Pork Shoulder Ragout
Total time: 8 h 15 min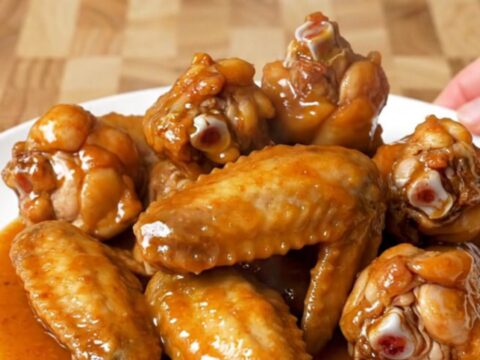
Easy Crockpot Chili Lime Chicken Wings
Total time: 4 h 15 min
Creamy Crockpot Reuben Soup for a Comforting Dinner
Total time: 4 h 13 min