Dinner · Part 1 of 3: Ingredients
Cheesy Korean Rabokki: Spicy Ramen and Rice Cakes
- Prep
- Cook
- Total
- Serves
- 2
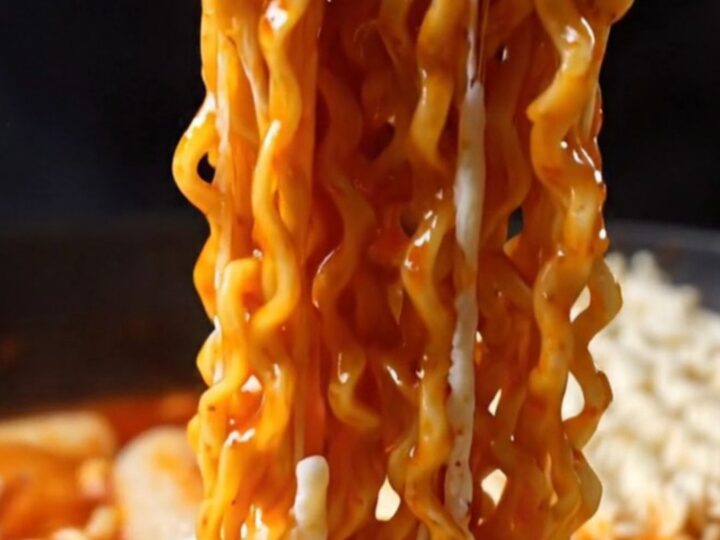
Cheesy Korean rabokki is the ultimate midnight comfort food: chewy rice cakes and curly instant ramen simmered in a fiery gochujang broth, then blanketed with melted mozzarella and topped with a boiled egg. This one-skillet dinner comes together in about 15 minutes, and the combination of spicy, savory, and creamy flavors is absolutely addictive.
This rabokki recipe captures the essence of Korean street food at home. The broth is built from anchovy-kelp stock, gochujang, and a touch of sugar, creating a glossy, sweet-spicy sauce that clings to every noodle and rice cake.
The fish cakes add a savory depth, while the mozzarella melts into a stretchy, golden layer. It's a simple, fast, and deeply satisfying meal that's perfect for a weeknight dinner or a late-night snack.
Ingredients
- 1 2/3 cups anchovy-kelp stock
- 2 1/2 tbsp gochujang
- 1 tbsp sugar
- 7 oz Korean rice cakes
- 2 oz fish cakes, sliced
- 1 brick Korean instant ramen noodles
- 1 large egg, boiled and halved
- 1/2 cup shredded mozzarella cheese
Why this recipe works
The magic of rabokki lies in its texture contrast. Chewy rice cakes and bouncy instant ramen noodles absorb the spicy broth while retaining their satisfying bite.
The gochujang, a fermented Korean chili paste, provides a complex heat that is both fiery and slightly sweet, balanced by the sugar and the savory anchovy-kelp stock. This combination creates a sauce that clings to every surface, making each bite intensely flavorful.
Cooking everything in one skillet allows the flavors to meld and the sauce to reduce naturally, coating the ingredients without becoming sticky or dry. The mozzarella is added at the very end, melting into a creamy blanket that tempers the spice and adds a rich, milky finish. The boiled egg, a classic rabokki topping, contributes a creamy texture that rounds out the dish.
Notes and substitutions
The type of instant ramen matters: use a Korean brand with thick, curly noodles for the best texture. The seasoning packet is not used in this recipe, so save it for another use.
Gochujang is a thick, red chili paste found in Asian markets or online; it has a deep, fermented flavor that is essential. The fish cakes are optional but add a traditional savory note—look for flat, sheet-style fish cakes in the frozen section of a Korean grocery.
Anchovy-kelp stock is the traditional base, but you can substitute with water plus a dash of fish sauce or a piece of dried kelp. If you prefer a milder heat, reduce the gochujang to 2 tablespoons.
The rice cakes are sold in shelf-stable packages or frozen; if using frozen, thaw them before adding to the skillet. For a vegetarian version, omit the fish cakes and use vegetable stock.
- anchovy-kelp stock: Use 1 2/3 cups water plus 1 tsp fish sauce or a dash of anchovy powder for a similar savory depth.
- Korean rice cakes: Substitute with sliced mochi or extra ramen noodles, though the texture will differ.
- fish cakes: Omit for a vegetarian version, or use sliced firm tofu for extra protein.
- gochujang: Mix 2 tbsp red miso with 1 tsp gochugaru (Korean red pepper flakes) and a pinch of sugar.
Equipment
- Large skillet or wok
- Wooden spoon or spatula
- Measuring cups and spoons
- Small bowl for egg
- Chef's knife
- Cutting board
Up next · Part 2 of 3
6 steps · 10 min of cooking · what to look for at each stage
Step-by-step instructions (Part 2)