Dinner · Part 1 of 3: Ingredients
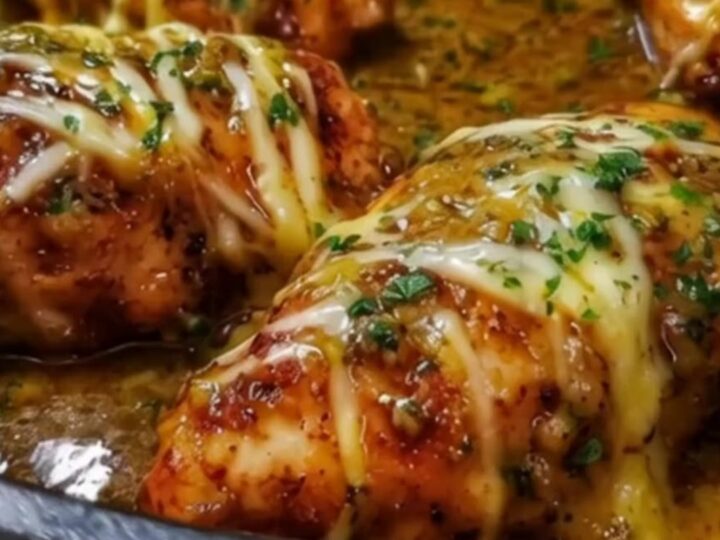
Cheesy Honey Mustard Chicken Skillet
- Prep
- Cook
- Total
- Serves
- 4
Sizzling seasoned chicken breasts are seared to golden perfection, brushed with a sweet and tangy honey mustard glaze, and smothered under a thick blanket of melted cheese. This easy skillet dinner brings restaurant-quality flavors directly to your kitchen table in under thirty minutes. It is the ultimate crowd-pleasing meal that turns simple everyday ingredients into something truly spectacular.
Finding a quick weeknight dinner that satisfies everyone can be a challenge, but this cheesy honey mustard chicken delivers on all fronts. By searing the seasoned chicken first, you lock in all the natural juices before adding the rich glaze.
The combination of sweet honey and sharp mustard creates a deeply flavorful sauce that thickens beautifully in a hot cast-iron skillet. Topped with bubbly, stretchy cheese, each bite offers a perfect balance of savory, sweet, and cheesy goodness. It is a foolproof recipe destined to become a regular in your dinner rotation.
Ingredients
- 4 boneless, skinless chicken breasts
- 1 tbsp chicken seasoning
Glaze
- 1/3 cup honey
- 1/4 cup mustard
- 1 cup shredded cheese
Garnish
- 1 tbsp chopped fresh parsley
Why this recipe works
Searing the seasoned chicken breasts at a high temperature in a cast-iron skillet creates a beautiful golden crust. This process, known as the Maillard reaction, not only develops deep savory flavors on the surface of the meat but also helps to seal in the moisture.
By locking in these juices early in the cooking process, the chicken remains incredibly tender and succulent, preventing the common pitfall of dry, overcooked poultry. The cast-iron skillet distributes heat evenly, ensuring consistent searing across every piece.
Applying the honey mustard glaze directly to the seared chicken and letting it simmer in the pan allows the sugars in the honey to caramelize slightly. This caramelization deepens the flavor profile of the sauce, transforming a simple glaze into a rich, glossy pan sauce that clings perfectly to the meat.
As the cheese melts over the top, it traps the moisture and glaze underneath, basting the chicken as it finishes cooking and ensuring a flavor-packed result in every single bite.
Notes and substitutions
For the best results, select boneless, skinless chicken breasts that are uniform in thickness so they cook evenly. If some pieces are much thicker than others, gently pound them to an even thickness before seasoning.
A high-quality mustard provides a sharp, refined heat that balances the sweetness of the honey. Using a good chicken seasoning blend ensures a robust base of savory flavor that complements the sweet and tangy glaze perfectly.
A well-seasoned cast-iron skillet is the ideal cookware for this recipe because of its superior heat retention and ability to create a deep sear. If you do not own cast-iron, a heavy-bottomed stainless steel or nonstick skillet can be used instead. For the cheese, any good melting cheese like mozzarella, Monterey Jack, or provolone works beautifully to provide that classic stretchy pull and rich, gooey topping.
- shredded cheese: mozzarella, Monterey Jack, provolone, or mild cheddar cheese
- mustard: Dijon mustard, whole grain mustard, or yellow mustard
Equipment
- cast-iron skillet
- small mixing bowls
- whisk
- pastry brush
- instant-read digital food thermometer
Up next · Part 2 of 3
6 steps · 15 min of cooking · what to look for at each stage
Step-by-step instructions (Part 2)