Dinner · Part 1 of 3: Ingredients
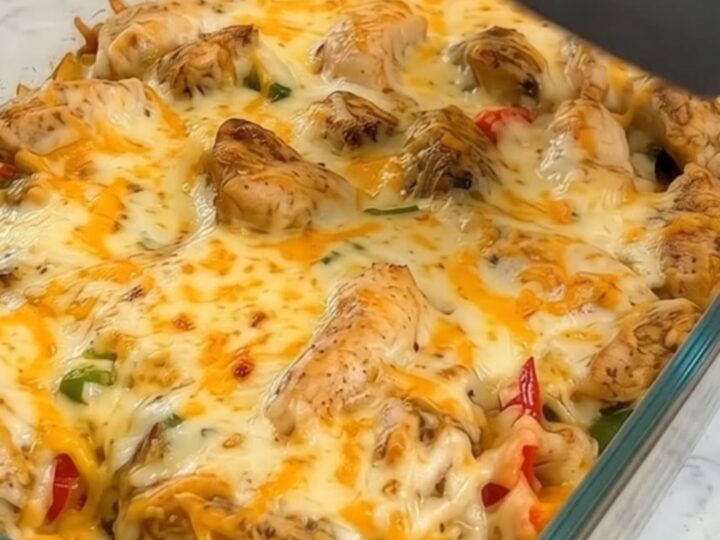
Cheesy Chicken Fajita Rice Casserole
- Prep
- Cook
- Total
- Serves
- 6
Craving the bold, smoky flavors of sizzling fajitas combined with the comforting warmth of a baked casserole? This cheesy chicken fajita rice casserole delivers the ultimate weeknight dinner solution. It brings together tender, spiced chicken breasts, sweet bell peppers, and fluffy rice, all smothered in a blanket of bubbling, golden-brown melted cheese that creates an irresistible pull with every single scoop.
Weeknight dinners need to be both simple and satisfying, which is why casserole recipes are a staple in busy households. This particular dish reimagines a classic restaurant favorite into an easy, assembly meal that the entire family will love.
By combining pre-cooked rice with fresh, vibrant bell peppers and perfectly seasoned chicken, you get a complete meal in a single baking dish. The magic happens in the oven, where the juices from the chicken and peppers meld with the rice, ensuring every bite is packed with authentic fajita flavor. It is a hearty, crowd-pleasing option that requires minimal cleanup.
Ingredients
- 1 1/2 lb boneless skinless chicken breasts, sliced into thin strips
- 2 tbsp fajita seasoning
- 3 bell peppers (red, green, yellow), sliced into thin strips
- 3 cups cooked white rice
- 2 cups shredded Mexican cheese blend
Why this recipe works
Searing the chicken and peppers in a hot skillet before baking is the secret to unlocking deep, caramelized flavors. Sautéing the bell peppers over high heat mimics the classic sizzling texture of restaurant fajitas, ensuring they do not turn mushy during the baking process.
Additionally, cooking the chicken strips quickly in spices seals in the natural juices, keeping the meat tender and preventing it from drying out when subjected to the dry heat of the oven.
Using pre-cooked rice as the base of the casserole is a highly effective technique because it absorbs the excess moisture released by the peppers. If raw rice were used, the cooking time would increase significantly, and the vegetables would overcook. Pre-cooked rice acts like a sponge, soaking up the savory juices and spices while maintaining its distinct texture, resulting in a perfectly moist casserole that is never soggy or dry.
Notes and substitutions
For the best flavor and texture, select high-quality, boneless, skinless chicken breasts and slice them into uniform strips so they cook evenly. A vibrant mix of red, yellow, and green bell peppers not only adds visual appeal but also provides a balance of sweet and tangy notes.
When it comes to the cheese, a pre-shredded Mexican blend containing Monterey Jack, Cheddar, and Queso Quesadilla melts beautifully, but grating your own cheese from a block will yield an even smoother melt.
This recipe is highly adaptable to what you have on hand in your pantry. If cooked white rice is unavailable, brown rice, quinoa, or even cauliflower rice can be substituted as the base.
To adjust the spice level, choose a mild or hot fajita seasoning blend, or add a pinch of cayenne pepper to the skillet. Ensure you use a sturdy 9x13-inch glass or ceramic baking dish to guarantee even heat distribution throughout the baking process.
- cooked white rice: cooked brown rice, quinoa, or cauliflower rice
- shredded Mexican cheese blend: shredded Monterey Jack or cheddar cheese
Equipment
- 9x13-inch glass baking dish
- Large non-stick skillet
- Spatula
- Cutting board
- Chef's knife
- Measuring cups
- Measuring spoons
Up next · Part 2 of 3
4 steps · 30 min of cooking · what to look for at each stage
Step-by-step instructions (Part 2)