Appetizers · Part 3 of 3: Tips & recipe card
Cheesy Beef Bacon Bread Rolls Tips, FAQ & printable recipe

- Prep
- Cook
- Total
- Serves
- 8
Tips for success
To achieve an extra-glossy finish on your bread rolls, brush the tops with a small amount of olive oil or a beaten egg wash just before placing them in the oven. This simple step enhances the browning process and gives the finished rolls a professional, bakery-style appearance that looks beautiful when presented on a serving platter.
If you find that the cheese is browning too quickly before the dough is fully cooked, you can loosely tent the baking sheet with aluminum foil for the final 5 minutes of baking.
This allows the dough to finish cooking through without the risk of burning the top or overcooking the cheese, ensuring a perfect balance between the crust and the filling.
Variations
- Herbed Cheese Rolls: Add a teaspoon of dried oregano or Italian seasoning to the mozzarella cheese before filling the rolls for an aromatic, herb-forward flavor profile that complements the savory beef bacon.
- Spicy Bacon Rolls: Incorporate a pinch of crushed red pepper flakes or a small amount of diced jalapeño into the filling to provide a subtle, spicy kick that balances the richness of the melted cheese.
Storage and make-ahead
- Fridge
- Keep leftovers in an airtight container in the refrigerator for up to 3 days.
- Freezer
- Store in a freezer-safe bag for up to 1 month. Thaw in the refrigerator before reheating.
- Reheat
- Reheat in a 350°F (175°C) oven for 8 to 10 minutes until warmed through and the crust is crisp.
Store any leftover rolls in an airtight container to keep them from drying out. They are best when consumed within two days of baking.
If you need to store them longer, they can be kept in the refrigerator, but they will lose some of their initial crusty texture, so reheating is essential to restore the quality of the bread and the melted state of the cheese.
You can prepare the dough and fill the rolls up to 4 hours in advance if you keep them covered and refrigerated on the baking sheet.
However, allow them to come to room temperature for about 20 minutes before baking to ensure they rise properly in the oven. If you assemble them too far in advance, the moisture from the cheese and bacon may cause the dough to become soggy.
Serving ideas
These rolls are best served warm, shortly after they come out of the oven. The contrast between the crispy, golden crust and the gooey, melted mozzarella is at its peak when the rolls are still steaming. Arrange them on a platter as an appetizer or serve them alongside a fresh salad for a quick and satisfying meal that everyone will enjoy.
Consider serving these rolls with a side of warm marinara sauce or a simple garlic butter dip to add another layer of flavor.
The acidity of a tomato-based sauce cuts through the richness of the cheese and the savory notes of the beef bacon perfectly, making for a well-rounded and delicious experience that is sure to impress your guests at any gathering.
Frequently asked questions
Can these be made using a different type of cheese?
Why did the cheese leak out during baking?
Is it possible to bake these in an air fryer?
Cheesy Beef Bacon Bread Rolls

Ingredients
- 1 lb pizza dough, store-bought or made ahead
- 8 oz mozzarella cheese, cubed or shredded
- 1/2 lb beef bacon, cooked and crumbled
Instructions
- Divide the pizza dough into eight equal portions. Roll each piece into a small, flat circle on a lightly floured surface to prepare for the filling.
- Place a generous amount of mozzarella cheese and crumbled beef bacon into the center of each dough circle. Fold the edges of the dough over the filling and pinch them tightly to seal, ensuring no cheese leaks out during baking.
- Arrange the stuffed rolls on a parchment-lined baking sheet. Preheat the oven to 375°F (190°C) and bake for 20 minutes until the crust is golden brown and the cheese is bubbling inside. Let the rolls rest for 5 minutes before serving.
Estimated nutrition per serving
- Calories
- 280
- Protein
- 12.5 g
- Carbohydrates
- 28 g
- Fat
- 13 g
- Fiber
- 1.5 g
- Sugar
- 1 g
- Sodium
- 450 mg
Next recipe
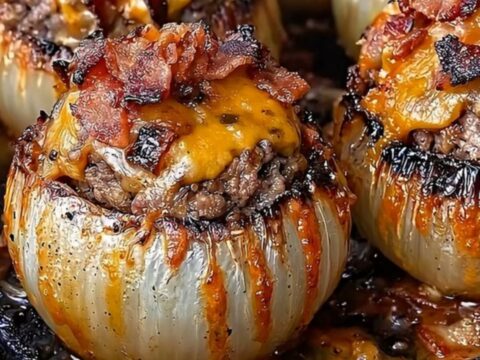
Crispy Bacon Cheddar Stuffed Onion Bombs
See the recipe → →This recipe is based on a short cooking video and is published under the pen name Clara Weller. It was checked before publication, but errors can slip through. Nutrition, when shown, is an estimate. Read more in our editorial policy and on our food safety page.
More recipes to try

Crispy Golden Ham and Cheese Pockets
Total time: 24 min
Garlic Parmesan Cheeseburger Bombs for a Quick Savory Treat
Total time: 40 min
Cheesy Baked Ham and Cheese Rolls for an Easy Snack
Total time: 30 min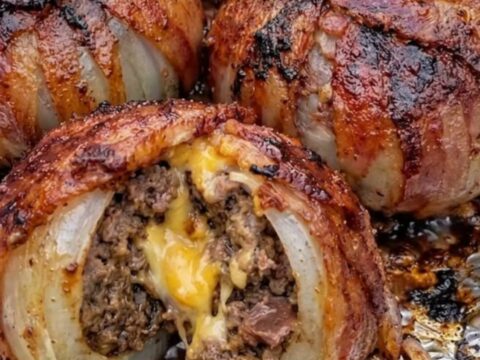
Cheesy Bacon-Wrapped BBQ Onion Bombs for a Crispy Appetizer
Total time: 1 h
Buttery Roasted Beef Bone Marrow with Garlic Bread
Total time: 35 min