Dinner · Part 3 of 3: Tips & recipe card
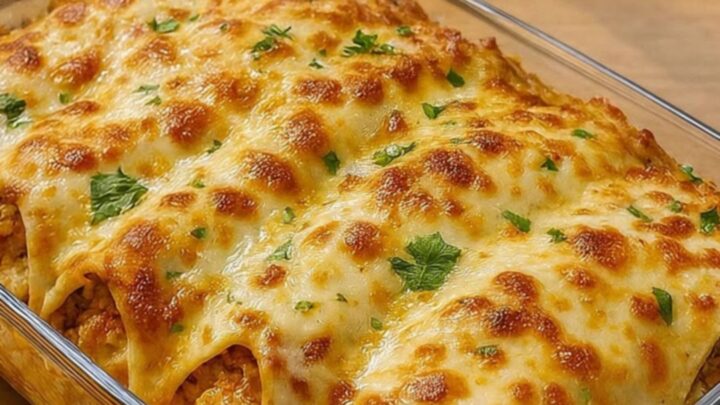
Cheesy Baked Chicken Tacos for an Easy Dinner Tips, FAQ & printable recipe
- Prep
- Cook
- Total
- Serves
- 4
Tips for success
To add extra flavor to your chicken, consider tossing it with a small amount of your favorite taco seasoning or a splash of lime juice before adding it to the shells. This simple step can elevate the overall taste of the dish.
Additionally, if you prefer a spicier taco, you can incorporate finely diced jalapeños or a sprinkle of chili powder directly into the chicken mixture before baking. Adjust the seasoning levels according to your personal preferences, keeping in mind that the cheese will mellow out some of the heat.
For those who enjoy a variety of textures, you can add a thin layer of refried beans to the bottom of each taco shell before adding the chicken. This provides an additional layer of flavor and helps stabilize the chicken filling.
Ensure that any additional ingredients are not overly wet, as moisture is the enemy of a crisp taco shell. Experimenting with different types of cheese, such as a pepper jack for a bit of a kick, can also provide interesting variations to this classic baked taco recipe.
Variations
- Spicy Chicken Tacos: Incorporate diced jalapeños and a dash of hot sauce into the shredded chicken mixture before baking to add a bold, spicy kick to your tacos.
- Vegetarian Refried Bean Tacos: Substitute the shredded chicken with seasoned refried beans to create a vegetarian version of these baked tacos. Follow the same assembly and baking instructions.
Storage and make-ahead
- Fridge
- Store leftovers in an airtight container for up to 2 days.
- Reheat
- Reheat in a preheated oven at 350°F (175°C) for 5-10 minutes until heated through. Avoid using a microwave, as it will make the shells soggy.
If you have leftovers, allow them to cool for no more than 2 hours before transferring them to an airtight container. Place the container in the refrigerator to maintain food safety and quality. While these tacos are best enjoyed fresh, they can be kept in the refrigerator for up to 2 days. Be aware that the shells will lose their crispness over time, so plan to consume them as soon as possible for the best experience.
You can prepare the chicken mixture in advance and store it in the refrigerator until you are ready to assemble the tacos. However, it is highly recommended that you assemble and bake the tacos immediately before serving.
Assembling them too far in advance can cause the shells to absorb moisture from the chicken, resulting in a less desirable texture. By keeping the components separate until the final step, you ensure that the tacos remain crispy and delicious when they come out of the oven.
Serving ideas
These baked chicken tacos are best served immediately upon removal from the oven while the cheese is still molten and the shells are at their crispest. Place the entire baking dish on a heat-safe trivet at the center of the table, allowing guests to serve themselves.
The presentation of the bubbling cheese and fresh herbs makes for an impressive main course that requires minimal effort to plate. You can offer additional toppings on the side, such as sour cream, salsa, or guacamole, to allow for individual customization.
Because these tacos are substantial, they pair well with simple sides like a crisp garden salad, seasoned black beans, or Mexican-style rice. The goal is to provide complementary flavors and textures that do not overpower the main dish. Serving them warm is essential for the best flavor profile, so avoid letting them sit out for too long. If you are serving a group, ensure you have enough tacos for everyone, as they tend to be quite popular and disappear quickly from the baking dish.
Frequently asked questions
Can these tacos be made ahead of time?
What causes taco shells to become soggy?
What is the best cheese to use for melting?
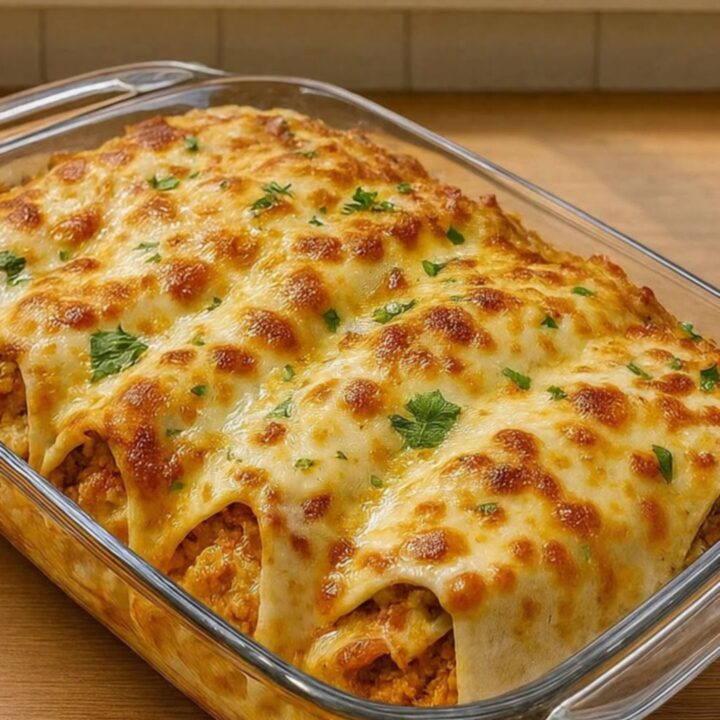
Cheesy Baked Chicken Tacos for an Easy Dinner
Ingredients
- 2 cups cooked shredded chicken
- 8 hard taco shells
- 2 cups shredded cheddar cheese
- fresh cilantro for serving
Instructions
- Place the shredded chicken into a large mixing bowl. If the chicken is cold from the refrigerator, let it sit for about 15 minutes to reach room temperature before assembling the tacos to ensure even heating.
- Arrange the hard taco shells upright in a 9x13 inch glass baking dish. Spoon an equal portion of the shredded chicken into each shell, filling them about halfway. Top each taco with a generous portion of the shredded cheddar cheese.
- Place the baking dish in a preheated oven at 375°F (190°C) and bake for 15 to 20 minutes. The tacos are done when the cheese is melted and bubbling, reaching an internal temperature of 165°F (74°C) for the chicken. Remove from the oven, garnish with fresh cilantro, and serve immediately.
Estimated nutrition per serving
- Calories
- 320
- Protein
- 18 g
- Carbohydrates
- 22 g
- Fat
- 16 g
- Fiber
- 2.5 g
- Sugar
- 1 g
- Sodium
- 450 mg
Next recipe
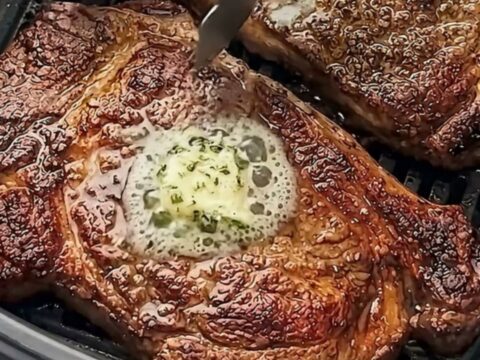
Air Fryer Garlic Butter Ribeye Steaks for a Quick Dinner
See the recipe → →This recipe is based on a short cooking video and is published under the pen name Clara Weller. It was checked before publication, but errors can slip through. Nutrition, when shown, is an estimate. Read more in our editorial policy and on our food safety page.
More recipes to try
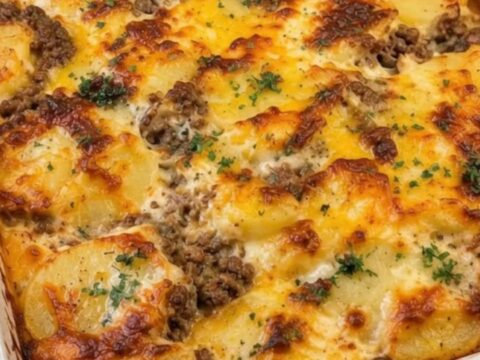
Ultimate Cheesy Cowboy Casserole with Beef and Potatoes
Total time: 1 h 10 min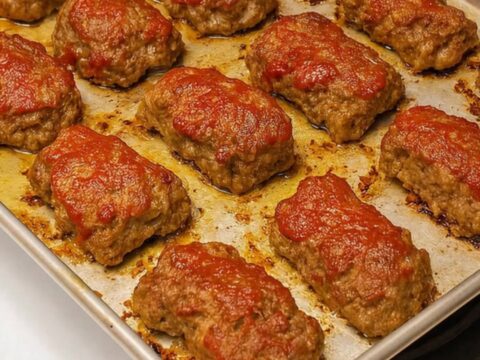
Juicy Mini Meatloaves with Caramelized Glaze
Total time: 45 min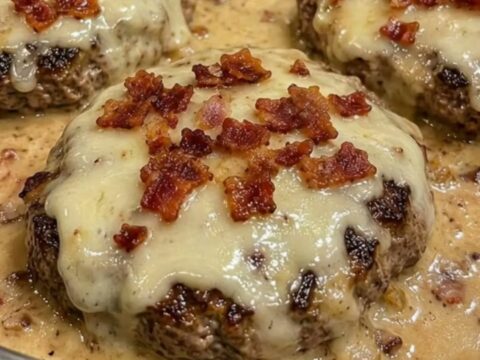
Bacon Swiss Hamburger Steaks in Creamy Gravy
Total time: 50 min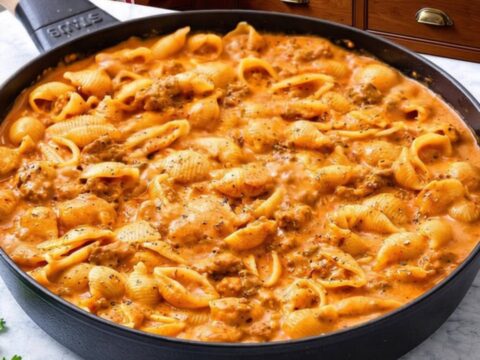
Creamy Beef and Shells for a Quick Weeknight Dinner
Total time: 30 min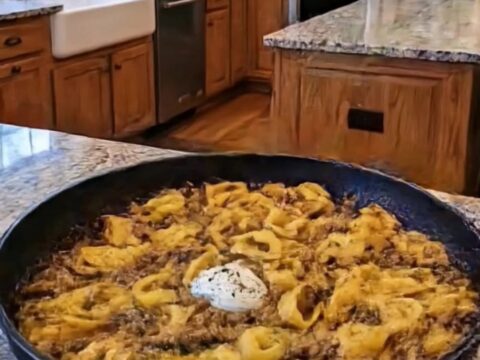
Creamy Beef Tortellini for a Quick Comforting Dinner
Total time: 30 min