Dinner · Part 1 of 3: Ingredients
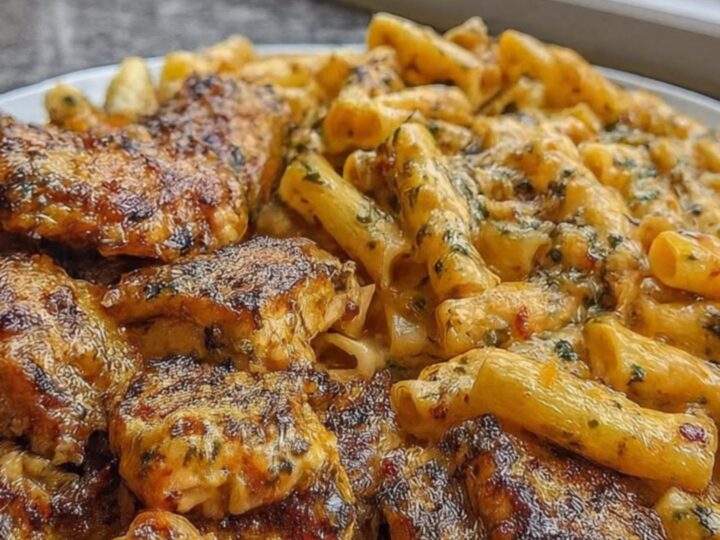
Cheddar Parmesan Garlic Butter Chicken and Creamy Pasta
- Prep
- Cook
- Total
- Serves
- 4
Transform a simple chicken dinner into a decadent, restaurant-style experience with this creamy parmesan and cheddar garlic butter pasta skillet. This dish combines the bold, savory flavors of sharp cheddar and nutty parmesan with a rich, velvety sauce that clings to every piece of rigatoni.
It is an impressive yet straightforward meal that brings comfort to the table, making it an ideal choice for busy weeknights when a little extra indulgence is needed to round out the day.
This recipe focuses on the harmony between perfectly seared chicken and a luxurious cheese sauce. By using a single skillet, the flavors of the browned chicken bits become the foundation for the garlic butter, creating a depth of flavor that is hard to replicate.
The combination of melted parmesan and cheddar provides a unique texture—parmesan adds a sophisticated, salty punch, while cheddar ensures a smooth, melting quality. Whether serving for a casual family meal or a small gathering, this dish is designed to satisfy with its hearty ingredients and classic flavor profile, ensuring a delicious result every time it is prepared.
Ingredients
Chicken
- 1 1/2 lb chicken breast, cut into bite-sized pieces
Pasta
- 1 lb rigatoni pasta
Sauce
- 4 cloves garlic, minced
- 4 tbsp butter
Cheese
- 1/2 cup parmesan cheese, freshly grated
- 1/2 cup cheddar cheese, shredded
Why this recipe works
The method of using the same skillet for both the chicken and the sauce is essential. As the chicken sears, it leaves behind flavorful browned bits, known as fond. When the butter and garlic are added to this same pan, those bits lift and infuse the sauce with an intense, savory chicken flavor that cannot be achieved by cooking the components separately. This creates a cohesive dish where every element contributes to the final result.
Using a combination of two distinct cheeses ensures the sauce is both flavorful and perfectly textured. Parmesan provides a sharp, salty depth that cuts through the richness, while cheddar contributes a superior meltability and a mellow, comforting flavor. This dual-cheese approach ensures the sauce remains stable and creamy while providing a complex taste profile that is far more interesting than a sauce made with only one type of cheese.
Notes and substitutions
Choosing the right pasta shape is key to the success of this recipe. Rigatoni is ideal because its hollow center and ridges are specifically designed to hold onto heavy, creamy sauces.
The ridges provide surface area for the sauce to cling to, while the tube structure captures the garlic butter inside, ensuring that every forkful is packed with flavor. If rigatoni is not available, penne or ziti are suitable alternatives that offer similar structural benefits.
Freshly grating the cheese is highly recommended over using pre-shredded varieties. Pre-shredded cheese is often coated in anti-caking agents like cellulose, which can prevent the cheese from melting into a smooth, emulsified sauce.
Freshly grated parmesan and cheddar will melt much more cleanly, resulting in a significantly smoother and more luxurious texture. Taking the extra minute to grate the cheese by hand will drastically improve the final consistency of the sauce.
- rigatoni: penne or ziti pasta
Equipment
- large skillet
- large pot
- colander
- tongs
- grater
Up next · Part 2 of 3
3 steps · 25 min of cooking · what to look for at each stage
Step-by-step instructions (Part 2)