Dinner · Part 1 of 3: Ingredients
Caramelized Onion Sausage Bake
- Prep
- Cook
- Total
- Serves
- 4
Imagine the aroma of sweet, slow-cooked onions filling your kitchen as they mingle with savory, juicy sausages roasting to perfection. This caramelized onion sausage bake is the ultimate comfort food, requiring minimal hands-on effort for a deeply satisfying dinner. With just a few simple ingredients, you can create a restaurant-quality meal that looks and tastes incredibly rich, savory, and complex.
Sausages and onions are a classic culinary pairing, but baking them together in a single dish elevates them to something truly special. The secret lies in the caramelization process, which coaxes out the natural sweetness of the white onions, creating a luscious, jammy bed for the sausages.
As the sausages roast on top, their savory juices drip down into the onions, infusing them with rich flavor while the skins get beautifully browned and charred. It is a rustic, hearty casserole that requires very little preparation but delivers an incredible depth of flavor perfect for any weeknight dinner or cozy weekend gathering.
Ingredients
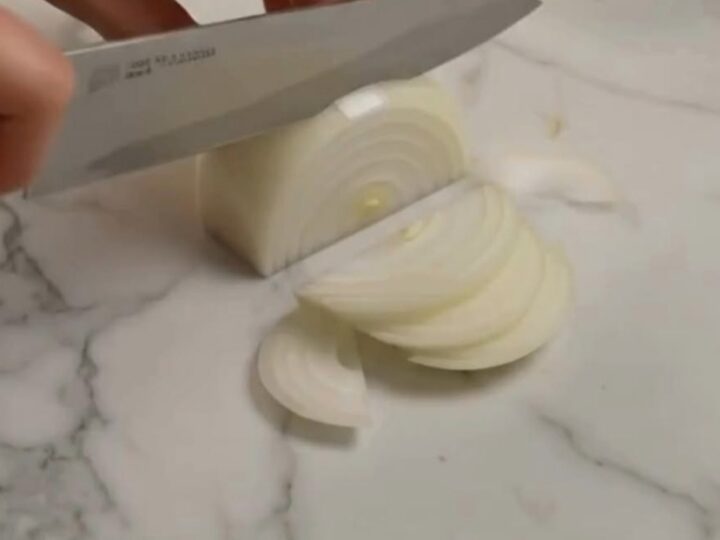
- 3 large white onions, thinly sliced
- 6 fresh sausages
Why this recipe works
The magic of this recipe comes from the dual-texture cooking method. By caramelizing the onions first on the stovetop, you develop a rich, sweet foundation that cannot be achieved by baking alone. This initial sizzle breaks down the raw sharpness of the onions and turns them into a sweet, jammy relish.
When the raw sausages are placed on top and baked, the high heat of the oven roasts the meat, rendering the fat and crisping the casings. This rendered fat drips directly into the caramelized onions below, creating a self-basting environment that keeps the dish incredibly moist and flavorful.
Additionally, baking the sausages on top of the onion bed allows hot air to circulate around them, ensuring they get a beautiful, even char. The moisture from the bubbling onions underneath prevents the sausages from drying out, keeping the meat exceptionally tender and juicy. This synergy between the sweet, caramelized base and the savory, roasted protein creates a balanced flavor profile that is both rich and comforting. It is a foolproof technique that guarantees perfectly cooked sausages and deeply flavorful onions every single time, with very little active cooking required.
Notes and substitutions
When selecting ingredients for this dish, the quality of the sausages is paramount. High-quality fresh pork, beef, or chicken sausages work beautifully here, provided they are raw and uncooked before going into the oven. Sweet or spicy Italian sausages, bratwurst, or traditional country-style sausages are all excellent choices that bring their own unique spice blends to the dish.
For the onions, standard white or yellow onions are ideal because they have a high sugar content that caramelizes beautifully. Red onions can also be used, though they will yield a slightly different color and a milder, earthier flavor profile.
For the equipment, a heavy-bottomed skillet is essential for caramelizing the onions evenly without burning them. Cast iron or stainless steel pans are perfect for this task as they retain heat beautifully. You will also need a sturdy ceramic or glass baking dish that can comfortably hold the onions and sausages in a single layer.
Avoid crowding the sausages too closely together, as they need some space around them to roast and develop that desirable charred exterior. A reliable instant-read meat thermometer is also highly recommended to ensure the sausages are cooked safely to the correct internal temperature.
- white onions: Yellow onions or sweet Vidalia onions can be used in place of white onions for a very similar caramelized result.
- fresh sausages: Raw chicken or turkey sausages can be substituted for pork sausages; just ensure they reach an safe internal temperature of 165°F (74°C).
Equipment
- Cutting board
- Sharp knife
- Large heavy-bottomed skillet
- Spatula
- Baking dish
- Instant-read meat thermometer
Up next · Part 2 of 3
4 steps · 45 min of cooking · what to look for at each stage
Step-by-step instructions (Part 2)