Drinks · Part 2 of 3: Instructions
Blood Orange Peach Strawberry Citrus Frost Cooler Step-by-step instructions
- Prep
- Cook
- Total
- Serves
- 2
Before you start
Before starting, make sure the blood oranges, peaches, and strawberries are washed. Slice the blood oranges into wheels, then dice enough to fill about 1 cup. Dice the peaches into small pieces.
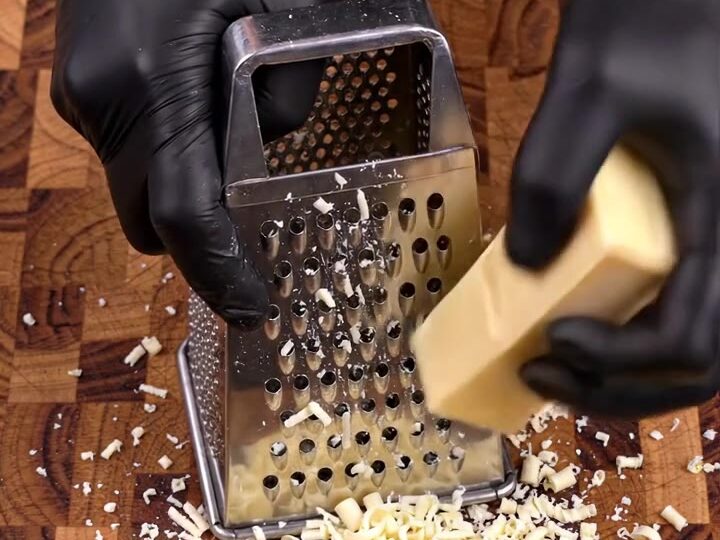
Grate the orange-white chocolate on a box grater into a bowl. Measure the blood orange juice and crushed ice. Have the whipped cream ready. Chill the serving glasses in the freezer for a few minutes if desired.
Ingredients at a glance (7)
- 2 blood oranges, sliced and diced
- 2 peaches, sliced and diced
- 1 cup strawberries, hulled and halved
- 1/2 cup blood orange juice
- 2 oz orange-white chocolate, grated
- 1 cup crushed ice
- Whipped cream, for serving
Instructions
Prep the fruit and chocolate
- Prep the fruit and chocolateSlice the blood oranges into wheels, then dice some of the wheels for the blender. Slice and dice the peaches cleanly. Grate the orange-white chocolate on a box grater into a pile of ivory curls. Set aside.Look for Fruit is cut into small, even pieces and chocolate is finely grated.Tip Keep a few blood orange wheels whole for garnish.
At this point, the cutting board holds neat slices of blood orange, some diced, and golden peach pieces. The grated chocolate is a fluffy pile of ivory curls.
The colors are vibrant and the chocolate smells sweet and faintly orange. Everything is ready to go into the blender.
Blend the cooler
- Blend the coolerAdd the blood orange juice, diced blood oranges, sliced peaches, strawberries, and crushed ice to the glass blender pitcher. Lock the lid and blend until thick and swirling, about 30 to 45 seconds.Look for The mixture is thick, frosty, and a sunset coral color.Tip If the blender stalls, add a splash more juice.
The blender pitcher is filled with fruit, juice, and ice. After blending, the mixture is thick, swirling, and a beautiful coral hue. It clings to the sides and has a frosty appearance. The texture should be smooth with tiny flecks of fruit and chocolate.
Serve and garnish
- Serve and garnishPour the frosty cooler into crystal glasses. Top with a generous swirl of whipped cream and a blood orange wheel. Sprinkle with the grated chocolate curls and serve immediately.Look for The drink is crowned with cream, a citrus wheel, and chocolate curls.Tip Use a wide straw or spoon for the thick texture.
The glasses are filled with the frosty cooler, topped with a cloud of whipped cream, a blood orange wheel, and a shower of chocolate curls. The drink looks inviting and smells of citrus and chocolate. It's ready to be enjoyed immediately.
Common mistakes
A common mistake is using too much ice, which makes the drink watery as it melts. Use crushed ice and blend quickly. Another issue is over-blending, which can warm the mixture and thin it out. Blend just until smooth.
If the blender struggles, add a little more juice, not water. Also, avoid using unripe peaches, as they lack sweetness and can be hard. Taste and add a touch of honey if needed, though the video doesn't include it.
How to tell it’s done
The cooler is done when the mixture is thick, smooth, and a uniform sunset coral color. It should have a slushy, frosty consistency, not watery. When poured, it should mound slightly in the glass.
The whipped cream should hold its shape on top, and the chocolate curls should be visible. Serve immediately for the best texture and temperature.
Up next · Part 3 of 3
4 variations · storage & make-ahead · 5 answers · printable card
Tips, FAQ & printable recipe (Part 3)← Back to the ingredients (Part 1)