Desserts · Part 1 of 3: Ingredients
Black Forest Cherry Almond Dark Chocolate Bark
- Prep
- Cook
- Total
- Serves
- 12
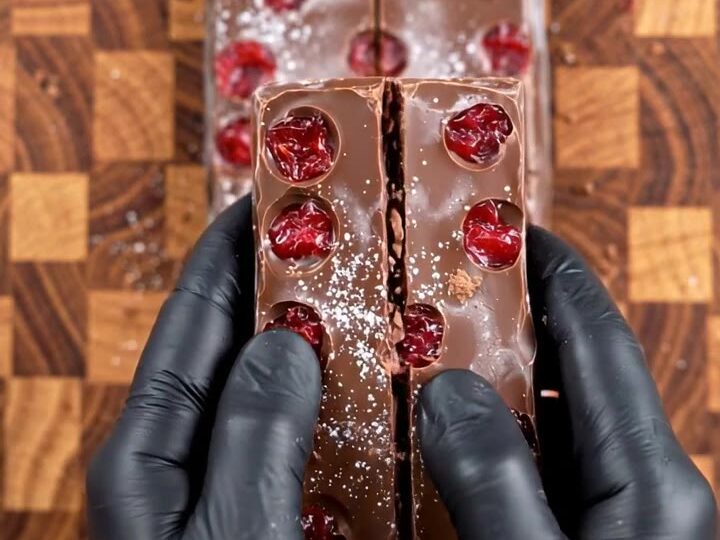
Think of a classic Black Forest cake, then picture it as a snap you can break with your hands. This cherry almond dark chocolate bark brings tart dried cherries, crunchy whole almonds and glossy chocolate together in a single pan. It needs no oven, only melting, layering and a little patience while it sets in the refrigerator.
This Black Forest style bark keeps the flavors people love from the famous cake and turns them into something you can make on a weeknight and share with friends. A layer of melted dark chocolate forms the base. Chopped chocolate, almonds and dried cherries go on top while the base is still soft.
Then white chocolate and red cherry sauce are swirled across the surface to make marbled ribbons, and a final scatter of almonds, cherries and shaved milk chocolate finishes the look.
Once firm, the slab breaks into irregular, glossy pieces that look generous on a dessert board and disappear quickly. The total hands-on time is short, and the rest is handled by the refrigerator.
Ingredients
Chocolate base
- 8 oz dark chocolate, chopped
Toppings
- 2 oz milk chocolate, for grating
- 2 oz dark chocolate chunks
- 1/2 cup dried cherries
- 1/2 cup whole almonds
Swirls
- 2 oz white chocolate, melted
- 3 tbsp red cherry sauce or cherry preserves
Why this recipe works
The method works because dark chocolate sets into a firm, glossy base that holds the mix-ins in place. Chopping the chocolate and nuts into small pieces gives each bite a balance of crunch and snap, while the dried cherries add chewy sweetness.
Layering the mix-ins into a soft base, rather than stirring them in, keeps the pieces visible on the surface and makes the bark look as good as it tastes.
Swirling the white chocolate and cherry sauce across the top is what gives the bark its marbled finish. Because the melted chocolate and sauce do not blend completely, they create ribbons of contrasting color and flavor. Chilling the pan lets the chocolate contract and firm evenly, so the bark breaks cleanly into pieces rather than crumbling into powder.
Notes and substitutions
Choose a good quality dark chocolate with a cocoa content you enjoy. Bars around 60 to 70 percent cocoa give a balanced bark that is not too bitter against the cherry sauce. Keep the milk chocolate for grating only, since its shavings are meant to add a light, sweet dusting over the finished pieces.
A metal loaf pan of about 8 by 4 inches gives the bark a good thickness, roughly half an inch. Line it with parchment paper so the bark lifts out in one piece. A wooden cutting board and a sharp chef's knife make the chopping easy and safe.
A box grater turns the milk chocolate into fine curls that will sit neatly on top of the bark. If you need a substitute, cherry preserves thinned with a little water work in place of cherry sauce, and sliced almonds can replace whole almonds for a finer crunch.
- Red cherry sauce: Cherry preserves or cherry pie filling thinned with a teaspoon of water
- Whole almonds: Sliced almonds, lightly toasted
- Dried cherries: Dried cranberries, though the flavor will be less cherry-forward
Equipment
- Wooden cutting board
- Chef's knife
- Box grater
- Metal loaf pan, about 8 by 4 inches
- Parchment paper
- Microwave-safe bowl or double boiler
- Offset spatula or spoon
Up next · Part 2 of 3
6 steps · 5 min of cooking · what to look for at each stage
Step-by-step instructions (Part 2)