Dinner · Part 1 of 3: Ingredients
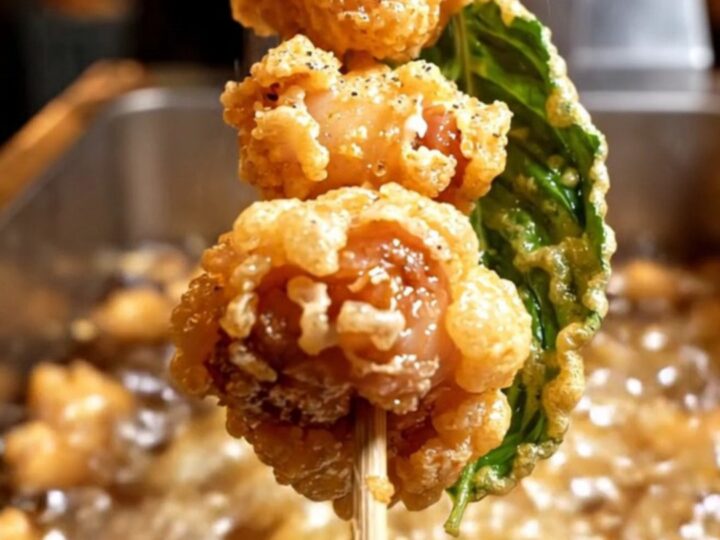
Authentic Taiwanese Popcorn Chicken with Crispy Thai Basil
- Prep
- Cook
- Total
- Serves
- 4
Discover the secret to making Taiwan's most iconic night market snack right in your own home kitchen. This recipe captures the perfect balance of savory, aromatic, and incredibly crunchy textures that make Taiwanese popcorn chicken a legendary street food staple worldwide.
With just a handful of ingredients and a simple double-fry technique, you can replicate that authentic, golden, and craggy exterior that keeps people coming back for more, bite after crispy bite.
Taiwanese popcorn chicken is defined by its unique, light, and shatteringly crisp coating, achieved primarily through the use of sweet potato starch. Unlike traditional flour or panko-based coatings, sweet potato starch creates a distinctively gnarly and durable crust that stays crunchy even after being tossed with seasoning.
The marinade, featuring five-spice powder, soy sauce, and rice wine, infuses the chicken thigh meat with a complex, savory, and slightly sweet flavor profile that is beautifully complemented by the aromatic, flash-fried Thai basil leaves added at the very end.
Ingredients
Chicken
- 1 lb chicken thigh, cut into bite-sized pieces
Marinade
- 2 tbsp soy sauce
- 1 tbsp rice wine (contains sulphites)
- 1 tsp five-spice powder
- 1 tsp minced garlic
Coating
- 120 g coarse sweet potato starch
Aromatics
- 1 cup fresh Thai basil leaves
Cooking
- 4 cups frying oil
Finishing
- white pepper salt, to taste
Why this recipe works
The use of sweet potato starch is the essential secret to achieving the signature craggy crust. When deep-fried at the correct temperature, this starch creates a light, glass-like crunch that is far superior to standard wheat flour.
It adheres well to the moisture in the marinated chicken, ensuring that the coating remains intact and provides that satisfying, audible shatter when bitten.
Double-frying or maintaining a consistent high heat ensures that the chicken cooks through while the exterior achieves a deep, golden mahogany color. The flash-frying of the Thai basil at the very end of the cooking process infuses the oil with a herbal aroma and transforms the leaves into delicate, crispy chips that provide a necessary fragrant contrast to the savory, salty chicken.
Notes and substitutions
Chicken thigh is highly recommended over chicken breast for this recipe. The thigh meat contains more fat and connective tissue, which prevents it from drying out during the deep-frying process, resulting in a much juicier and more tender final product. Ensure you cut the chicken into uniform, bite-sized pieces to guarantee that they cook evenly during the four-minute frying window.
The frying oil temperature is critical for success. Using a thermometer is highly encouraged to maintain the oil at 375°F (190°C). If the oil temperature is too low, the chicken will absorb excess grease and become soggy rather than crispy.
If it is too high, the exterior will burn before the interior is fully cooked. Always use an oil with a high smoke point, such as vegetable, canola, or peanut oil.
- sweet potato starch: cornstarch can be used as a substitute if sweet potato starch is unavailable, though the texture will be slightly less craggy and crisp.
- Thai basil: Italian basil may be used, though it will lack the specific peppery and anise-like notes characteristic of the traditional night market version.
Equipment
- mixing bowl
- deep fryer or heavy-bottomed pot
- spider strainer
- bamboo skewers
- thermometer
Up next · Part 2 of 3
3 steps · 10 min of cooking · what to look for at each stage
Step-by-step instructions (Part 2)