Dinner · Part 1 of 3: Ingredients
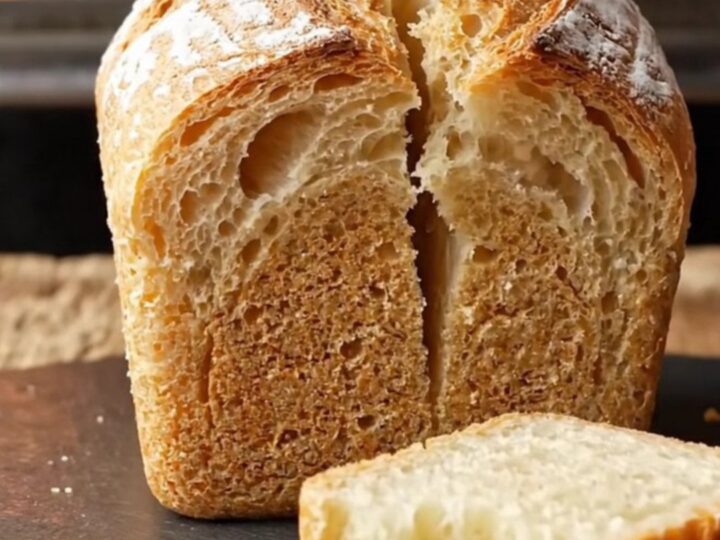
Artisan Sourdough Mini Loaves with Crackly Crust
- Prep
- Cook
- Total
- Serves
- 6
There’s nothing quite like the sound of a crusty sourdough loaf crackling as you slice into it. These artisan mini loaves are small enough to bake quickly, yet they deliver the same open, custardy crumb and deep tang as a full-size loaf.
The recipe uses a simple autolyse and stretch-and-fold method to build strength without heavy kneading. With a scorching hot oven and a burst of steam, each loaf blooms into a golden, blistered beauty.
Baking sourdough at home can feel intimidating, but these mini loaves make it approachable. The small size means they bake in about 25 minutes, so you can enjoy fresh bread on a weeknight. The dough comes together quickly, and the hands-on time is minimal.
Most of the work is waiting: an hour-long autolyse, a few stretch-and-fold rounds, and a proof that can happen in the fridge overnight. The result is a crust that shatters and a crumb that’s open and glossy. This recipe is ideal for anyone who loves the craft of bread baking but wants a manageable batch.
Ingredients
- 510 g bread flour
- 350 ml water
- 100 g active bubbly sourdough starter
- 10 g fine sea salt
Why this recipe works
The autolyse step is the secret to a more extensible dough. By letting the flour and water rest before adding the starter and salt, the flour’s enzymes break down starches and proteins.
This makes the dough easier to shape and helps the gluten develop more naturally. The result is a crumb that’s open and airy without much kneading. The long rest also enhances the flavor, giving the bread a subtle sweetness that balances the sourness of the starter.
The stretch-and-fold technique builds dough strength in a gentle way. Instead of aggressive kneading, you periodically lift and fold the dough over itself. This aligns the gluten strands and traps air, creating a light, open crumb.
The repeated folds also help the dough hold its shape during proofing and baking. Combined with a hot, steamy oven, this method produces loaves with a dramatic oven spring and a crackling crust that’s hard to resist.
Notes and substitutions
Use a mature, bubbly starter at its peak for the best rise. If the starter is sluggish, the loaves will be dense. Bread flour with a high protein content (12-14%) gives the best structure, but all-purpose flour works in a pinch. The water should be at room temperature, not cold, to keep fermentation active. If your tap water is heavily chlorinated, let it sit out overnight or use filtered water.
You’ll need proofing baskets or any bowl lined with a floured towel. A baking stone or heavy sheet pan is essential for a good crust, and a cast iron pan for steam creates that blistered, crackly exterior. A razor blade or bread lame makes clean scoring easier. If you don’t have a lame, a sharp knife works, but it may drag slightly. The recipe is forgiving, so don’t worry if your first batch isn’t perfect—practice makes perfect.
- bread flour: All-purpose flour can be used, but the crumb will be slightly less chewy and the loaves may spread a bit more.
- fine sea salt: Kosher salt can be substituted; use the same weight, not volume, for accurate seasoning.
- active sourdough starter: A 100% hydration starter works best. If using a stiffer starter, increase water by 20 g and adjust during mixing.
- water: Use filtered or unchlorinated water. Chlorine can inhibit fermentation; bottled spring water is a safe alternative.
Equipment
- Large mixing bowl
- Danish dough whisk or spatula
- Plastic bench scraper
- 6 proofing baskets or bowls lined with floured towels
- Razor blade or bread lame
- Baking stone or heavy sheet pan
- Cast iron pan for steam
- Serrated knife
Up next · Part 2 of 3
8 steps · 25 min of cooking · what to look for at each stage
Step-by-step instructions (Part 2)