Dinner · Part 1 of 3: Ingredients
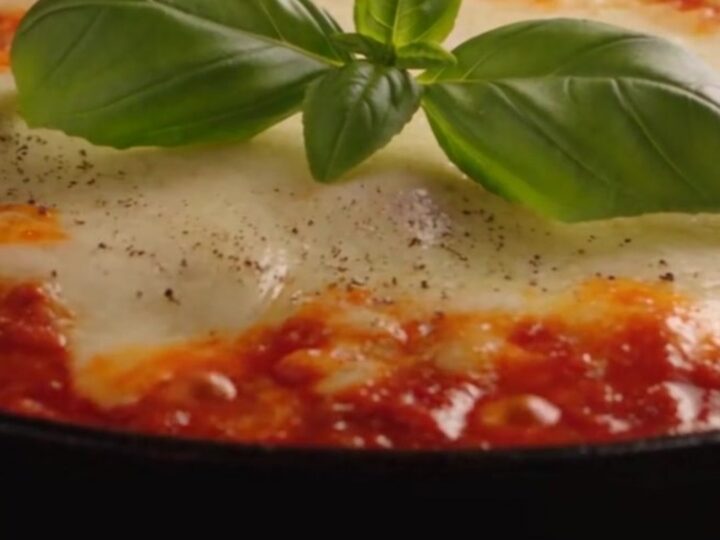
20-Minute Skillet Lasagna Roll-Ups
- Prep
- Cook
- Total
- Serves
- 4
Transform your weeknight dinner with these 20-minute skillet lasagna roll-ups that deliver all the classic Italian comfort you crave without the hours of oven time.
This ingenious method creates individual, cheese-stuffed portions that cook perfectly on your stovetop, resulting in a bubbling, decadent meal ready in less than half an hour. It is the ultimate solution for satisfying those intense pasta cravings when time is short.
Lasagna is a beloved classic, but the traditional layering and baking process can be daunting after a long day. This skillet approach reimagines the dish by using pre-boiled noodles rolled with a savory ricotta and beef filling, then simmering them directly in a rich tomato sauce.
This technique ensures the pasta remains tender and the sauce penetrates every layer, creating a cohesive, flavorful experience that feels just as indulgent as a traditional baked version. It is an efficient, crowd-pleasing meal that simplifies the process while maintaining the integrity of the original dish, making it a perfect addition to any weekly rotation.
Ingredients
Pasta
- 8 lasagna pasta sheets
Filling
- 2 cups whole milk ricotta cheese
- 1 cup grated parmesan cheese
- 1 large egg
- 2 cloves minced garlic
- 1 tbsp fresh parsley, chopped
- 1/2 tsp salt
- 1/4 tsp black pepper
Sauce
- 1 cup browned Italian ground beef marinara
- 1 cup crushed tomato sauce
Topping
- 2 cups shredded whole-milk mozzarella cheese
Garnish
- fresh torn sweet basil leaves for serving
Why this recipe works
The skillet method works by concentrating heat and moisture, allowing the pasta and filling to cook rapidly in a contained environment. By rolling the noodles, you maximize the surface area for the sauce to cling to, ensuring each bite is flavorful and moist.
This design also makes portioning incredibly simple, as the individual pinwheels are easy to lift directly from the pan without needing to slice through a large casserole.
Using a skillet also provides better control over the cooking process compared to an oven. You can monitor the cheese melt directly, ensuring the mozzarella reaches a perfect, molten state without burning.
The combination of simmering the sauce and steaming the rolls under a lid creates a gentle, effective heat that cooks the ingredients through quickly, resulting in a consistent texture throughout the entire dish.
Notes and substitutions
For the best results, use whole-milk ricotta and mozzarella. The higher fat content provides a superior, creamy texture and a much better melt compared to part-skim varieties. If you prefer a leaner option, you can substitute, but the richness of the final dish will be noticeably reduced. Freshly grated parmesan also melts better and offers a sharper, more authentic flavor than pre-grated versions found in bags.
A heavy-duty cast iron skillet is the ideal tool for this recipe because it retains heat exceptionally well and provides an even cooking surface. If you do not have cast iron, a deep stainless steel skillet with a tight-fitting lid will also work. Ensure your noodles are cooked only to al dente; if they are too soft before rolling, they may break apart during the final simmer in the sauce.
- ground beef: ground Italian sausage or a plant-based meat alternative
- whole milk ricotta: part-skim ricotta or cottage cheese blended until smooth
Equipment
- large pot
- parchment paper
- mixing bowl
- cast iron skillet
- glass lid
- spatula
Up next · Part 2 of 3
3 steps · 10 min of cooking · what to look for at each stage
Step-by-step instructions (Part 2)