Desserts · Part 3 of 3: Tips & recipe card
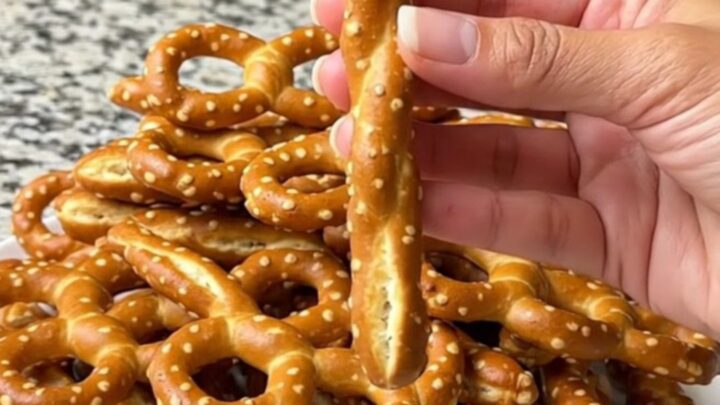
Easy Witch Finger Pretzel Rods for Halloween Parties Tips, FAQ & printable recipe
- Prep
- Cook
- Total
- Serves
- 12
Tips for success
For a more dramatic effect, consider using a toothpick to draw faint lines in the candy coating while it is still soft, mimicking the knuckles of a finger. This extra detail adds a layer of realism to the presentation without requiring significant extra time or effort. Ensure the lines are shallow to prevent the coating from cracking or breaking apart as it cools.
If the candy coating appears too translucent, allow it to cool slightly in the bowl before dipping, which will thicken the consistency and provide better coverage. Alternatively, apply a second thin layer of candy after the first has set completely.
This double-dip method results in a more opaque and vibrant color, which is particularly effective for the witch finger theme and enhances the overall visual appeal of the snack.
Variations
- Bloody Witch Fingers: Dip the almond tip into a small amount of red-tinted melted candy or use red icing to create a blood-like effect around the base of the nail.
- Dark Chocolate Fingers: Substitute the green candy melts with dark or milk chocolate for a richer flavor. This variation creates a more traditional, earthy look for the fingers.
Storage and make-ahead
- Fridge
- Storage in the refrigerator is not recommended as it will soften the pretzels and ruin the texture.
- Reheat
- These treats do not require reheating and are best served at room temperature for the optimal balance of crunch and flavor.
Store the finished witch finger pretzel rods in an airtight container at room temperature to maintain their crunch. Keep the container in a cool, dry place away from direct sunlight or heat sources, which could cause the candy coating to soften or melt.
When stored properly, they will maintain their texture and quality for up to one week, making them an excellent choice for advance party preparation.
These treats can be prepared up to one week in advance. Store them in a single layer or separated by parchment paper in an airtight container to prevent sticking and breakage. Avoid placing them in the refrigerator, as the moisture can cause the pretzel to soften and lose its signature snap, and the candy coating may develop a dull, cloudy appearance due to temperature fluctuations.
Serving ideas
Arrange the witch fingers on a dark, festive platter to enhance the spooky theme of the Halloween display. They can be placed in a pile to resemble a heap of fingers or laid out in neat rows for a more organized look.
Consider adding other complementary items like small pumpkins or faux cobwebs around the serving tray to create a complete, atmospheric display that will delight guests at any event.
For individual servings, place two or three witch fingers in small clear treat bags tied with black or orange ribbon. This presentation is ideal for party favors or classroom treats, as it protects the fingers from damage while making them easy for guests to pick up and enjoy.
Ensure the candy is fully set before packaging to avoid smudging the finish or causing the almond nails to shift during transport.
Frequently asked questions
Can these be made ahead of time?
What should be done if the candy coating is too thick?
Can a different type of nut be used for the nail?
Easy Witch Finger Pretzel Rods for Halloween Parties
Ingredients
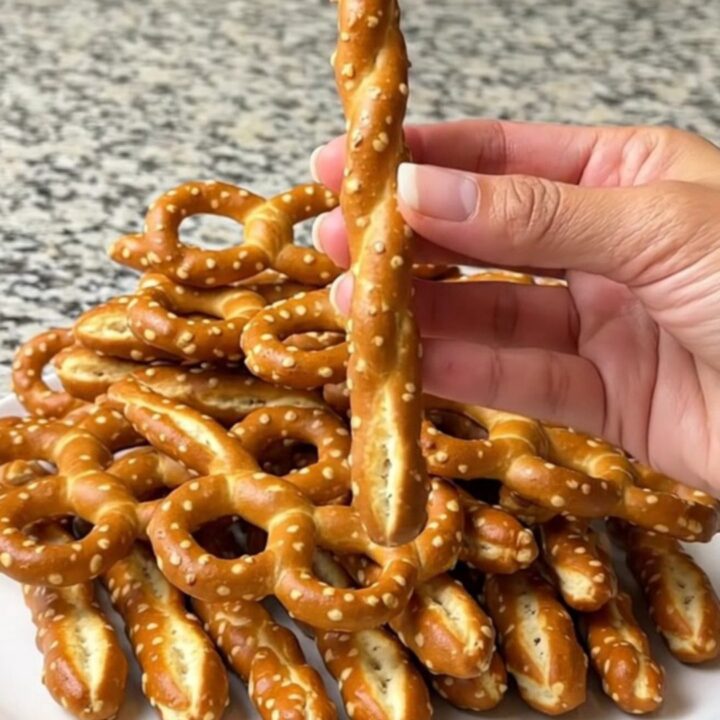
- 12 pretzel rods
- 1 cup green candy melts
- 12 whole almonds
Instructions
- Line a baking sheet with parchment paper to ensure the dipped pretzels do not stick. Arrange the pretzel rods on a flat surface to prepare for the dipping process.
- Melt the green candy in a clear glass bowl according to the package directions until smooth. Dip each pretzel rod halfway into the melted green candy, letting the excess drip off. Place the coated rods on the parchment-lined sheet. While the candy is still wet, press one whole almond firmly onto the tip of each rod to create the fingernail.
- Allow the witch fingers to sit on the baking sheet for at least 15 minutes until the candy coating has hardened completely. Once set, transfer the finished treats to a serving plate.
Estimated nutrition per serving
- Calories
- 120
- Protein
- 2 g
- Carbohydrates
- 18 g
- Fat
- 5 g
- Fiber
- 0.5 g
- Sugar
- 10 g
- Sodium
- 150 mg
Next recipe

No-Bake Pecan Pie Bites: A Quick Dessert Treat
See the recipe → →This recipe is based on a short cooking video and is published under the pen name Clara Weller. It was checked before publication, but errors can slip through. Nutrition, when shown, is an estimate. Read more in our editorial policy and on our food safety page.
More recipes to try

Easy Cinnamon Sugar Crescent Twists for a Quick Sweet Treat
Total time: 20 min
Easy Witch Hat Cookies for Halloween Parties
Total time: 5 min
Easy Monster Snack Mix for Parties
Total time: 17 min
Classic Chocolate Dipped Peanut Butter Buckeyes
Total time: 1 h
Easy Cinnamon Sugar Sopapilla Cheesecake Bars
Total time: 1 h 10 min