Desserts · Part 1 of 3: Ingredients
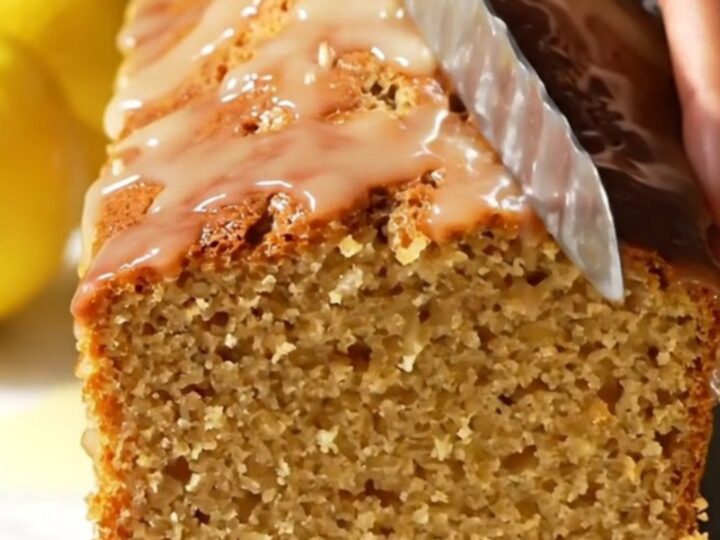
Whole-Lemon Blender Loaf Cake with Crackle Glaze
- Prep
- Cook
- Total
- Serves
- 8
Transform a single whole lemon into a masterpiece of citrus baking with this blender-based technique. By utilizing the entire fruit, you unlock intense aromatic oils stored in the skin, resulting in a depth of flavor that is simply unmatched by zest alone.
This recipe is the definition of efficiency, turning pantry staples into a sophisticated dessert with minimal effort and absolutely no waste.
Baking a loaf cake often requires careful zesting and juicing, but this method streamlines everything into one simple step. By blending the entire lemon, you ensure that every drop of essential oil and every bit of citrus character is incorporated directly into the batter.
The resulting cake is exceptionally moist, with a bright, sunny flavor that pairs perfectly with a morning coffee or an afternoon tea. It is a reliable, crowd-pleasing dessert that feels special enough for guests yet simple enough for a Tuesday evening.
Ingredients
Batter
- 1 whole organic Meyer lemon, seeded
- 3 eggs
- 200 g sugar
- 120 ml olive oil
- 100 g Greek yogurt
- 220 g all-purpose flour
Glaze
- 100 g confectioners' sugar
- 2 tbsp lemon juice
Why this recipe works
The blender method creates a fine, emulsified batter where the lemon skin is broken down into microscopic pieces. This ensures that the citrus flavor is distributed evenly throughout the entire loaf, rather than concentrated in pockets.
The oils from the lemon peel are released during the high-speed blending process, providing a much more fragrant and authentic lemon profile than artificial extracts ever could.
Using olive oil instead of butter contributes to the moist texture of the crumb while allowing the delicate citrus notes to shine through.
The yogurt adds a slight tang that complements the acidity of the Meyer lemon, while the eggs provide the necessary structure to hold the dense, moisture-rich batter together. This combination creates a stable, consistent cake that maintains its freshness for several days after baking.
Notes and substitutions
Choose organic Meyer lemons whenever possible because the skin is thinner and the flavor is sweeter and more floral than standard lemons. If Meyer lemons are unavailable, you can substitute with standard lemons, but be sure to wash and scrub the exterior thoroughly. Always remove the seeds before blending to ensure the final texture is smooth and free of any unwanted bitterness.
The choice of flour is important for the final crumb texture. Standard all-purpose flour works perfectly here, providing enough structure without making the cake heavy. When folding in the flour, stop as soon as no dry streaks remain. Overworking the batter at this stage will develop the gluten, which can lead to a tougher, denser cake rather than the light, tender crumb you want for a loaf.
- Meyer lemon: a regular Eureka lemon, but ensure you remove all seeds and peel a thin strip if the rind is exceptionally thick.
- Greek yogurt: sour cream or plain whole-milk yogurt, which provides the necessary acidity and moisture to the crumb structure.
Equipment
- high-speed blender
- 9-inch loaf tin
- parchment paper
- mixing bowl
- spatula
- wire cooling rack
Up next · Part 2 of 3
3 steps · 50 min of cooking · what to look for at each stage
Step-by-step instructions (Part 2)