Drinks · Part 1 of 3: Ingredients
Watermelon Hibiscus Strawberry Lychee Slush Cooler
- Prep
- Cook
- Total
- Serves
- 2
This watermelon hibiscus strawberry lychee slush cooler is a vibrant, frosty drink that blends juicy watermelon, sweet lychee, and ripe strawberries with a bright squeeze of lime.
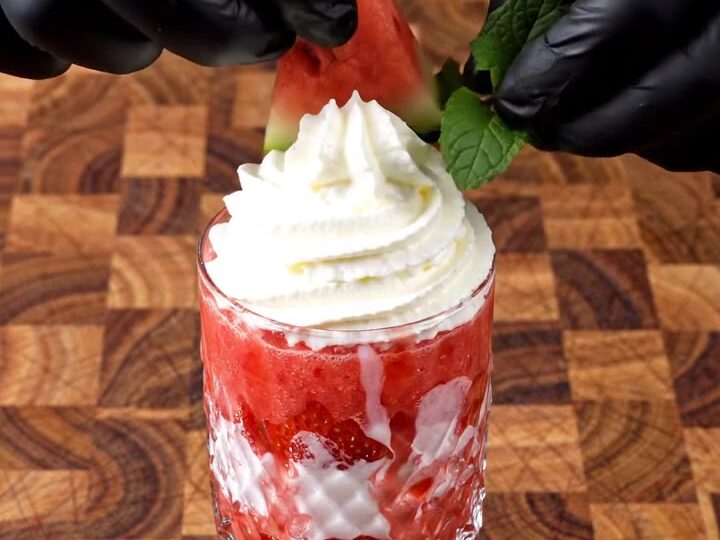
Blended with ice until thick and smooth, it’s poured into glasses and topped with coconut whipped cream, delicate white chocolate curls, a watermelon wedge, and fresh mint. The result is a refreshing, creamy, and fruity cooler with a beautiful red hue — perfect for hot days, brunches, or any time you want a show-stopping non-alcoholic drink.
When the heat calls for something cold and fruity, this slush cooler delivers. It’s a simple blender drink that comes together in minutes, using fresh watermelon, strawberries, and canned lychees for a tropical twist.
The lime juice brightens the flavors, while the coconut whipped cream and white chocolate curls add a luxurious finish. The recipe is flexible — adjust the fruit ratios to your taste, and feel free to swap the toppings. Serve it immediately for the best texture, or keep it in the freezer for a few hours to firm up.
Ingredients
- 2 cups diced seedless watermelon
- 1 cup hulled and diced strawberries
- 1/2 cup drained canned lychees
- 2 tbsp fresh lime juice
- 1 cup ice cubes
- coconut whipped cream, for serving
- 2 oz white chocolate, grated into curls
- watermelon triangle, for garnish, to taste
- fresh mint leaves, for garnish, to taste
Why this recipe works
Blending frozen fruit and ice creates a thick, frosty texture without the need for an ice cream maker. The high water content of watermelon and strawberries ensures a smooth, pourable slush that’s still substantial. The addition of lychees brings a subtle floral sweetness that pairs beautifully with the berries. Lime juice cuts through the sweetness and adds a refreshing tang that balances the drink.
The toppings are what take this from a simple smoothie to a special cooler. Coconut whipped cream adds a creamy, dairy-free richness that contrasts with the icy slush. White chocolate curls melt slightly on contact, adding a hint of sweetness and a pretty presentation. The watermelon triangle and mint garnish echo the flavors in the drink and make it look like a professional cocktail — without any alcohol.
Notes and substitutions
Choose a ripe, seedless watermelon for the best flavor and color. Diced watermelon should be packed tightly in the measuring cup. Strawberries should be hulled and diced to blend easily.
Canned lychees in syrup are convenient; drain them well before using. For a less sweet drink, reduce the lychees or add more lime juice. If you prefer a thinner consistency, add a splash of cold water or coconut water while blending.
A high-speed blender works best for crushing ice and fruit into a smooth slush. If your blender is less powerful, crush the ice beforehand or use frozen fruit instead of fresh. White chocolate can be grated on a box grater or shaved with a vegetable peeler for larger curls.
Coconut whipped cream is available in the refrigerated section of many grocery stores, or you can whip chilled coconut cream yourself. For a dairy-free version, use dairy-free white chocolate.
- canned lychees: fresh lychees, peeled and pitted, or 1/2 cup diced pineapple
- white chocolate: coconut flakes or shaved dark chocolate
- lime juice: lemon juice
- coconut whipped cream: regular whipped cream or Greek yogurt
Equipment
- Box grater
- Blender
- Crystal glasses
- Cutting board
- Chef's knife