Desserts · Part 2 of 3: Instructions
Warm Crockpot Pumpkin Cheesecake Dip Step-by-step instructions
- Prep
- Cook
- Total
- Serves
- 8
Before you start
Before starting this recipe, ensure your slow cooker insert is clean and dry. Take the cream cheese out of the refrigerator about thirty minutes before you begin, as slightly softened cream cheese melts more evenly.
Prepare your serving area by selecting a heat-safe bowl and setting out your choice of dippers, such as graham crackers, ginger snaps, or crisp apple slices. Having all your ingredients pre-measured and ready to go will make the assembly process seamless and quick, allowing you to get the slow cooker started with minimal fuss.
Ingredients at a glance (4)
- 16 oz cream cheese, cubed
- 1 cup pumpkin puree
- 1 tbsp pumpkin pie spice
- 1/4 cup heavy cream
Instructions
Assembly of ingredients
- Add ingredients to the slow cookerPlace the cubed cream cheese into the bottom of the slow cooker insert. Add the pumpkin puree, sprinkle the pumpkin pie spice evenly over the top, and pour the heavy cream over the mixture.Look for ensure all ingredients are in the slow cookerTip ensure the cream cheese is at room temperature for a smoother dip
At the end of this phase, all your ingredients should be layered neatly in the slow cooker. The cubed cream cheese should be at the base, topped with the pumpkin puree, spices, and cream.
Check that your slow cooker is plugged in and set to the low setting, and ensure the lid is securely in place to begin the gentle heating process that will transform these components into a cohesive, creamy dessert dip.
Slow cooking process
- Slow cook the dipCover the slow cooker with the lid and cook on low for approximately two hours. This gentle heat allows the cream cheese to soften and fully incorporate with the pumpkin and spices.Look for the dip should be hot and glossyTip stir occasionally to ensure a uniform texture
During this phase, the ingredients are slowly heating and melding. You should check the dip halfway through to give it a thorough stir. The mixture should begin to look smooth and the color should be a consistent, warm orange. If you notice any stubborn lumps of cream cheese, use a spatula to press them against the sides of the slow cooker to help them break down and incorporate into the pumpkin base.
Final serving stage
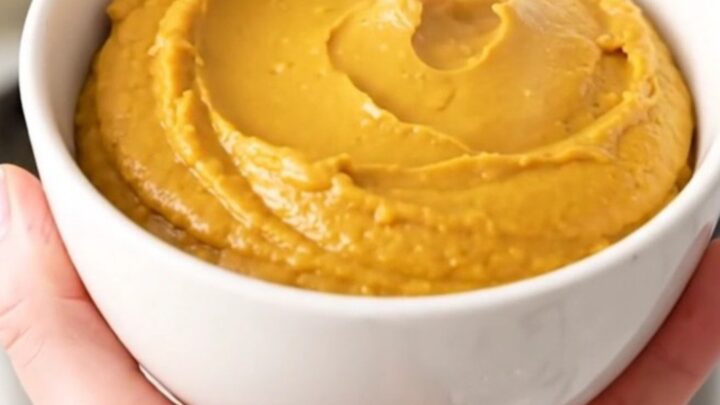
- Finish and serveOnce the dip is smooth and heated through, remove it from the slow cooker. Transfer the dip into a clean white bowl and serve immediately while warm for the best texture and flavor.Look for the dip should be warm and creamyTip serve with graham crackers or apple slices
Once the cooking time is complete, the dip should be perfectly smooth, glossy, and hot. It should have a slightly thickened, velvety consistency that holds its shape on a cracker. Before serving, give it one final stir to ensure the spices are evenly distributed. Transfer it to your serving bowl while it is still warm to maintain the best texture and flavor for your guests to enjoy immediately.
Common mistakes
A common mistake is using cream cheese that is too cold, which can lead to uneven melting and the formation of lumps that are difficult to smooth out later. Another error is not stirring the dip occasionally during the cooking process.
Even with a slow cooker, a quick stir halfway through helps ensure that the heat is distributed evenly and prevents the edges from getting too hot before the center is ready. Finally, avoid using high heat settings, as this can cause the dairy to curdle or separate, ruining the smooth texture.
How to tell it’s done
The dip is considered done when the cream cheese has completely melted and the mixture is uniform, glossy, and smooth throughout. When you stir the dip, there should be no visible lumps of cream cheese remaining.
The texture should be thick enough to coat a spoon heavily but soft enough to be easily scooped by crackers or fruit. The overall temperature should be hot to the touch, ensuring the spices have bloomed and the flavors have fully combined into a cohesive, warm, and inviting dessert dip.
Up next · Part 3 of 3
2 variations · storage & make-ahead · 3 answers · printable card
Tips, FAQ & printable recipe (Part 3)← Back to the ingredients (Part 1)