Appetizers · Part 3 of 3: Tips & recipe card
Viral Crispy Blooming Onion with Spicy Remoulade Tips, FAQ & printable recipe

- Prep
- Cook
- Total
- Serves
- 4
Tips for success
To keep the petals separated during frying, gently fan them out with your fingers after the first dredge. This ensures the oil reaches all surfaces of the petals, leading to an even, crispy finish.
If you find the petals are sticking together, a quick rinse in cold water after cutting can help them stay open, but be sure to pat the onion completely dry before proceeding with the flour coating.
The dipping sauce can be customized based on your preference for heat and creaminess. If you prefer a tangier sauce, add a squeeze of fresh lemon juice or a dash of vinegar. If you enjoy extra heat, incorporate more cayenne or a touch of hot sauce.
Always store the sauce in the refrigerator until the last moment, as the contrast between the cold sauce and the piping hot onion is part of what makes this appetizer so satisfying.
Variations
- Cajun Style: Replace the smoked paprika and cayenne with a bold Cajun seasoning blend to give the onion a spicy, complex flavor profile that pairs wonderfully with a cooling remoulade.
- Garlic Herb: Mix dried oregano, thyme, and extra garlic powder into the flour mixture for an aromatic, herb-forward version of this classic crispy onion.
Storage and make-ahead
- Fridge
- Keep in an airtight container for up to 2 days.
- Reheat
- Reheat in a 350°F (175°C) oven for 5-8 minutes until warmed through and crisp.
Store any leftovers in an airtight container in the refrigerator for up to two days. However, please note that the blooming onion is best enjoyed immediately after frying.
Over time, the moisture from the onion will soften the crust, and it will lose its signature shatter-crisp texture. If you must store it, keep it in a single layer to prevent the petals from crushing each other.
You can prepare the onion by trimming and cutting it up to two hours in advance; keep the cut onion in a bowl of cold water in the refrigerator to keep it crisp. Pat it completely dry before beginning the dredging process.
The flour mixture can also be pre-mixed and stored in a dry container. For the best quality, perform the dredging and frying steps right before you plan to serve.
Serving ideas
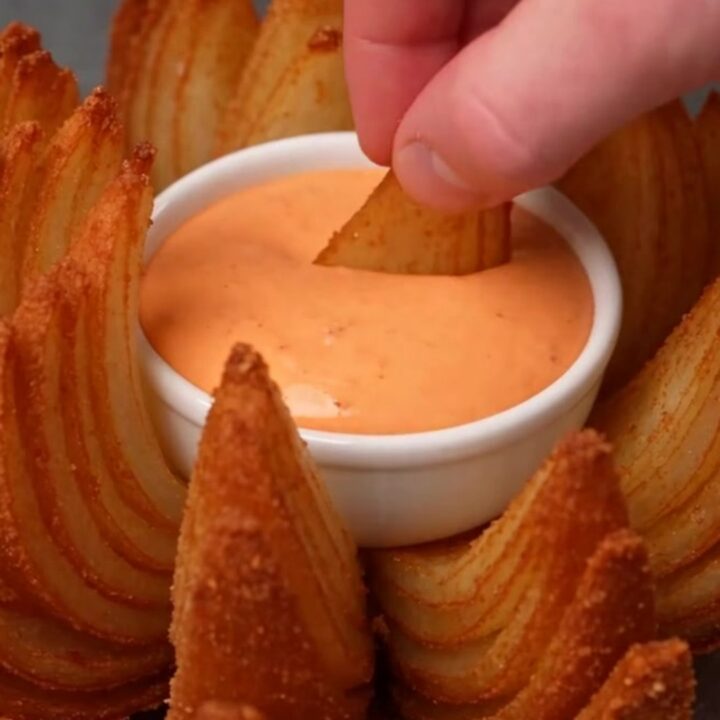
The blooming onion is designed to be a centerpiece, so serve it on a wide platter that allows guests easy access to pull off the petals. Place the dipping sauce in a small, stable bowl in the center of the onion. Provide small plates and plenty of napkins for guests, as this is a finger-food dish that can be slightly messy to eat.
Consider pairing this with other steakhouse-inspired appetizers or as a fun snack for a casual get-together. Because the flavor is rich and savory, it pairs well with crisp, cold beverages that can cut through the fried coating. Remind guests to start from the outside and work their way in, as the petals on the outer edge are often the crispiest and easiest to detach.
Frequently asked questions
Can this be made ahead of time?
Why does the crust fall off?
Can a different type of onion be used?
Viral Crispy Blooming Onion with Spicy Remoulade
Ingredients
- 1 large jumbo sweet Vidalia onion
- 2 cups all-purpose flour
- 2 tbsp smoked paprika
- 1 tbsp garlic powder
- 1 tbsp cayenne pepper
- 1 tsp sea salt
- 2 large eggs
- 1 cup milk
- 4 cups vegetable oil for frying
- 1/2 cup creamy horseradish paprika dipping sauce, store-bought or made ahead
Instructions
- Trim the stem end of the onion while keeping the root intact. Using a sharp chef knife, make sixteen even radial cuts from the top down toward the root, ensuring the cuts do not go all the way through the root. Gently fan out the petals to create a flower blossom shape.
- Whisk the flour, smoked paprika, garlic powder, cayenne, and salt in a wide bowl. Dredge the onion thoroughly in the seasoned flour, ensuring every petal is coated. Dip the floured onion into a mixture of whisked eggs and milk, then return it to the flour mixture for a second coating to create a thick, crunchy crust.
- Heat the vegetable oil in a deep pot to 375°F (190°C). Carefully lower the prepared onion blossom face-down into the hot oil. Fry for six minutes until the exterior is dark golden-brown and intensely crispy. Once fully cooked and reaching an internal temperature of 160°F (71°C) for the egg-based coating, remove it from the oil.
- Transfer the fried onion to a paper-towel-lined plate to drain excess oil. Place the creamy horseradish paprika dipping sauce in a small bowl in the center of the onion blossom. Serve immediately while hot to ensure the petals remain crunchy and the texture is at its best.
Estimated nutrition per serving
- Calories
- 480
- Protein
- 9 g
- Carbohydrates
- 65 g
- Fat
- 22 g
- Fiber
- 4 g
- Sugar
- 8 g
- Sodium
- 750 mg
Next recipe

Slow Cooker Cherry Cola Cocktail Sausages
See the recipe → →This recipe is based on a short cooking video and is published under the pen name Clara Weller. It was checked before publication, but errors can slip through. Nutrition, when shown, is an estimate. Read more in our editorial policy and on our food safety page.
More recipes to try

Ham and Pimento Cheese Slider Bake
Total time: 35 min
Slow Cooker Gochujang Honey Cocktail Sausages
Total time: 3 h 5 min
Creamy Crockpot Sausage and Pimento Cheese Dip
Total time: 2 h 5 min
Slow Cooker Strawberry BBQ Meatballs
Total time: 3 h 5 min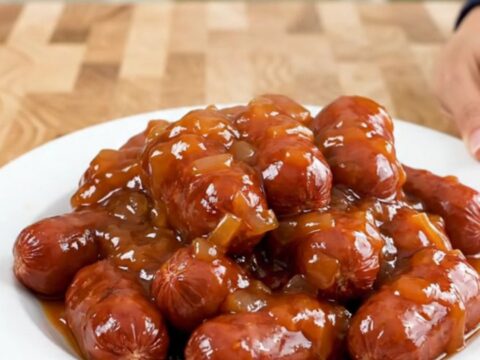
Slow Cooker Apricot Chili Mini Sausages
Total time: 3 h 5 min