Breakfast · Part 1 of 3: Ingredients
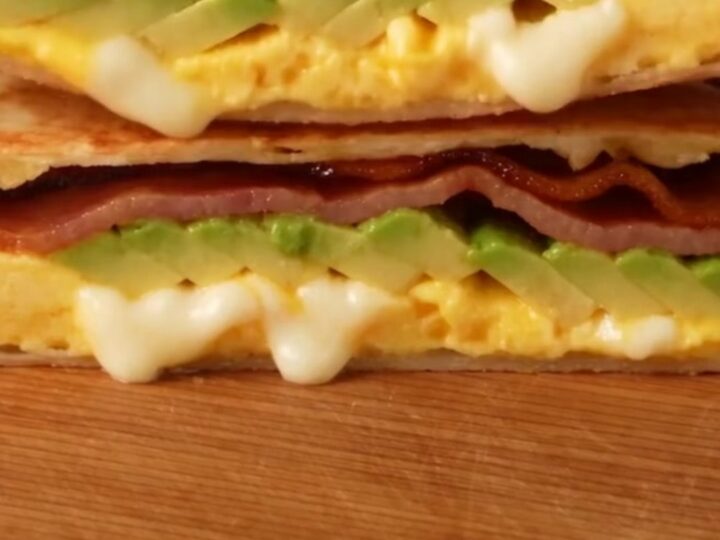
Viral Breakfast Tortilla Hack: Crispy Layered Quesadilla
- Prep
- Cook
- Total
- Serves
- 1
Discover the ingenious breakfast hack that has taken the internet by storm. With just one simple cut and a clever folding technique, you can transform a standard flour tortilla into a perfectly structured, loaded breakfast pocket.
This method ensures that every bite contains a harmonious balance of eggs, salty bacon, creamy avocado, and gooey melted cheese, all encased in a crispy, golden-brown shell that is incredibly satisfying to eat.
The viral four-quadrant tortilla technique is the ultimate solution for a quick, mess-free breakfast. By dividing the tortilla into sections, you eliminate the common problem of ingredients spilling out during cooking.
This recipe relies on high-quality basics—scrambled eggs, crisp bacon, fresh avocado, and a melty cheese blend—to create a substantial meal that feels elevated yet remains simple to execute. Whether you are rushing through a busy weekday morning or looking for a fun weekend brunch option, this method delivers consistent, delicious results every single time.
Ingredients
- 1 large flour tortilla
- 2 large eggs, scrambled
- 2 strips bacon, cooked
- 1/4 medium avocado, sliced
- 1/2 cup shredded cheddar and mozzarella cheese blend
- 1 tbsp unsalted butter
Why this recipe works
The four-quadrant folding method works because it creates a reinforced, multi-layered structure. By layering the ingredients separately and folding them in a specific sequence, the tortilla acts as a protective barrier that seals in the moisture and flavors. This prevents the filling from leaking, allowing the entire pocket to be seared evenly in a skillet without the need for constant flipping or delicate handling of loose components.
Furthermore, the folding technique maximizes the surface area of the tortilla exposed to the pan. Because the triangle is thick and layered, you can achieve a superior level of crispness on the exterior while maintaining a warm, molten interior. The heat transfers efficiently through the layers of cheese and egg, resulting in a perfectly toasted finish that holds its shape, making it an ideal handheld meal for those on the go.
Notes and substitutions
For the best results, use a large flour tortilla that is flexible and at room temperature; cold tortillas are prone to cracking when folded. If you prefer a different flavor profile, you can swap the cheddar and mozzarella blend for pepper jack to add a subtle kick or use turkey bacon instead of traditional pork bacon.
Ensure the bacon is pre-cooked until crispy, as it will not have enough time to crisp up inside the tortilla during the short toasting phase.
When it comes to equipment, a non-stick skillet is essential for achieving an even, golden crust without the tortilla sticking. If you do not have a spatula, a wide turner will work just as well for pressing the quesadilla down.
Keep the heat at a steady medium level; if the skillet is too hot, the exterior will burn before the cheese has a chance to reach a gooey, melted consistency. Adjust the heat as needed throughout the cooking process for a perfect toast.
- flour tortilla: large gluten-free tortilla wrap
- bacon: cooked breakfast sausage or ham slices
Equipment
- Chef's knife
- Cutting board
- Skillet
- Spatula
Up next · Part 2 of 3
3 steps · 6 min of cooking · what to look for at each stage
Step-by-step instructions (Part 2)