Dinner · Part 1 of 3: Ingredients
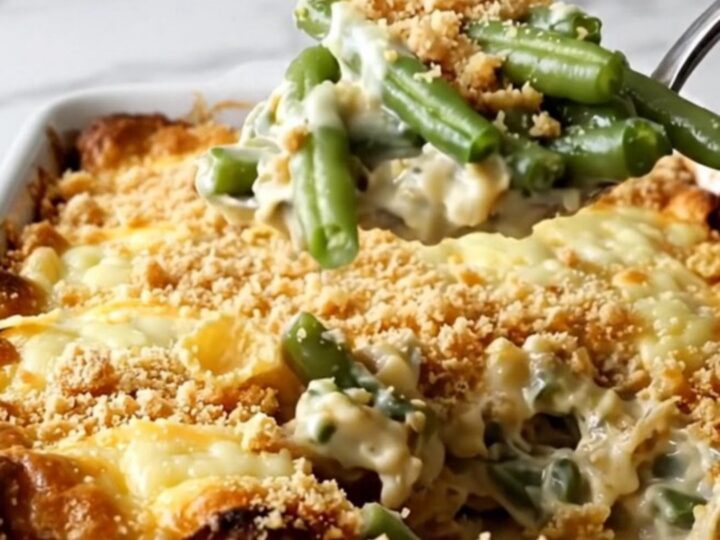
Vintage Swiss Green Bean Casserole with Crispy Cornflakes
- Prep
- Cook
- Total
- Serves
- 6
Bring a touch of vintage comfort to your table with this classic Swiss green bean casserole. This dish combines the freshness of green beans with a rich, tangy sauce, all finished with a golden, crunchy topping that defines nostalgic home cooking. It is a reliable side dish that pairs beautifully with almost any main course, offering a perfect blend of creamy textures and crispy elements that appeal to everyone at the dinner table.
This casserole is a testament to the enduring appeal of simple, hearty side dishes. By focusing on quality ingredients like fresh french-cut green beans and a robust sour cream and onion sauce, the recipe delivers deep, savory flavors without unnecessary complexity.
The addition of Swiss cheese provides a sophisticated melt, while the buttered cornflake crumbs introduce a satisfying crunch that distinguishes this version from more common varieties. Whether preparing a holiday feast or a cozy weeknight dinner, this recipe serves as a dependable, crowd-pleasing addition to any menu.
Ingredients
- 2 lbs fresh french-cut green beans
- 2 cups sour cream and onion sauce
Topping
- 1 1/2 cups shredded Swiss cheese
- 1 cup buttered cornflake crumbs
Why this recipe works
The method of layering ensures that every bite contains a balance of tender beans and creamy sauce. By arranging the beans first, the sauce can permeate the layers effectively during the baking process, preventing the dish from drying out. This systematic layering is the secret to achieving a consistent texture throughout the entire casserole, ensuring that the middle is just as flavorful and well-cooked as the edges.
The choice of cornflake crumbs for the topping serves a specific culinary purpose by providing a lighter, crispier texture compared to traditional breadcrumbs. When tossed with butter, the cornflakes create a golden, sturdy crust that contrasts perfectly with the velvety sauce beneath.
This textural harmony is essential for a high-quality casserole, elevating a simple side dish into a memorable experience that remains balanced and light despite its rich, creamy components.
Notes and substitutions
Selecting the right green beans is vital for the success of this dish. Fresh french-cut beans offer the best flavor and texture, but ensure they are trimmed properly before assembly.
If the beans are too thick, they may require a brief blanching beforehand, but fresh, thin slivers should soften perfectly in the oven. Always use a high-quality sour cream to ensure the sauce has the right tang and body to stand up to the heat of the oven.
Regarding equipment, a ceramic baking dish is ideal because it retains heat evenly, promoting consistent cooking throughout the casserole. If using a glass dish, the baking time might need a slight adjustment, as glass heats differently.
For the topping, ensure the cornflakes are crushed into small, uniform pieces to ensure they crisp up evenly without leaving large, hard chunks. Using unsalted butter for the crumbs allows for better control over the final saltiness of the dish.
- french-cut green beans: Regular cut green beans can be used, though the texture will differ slightly.
- Swiss cheese: Gruyere or mild white cheddar are excellent alternatives that melt well.
Equipment
- 9x13 inch ceramic baking dish
- large mixing bowl
- measuring cups
- serving spoon
Up next · Part 2 of 3
3 steps · 30 min of cooking · what to look for at each stage
Step-by-step instructions (Part 2)