Desserts · Part 2 of 3: Instructions
Velvety Coconut Cream Dessert Filling Step-by-step instructions
- Prep
- Cook
- Total
- Serves
- 4
Before you start
Before starting, ensure all ingredients are measured and ready to go.
Because the thickening process happens relatively quickly once the heat is applied, having the coconut milk and grated coconut prepared will prevent the risk of overcooking or scorching while you are measuring items mid-process. Clear your workspace and ensure your saucepan is clean and dry.
Ingredients at a glance (2)
- 2 cups full-fat coconut milk
- 1/2 cup grated coconut
Instructions
Preparation and initial heating
- Combine base ingredientsIn a medium saucepan, pour in the full-fat coconut milk. Whisk the liquid thoroughly to ensure the cream and water components are well combined before applying any heat to the pan.Look for mixture is smooth and uniformTip Whisking while cold is the secret to a smooth pudding base.
The mixture should be completely uniform, with no visible separation of the coconut cream and water. It should look like a thin, white liquid before you turn on the stove.
Simmering for thickness
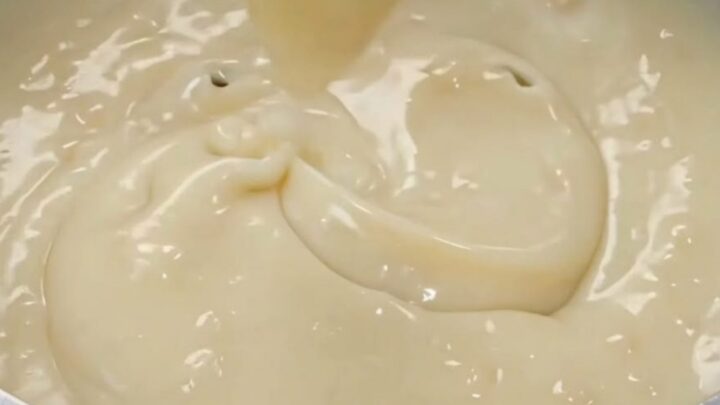
- Simmer and thickenPlace the saucepan over medium heat. Bring the coconut milk to a gentle simmer, stirring constantly with a silicone spatula to prevent sticking at the bottom. Continue to cook until the cream thickens into a glossy, velvety consistency that coats the back of your spatula.Look for thickens and bubbles gentlyTip Keep the heat moderate to avoid scorching the delicate coconut milk.
The mixture should release small, gentle bubbles around the edges and steadily reduce into a thick, glossy cream.
When running the spatula across the bottom, a visible trail should briefly remain, indicating that the base is dense enough to coat the silicone tool with luxurious, slow-falling ribbons.
Folding and setting
- Fold and finishRemove the saucepan from the heat. Immediately fold in the grated coconut, ensuring it is evenly distributed throughout the thickened cream. Allow the filling to rest in the pot for ten minutes to set before serving or transferring to a container.Look for coconut is evenly incorporatedTip The residual heat will help soften the grated coconut texture.
After folding in the grated coconut, check that the flakes are evenly dispersed throughout the pudding rather than clumping. The surface should look glossy, rich, and lightly textured, releasing a warm coconut aroma while it settles into an unctuous, spoonable consistency during the resting period.
Common mistakes
Avoid high heat, which can cause the coconut milk to curdle or the bottom to scorch, ruining the silky texture.
Also, ensure you do not stop stirring during the thickening phase; continuous movement is critical to preventing the bottom from burning and ensuring a uniform, professional finish in the finished cream.
How to tell it’s done
The filling is done when it has achieved a thick, pudding-like consistency that coats a spatula in a smooth, glossy ribbon.
When you lift the spatula, the mixture should drip slowly rather than running off like a liquid. It will firm up slightly more as it cools in the refrigerator, so do not overcook it.
Up next · Part 3 of 3
2 variations · storage & make-ahead · 3 answers · printable card
Tips, FAQ & printable recipe (Part 3)← Back to the ingredients (Part 1)