Dinner · Part 2 of 3: Instructions
Ultra-Tender Slow Cooker BBQ Ribs Step-by-step instructions
- Prep
- Cook
- Total
- Serves
- 4
Before you start
Before beginning, ensure the slow cooker is plugged in and placed on a stable surface. Remove the ribs from any packaging and pat them dry with paper towels. If necessary, trim any excess fat from the edges of the ribs, though leaving a small amount helps keep the meat moist.
If a membrane is present on the bone side of the ribs, it is best to remove it by sliding a butter knife under the membrane and pulling it off firmly. Have the barbecue sauce ready and ensure there is enough space on the counter for the serving platter.
Ingredients at a glance (2)
- 2 lbs pork ribs, trimmed
- 1 1/2 cups barbecue sauce
Instructions
Preparation and Setup
- Prepare the RibsPlace the pork ribs into the slow cooker basin. Ensure the ribs are arranged in a way that they fit comfortably without being overly crowded to allow even heat distribution during the long cooking process.Look for Ribs are settled in the slow cookerTip Removing the silverskin membrane from the back of the ribs helps the meat become even more tender.
The ribs are properly trimmed and placed inside the slow cooker basin. The workspace is clean, and the barbecue sauce is ready to be poured. Everything is set for the long, slow cook that will transform the meat into a tender, flavorful main course.
Slow Cooking Process
- Glaze and CookPour the barbecue sauce over the ribs, ensuring every piece is generously coated. Cover the slow cooker with its lid and set to low heat. Cook for 8 hours until the meat is extremely tender, reaching an internal temperature of 145°F (63°C). Let the meat rest for at least 3 minutes before serving.Look for Sauce is bubbling and ribs look dark and stickySafe temperature 145°F (63°C) internal temperature (steaks, chops and roasts)Tip Do not lift the lid during cooking as this releases essential heat and steam.
The ribs are submerged in the barbecue sauce and the lid is secured. The slow cooker is emitting a steady, low heat. The sauce is beginning to warm up and coat the ribs, creating a fragrant aroma that fills the kitchen throughout the day.
Serving and Presentation
- Rest and ServeCarefully lift the ribs out using tongs and transfer them to a serving plate. Allow the meat to rest for at least 5 minutes before slicing or pulling apart with a fork to serve.Look for Meat is falling off the boneTip Use the remaining sauce in the slow cooker to drizzle over the served ribs for extra flavor.
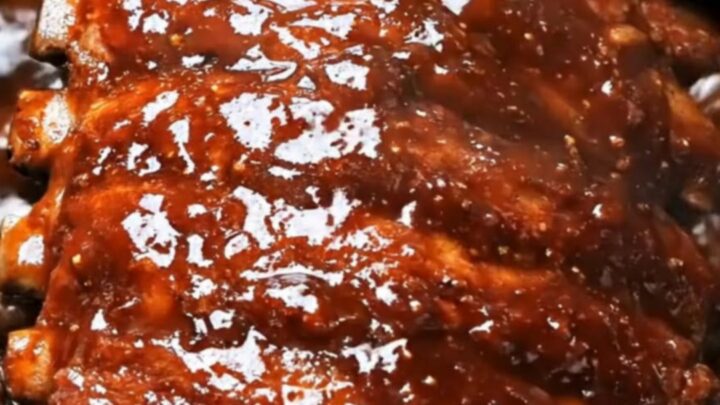
The ribs are tender, glossy, and coated in a thick, delicious glaze. They are easily lifted from the slow cooker with tongs. The meat is falling off the bone, ready to be served immediately on a warm platter for the best eating experience.
Common mistakes
A common mistake is lifting the slow cooker lid too frequently, which allows heat and steam to escape, significantly increasing the required cooking time. Another error is using a sauce that is too watery, which can result in a thin, unappealing glaze rather than a sticky, flavorful coating.
Avoid overcrowding the slow cooker, as this prevents the sauce from circulating properly. Finally, always remember to let the meat rest for a few minutes after cooking, which allows the juices to redistribute and ensures the best possible texture.
How to tell it’s done
The ribs are considered done when the meat is extremely tender and shows clear signs of pulling away from the ends of the bones. When testing with a fork, the meat should separate with almost no resistance.
Using a digital thermometer, ensure the internal temperature has reached at least 145°F (63°C) at the thickest part of the meat.
Because slow cooking is a forgiving process, the ribs will remain tender even if they cook slightly past this minimum temperature, provided there is enough sauce to keep them moist.
- Steaks, chops and roasts: 145°F (63°C) in the thickest part, then a 3-minute rest
Up next · Part 3 of 3
2 variations · storage & make-ahead · 3 answers · printable card
Tips, FAQ & printable recipe (Part 3)← Back to the ingredients (Part 1)