Desserts · Part 2 of 3: Instructions
Ultra-Moist Triple-Layer Dark Chocolate Fudge Cake Step-by-step instructions
- Prep
- Cook
- Total
- Serves
- 12
Before you start
Before beginning the assembly, gather all components, including the pre-baked cake layers and the fudge frosting. Ensure the workspace is clean and that the cake stand is ready.
If the frosting has been refrigerated, let it sit at room temperature for 15 to 20 minutes to reach a spreadable consistency that will not tear the sponge.
Ingredients at a glance (3)
- 3 layers chocolate sponge cake, store-bought or made ahead
- 2 cups chocolate fudge frosting, store-bought or made ahead
- 1/4 cup chocolate chips, for garnish
Instructions
Base assembly
- Prepare the layersPlace the first layer of the chocolate sponge cake onto a flat cake stand or serving platter. Ensure the surface is stable and level before beginning the assembly process to prevent the cake from tilting or shifting.Look for The base layer should be positioned firmly in the center of the stand.Tip Use a cake board underneath if planning to move the cake later.
The base layer must be positioned securely on the cake stand. Check that the sponge is level and not sliding. This foundation is critical for the stability of the entire three-layer structure, so take care to place it exactly where the final cake will be served to avoid unnecessary movement.
Layering and coating
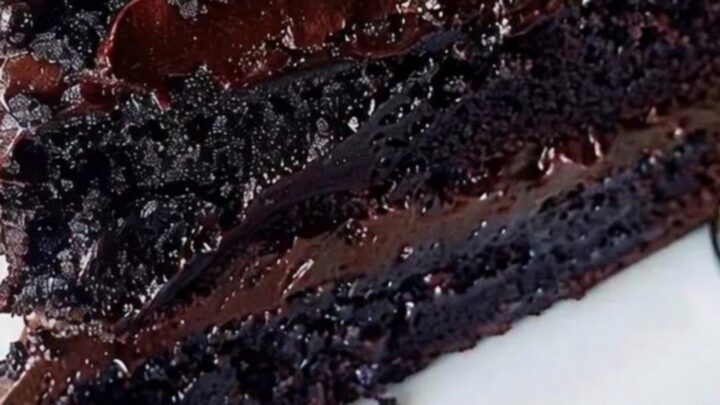
- Frosting the cakeUsing an offset spatula, spread a generous and even layer of the chocolate fudge frosting over the top of the first sponge layer. Repeat this process by stacking the remaining layers and frosting between each one, finishing with a smooth coating over the top and sides of the entire cake.Look for The frosting should appear thick, glossy, and evenly distributed across the surface.Tip Dip the spatula in warm water to achieve a perfectly smooth finish on the frosting.
The frosting should be applied in uniform layers between the sponges, with a final smooth coat covering the exterior. Check that there are no gaps around the edges where the layers meet.
The goal is a seamless appearance where the frosting acts as a structural element that binds the sponge layers together.
Final set
- Final garnish and chillingSprinkle the chocolate chips over the top of the frosted cake for texture and added visual appeal. Place the cake in the refrigerator to allow the frosting to set properly, which makes slicing much cleaner and more professional.Look for The chocolate chips should be scattered artistically across the top surface.Tip Wait at least one hour for the frosting to firm up before cutting.
After adding the chocolate chips, the cake must be chilled until the frosting is firm. The final result should look polished and deliberate, with the glossy sheen of the fudge frosting remaining intact. Ensure the cake has reached a stable temperature before attempting to cut into it for serving.
Common mistakes
A common mistake is applying the frosting while the cake layers are still warm, which leads to a messy finish as the frosting softens and loses its glossy texture.
Another error is failing to level the cake layers; if the sponges are domed, the cake will become unstable. Take a moment to trim the tops of the sponges with a serrated knife for a flat, even surface.
How to tell it’s done
The cake is ready to be sliced once the fudge frosting has firmed up in the refrigerator for at least one hour.
The surface should feel cool and set to the touch, and the chocolate chips should be firmly embedded in the frosting. Use a sharp, warm knife to slice through the layers for clean, beautiful pieces.
Up next · Part 3 of 3
2 variations · storage & make-ahead · 3 answers · printable card
Tips, FAQ & printable recipe (Part 3)← Back to the ingredients (Part 1)