Dinner · Part 1 of 3: Ingredients
Ultra-Crispy Buttermilk Fried Chicken Sandwich
- Prep
- Cook
- Total
- Serves
- 4
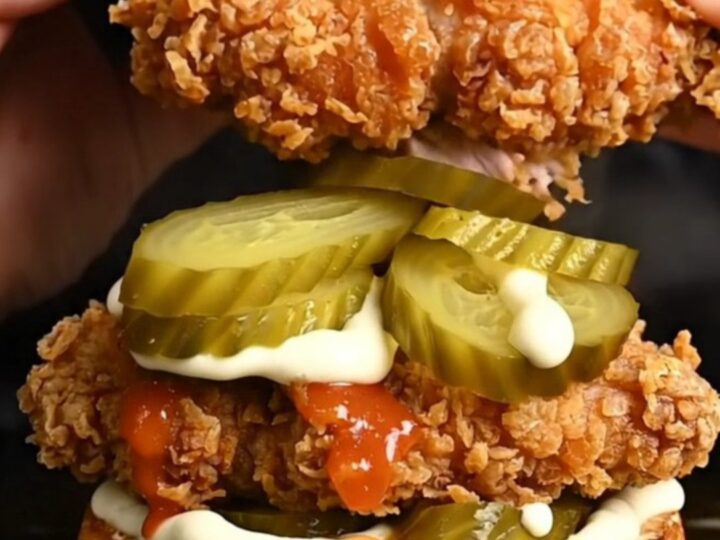
Imagine the perfect fried chicken sandwich: a craggy, shattering crust that gives way to tender, juicy chicken, all piled onto a toasted brioche bun with spicy mayo and tangy pickles. This buttermilk version delivers exactly that, with a double-dredge technique that creates an impossibly crunchy shell.
The buttermilk marinade, boosted with pickle juice and hot sauce, guarantees moist, flavorful meat in every bite. Skip the drive-thru and make this at home — it's easier than you think and far more satisfying.
This buttermilk fried chicken sandwich is the ultimate comfort food, combining a golden, extra-crispy crust with juicy, flavorful chicken. The secret lies in a buttermilk marinade that tenderizes the meat and a double-dredging method that builds a thick, craggy coating.
Toasted brioche buns, spicy mayo, and dill pickles complete the sandwich, adding richness, heat, and acidity. Whether for a weeknight dinner or a weekend treat, this recipe delivers restaurant-quality results. Follow the steps carefully, and you'll have a sandwich that outshines any fast-food version.
Ingredients
- 4 boneless, skinless chicken breasts
Marinade
- 1 cup buttermilk
- 1/4 cup pickle juice
- 1 tbsp hot sauce
- 1 tsp garlic powder
- 1 tsp onion powder
- 1 tsp smoked paprika
Dredging
- 1 1/2 cups all-purpose flour
- 1/2 cup cornstarch
- 1 tsp salt
- 1/2 tsp black pepper
- Vegetable oil for frying, to taste
Assembly
- 4 brioche buns
- 2 tbsp butter, softened
- 1/2 cup spicy mayo
- 1/2 cup dill pickle slices
Why this recipe works
The buttermilk marinade is a game-changer. Its acidity gently tenderizes the chicken, while the pickle juice adds a subtle tang and the hot sauce brings a gentle heat.
This combination ensures the meat stays moist and flavorful even after frying. The marinade also helps the flour coating adhere better, creating a thicker crust that locks in juices.
The double-dredge technique is essential for that signature crunch. Dipping the chicken in buttermilk, then flour, then back into buttermilk, then flour again builds a substantial coating that fries up into craggy, crispy perfection.
The cornstarch in the flour mixture adds extra crispness and a delicate crunch that stays crunchy even after assembling the sandwich.
Notes and substitutions
Use boneless, skinless chicken breasts and pound them to an even thickness for uniform cooking. Buttermilk is key; if unavailable, make a quick substitute by adding lemon juice or vinegar to regular milk. The marinade can be prepared up to 24 hours ahead, but 30 minutes is the minimum to impart flavor and tenderness.
A deep-fry thermometer is essential for maintaining the oil temperature at 350°F (175°C). Use a heavy-bottomed pot or Dutch oven for even heat. For the spicy mayo, you can mix mayonnaise with your favorite hot sauce or sriracha to taste. Adjust the heat level to your preference.
- buttermilk: 1 cup milk mixed with 1 tbsp lemon juice or vinegar, let sit 5 minutes
- brioche buns: potato rolls or hamburger buns
- spicy mayo: mix 1/2 cup mayo with 1 tbsp hot sauce or sriracha
- dill pickles: bread-and-butter pickles for a sweeter contrast
Equipment
- Large mixing bowl
- Whisk
- Shallow dish for dredging
- Deep skillet or Dutch oven
- Deep-fry thermometer
- Tongs
- Wire rack
- Butter knife
Up next · Part 2 of 3
7 steps · 12 min of cooking · what to look for at each stage
Step-by-step instructions (Part 2)