Desserts · Part 2 of 3: Instructions
Ultimate Rich Chocolate Layer Cake Step-by-step instructions
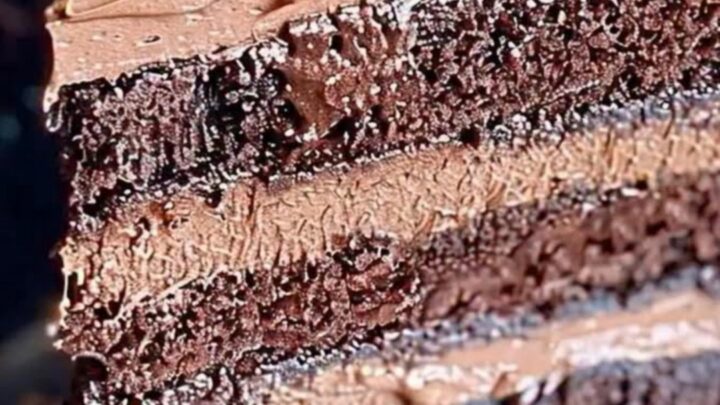
- Prep
- Cook
- Total
- Serves
- 12
Before you start
Before beginning assembly, ensure all cake layers are completely cooled. If the cake is warm, the frosting will melt and the layers will slide. Have the frosting at a spreadable consistency and organize your tools, including the spatula and piping bag, to ensure the process remains efficient and clean.
Prepare a clear, flat workspace where you can rotate the cake stand easily, and have a damp cloth nearby to wipe your spatula or hands if needed during the assembly process.
Ingredients at a glance (3)
- 3 layers chocolate cake layers, store-bought or made ahead
- 3 cups chocolate frosting
- 1/2 cup chocolate shavings
Instructions
Foundation
- Prepare the basePlace the first chocolate cake layer on a flat cake stand or serving plate. Ensure the surface is stable and level to provide a solid foundation for the frosting.Look for The cake layer should be completely cooled to room temperature.Tip Use a small dab of frosting under the first layer to prevent it from sliding.
The first layer is securely positioned on the stand. It is essential that the base is level and stable so the subsequent layers do not lean or slide during the frosting process.
Structural Frosting
- Frost and layerSpread a generous, even layer of chocolate frosting over the top of the first cake layer using an offset spatula. Carefully place the second cake layer on top, aligning the edges perfectly. Apply a thin crumb coat over the entire exterior and refrigerate for thirty minutes, then apply the final thick layer of frosting, smoothing the sides for a professional finish. Ensure the frosting, which contains eggs, is heated to 160°F (71°C) during its initial preparation to ensure safety.Look for The frosting should be smooth and the sides of the cake should be evenly covered.Safe temperature 160°F (71°C) internal temperature (egg dishes)Tip Keep the offset spatula clean between strokes for the smoothest finish.
The cake is fully covered in a smooth, thick layer of frosting. The surface should look uniform with no gaps, and the crumb coat should be completely hidden beneath the final layer.
Decorative Finish
- Pipe and garnishFit a piping bag with a star tip and fill it with the remaining chocolate frosting. Pipe decorative rosettes around the top edge of the cake. Finally, sprinkle the dark chocolate shavings over the center of the cake to add texture and a sophisticated touch before serving.Look for The rosettes should hold their shape and the shavings should be evenly distributed.Tip Pipe a practice rosette on a plate first to test the pressure and consistency.
The rosettes are piped evenly around the perimeter and the chocolate shavings are distributed.
The cake should look polished, professional, and ready for immediate service, with all decorative elements holding their shape perfectly against the smooth, chilled surface of the cake, ensuring a beautiful presentation for your table.
Common mistakes
A common mistake is frosting a cake that is still warm, which leads to a messy finish. Another error is failing to use a crumb coat, which results in visible crumbs in the final frosting layer.
Avoid over-mixing the frosting, as this can incorporate too much air and create an unstable texture that is difficult to pipe. Ensure you do not rush the chilling process, as the cake needs time to firm up between the crumb coat and the final layer.
How to tell it’s done
The cake is ready when the frosting is set and the rosettes hold their shape firmly. There is no internal temperature to monitor for this dessert, as all components are fully prepared.
Visually check that the sides are smooth and the garnish is evenly applied. The frosting should feel firm to the touch when lightly pressed, indicating that the cake has been properly chilled and is ready to be sliced and served to your guests.
- Egg dishes: 160°F (71°C) in the thickest part
Up next · Part 3 of 3
2 variations · storage & make-ahead · 3 answers · printable card
Tips, FAQ & printable recipe (Part 3)← Back to the ingredients (Part 1)