Desserts · Part 1 of 3: Ingredients
Turkish Trileçe: Three-Milk Caramel Cake
- Prep
- Cook
- Total
- Serves
- 9
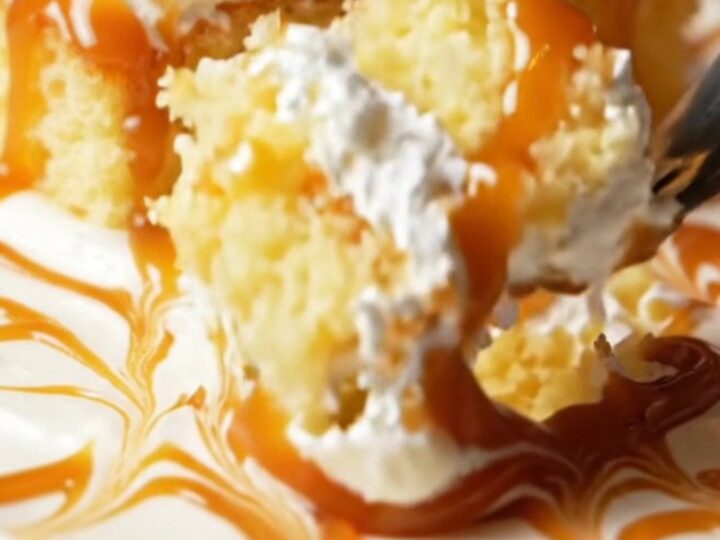
Turkish Trileçe is a dessert that looks as stunning as it tastes. A light, airy sponge cake is soaked in a trio of milks until it's impossibly moist, then topped with a cloud of whipped cream and a glossy amber caramel that shatters ever so slightly as you cut through it.
The contrast of textures—soft, creamy, and slightly sticky—makes every bite a little celebration.
Trileçe, which means 'three milks' in Spanish, is a beloved dessert across the Balkans and Turkey. It starts with a simple sponge cake that's baked until golden, then soaked with a mixture of whole milk, heavy cream, and sweetened condensed milk. The cake absorbs the liquid like a sponge, becoming incredibly moist and rich.
A layer of whipped cream adds lightness, and a warm amber caramel poured over the top creates a beautiful, crackly glaze. This version is made in a square pan, making it perfect for sharing. The result is a dessert that's both comforting and elegant, ideal for holidays, potlucks, or any time you want something special.
Ingredients
Sponge
- 4 large eggs, separated
- 100 g sugar
- 150 g all-purpose flour
- 1 tsp baking powder
- 1 tsp vanilla extract
Three-Milk Soak
- 2 cups whole milk
- 1 cup heavy cream
- 1/2 cup sweetened condensed milk
Topping
- 1 cup whipped cream
Caramel
- 1 cup sugar
- 2 tbsp unsalted butter
- 1/2 cup heavy cream
Why this recipe works
The sponge cake is built on whipped egg whites, which give it a light, airy structure. Folding the flour gently into the beaten whites keeps the air bubbles intact, so the cake rises high and stays tender.
This delicate crumb is essential because it allows the milk soak to be absorbed evenly, turning the cake into a soft, pudding-like treat without becoming soggy.
The three-milk soak is a classic ratio that balances richness and sweetness. Whole milk provides the base, heavy cream adds a velvety mouthfeel, and sweetened condensed milk brings sweetness and body.
Pouring the mixture over the warm cake ensures it seeps into every pore. Chilling for several hours lets the flavors meld and the cake set, so each slice holds its shape while remaining luxuriously moist.
Notes and substitutions
Use room-temperature eggs for better volume when whipping the whites. Separate them carefully—any yolk in the whites can prevent them from reaching stiff peaks. All-purpose flour works perfectly here; no need for cake flour. The baking powder ensures a consistent rise, and vanilla adds a warm aroma that complements the milky soak.
For the caramel, use a heavy-bottomed saucepan to prevent scorching. Swirl the pan occasionally instead of stirring to help the sugar melt evenly. When adding the cream, stand back—the mixture will bubble up. If the caramel seizes, return it to low heat and stir until smooth. The caramel should be pourable but not too thin; it will thicken as it cools.
- whole milk: 2% milk can be used, but the cake will be slightly less rich.
- heavy cream: Half-and-half can replace heavy cream in the soak, but not in the caramel.
- sweetened condensed milk: Evaporated milk plus 2 tablespoons sugar can substitute, but the flavor will differ.
- unsalted butter: Salted butter works; just omit any added salt.
Equipment
- 9x9-inch baking dish
- Electric mixer
- Large mixing bowls
- Skewer or toothpick
- Small saucepan
- Wire rack
Up next · Part 2 of 3
6 steps · 25 min of cooking · what to look for at each stage
Step-by-step instructions (Part 2)