Appetizers · Part 1 of 3: Ingredients
Turkish Haydari with Warm Garlic Butter Pita
- Prep
- Cook
- Total
- Serves
- 6
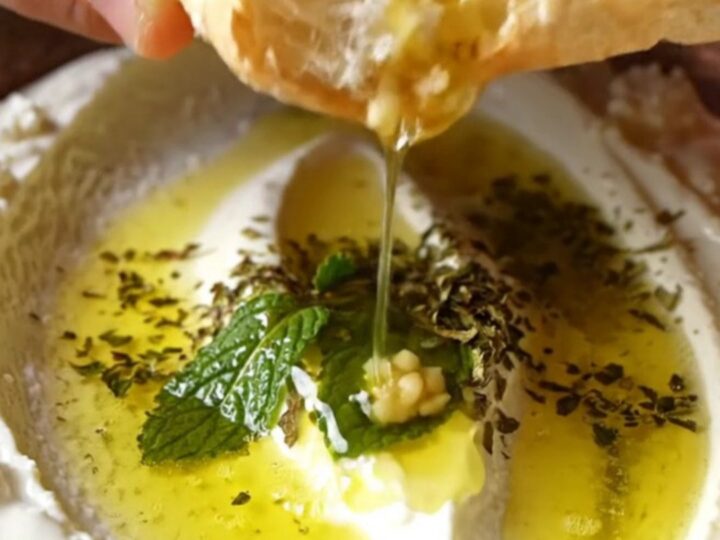
This Turkish Haydari is the ultimate meze: thick, tangy yogurt whipped with salty feta and garlic, then crowned with sizzling mint butter. It is creamy, cooling, and bursting with flavor. Served with warm garlic butter pita, it is an irresistible appetizer that comes together in minutes.
The contrast of cold, velvety dip and hot, fragrant butter is pure magic. Perfect for parties, weeknight dinners, or a satisfying snack, this dish will transport you to the eastern Mediterranean with every scoop.
Haydari is a classic Turkish dip that belongs on every meze spread. It is made by mashing thick strained yogurt with crumbled white cheese, garlic, and salt until luxuriously smooth. What sets this version apart is the warm mint butter that is sizzled and poured over the top, infusing the dip with a deep, aromatic herbiness.
The butter solidifies slightly as it hits the cold yogurt, creating pockets of intense flavor. Serve it with warm, puffed pita brushed with garlic butter for the perfect textural contrast. This recipe stays true to the authentic method, using only the essential ingredients.
Ingredients
- 2 cups thick strained Turkish yogurt (süzme yoğurt)
- 100 g Turkish white feta cheese, crumbled
- 3 cloves garlic, minced
- 1/2 tsp salt
Mint Butter
- 3 tbsp butter
- 1 tbsp dried mint (kuru nane)
- 2 tbsp extra virgin olive oil
- 2 warm puffed pita breads, brushed with garlic butter
Why this recipe works
Thick strained yogurt, like süzme yoğurt or Greek yogurt, is essential because it has had most of its whey removed, resulting in a dense, creamy texture that holds its shape on a plate.
This gives the dip a luxurious, spreadable consistency that is perfect for scooping. The yogurt also provides a tangy base that balances the richness of the butter and the saltiness of the feta.
Blooming dried mint in butter is a technique that releases the mint's essential oils, making it more aromatic and flavorful than simply sprinkling it on top.
The heat of the butter also allows the mint to infuse, turning the butter a beautiful emerald tint. This warm, fragrant butter is then drizzled over the cold dip, creating a temperature contrast that is both visually appealing and delicious.
Notes and substitutions
Use the best-quality thick yogurt you can find – the thicker, the better. Turkish süzme yoğurt is ideal, but whole-milk Greek yogurt is a great substitute. The feta should be Turkish white cheese if available; otherwise, a creamy French or Bulgarian feta works well. Adjust the salt based on the saltiness of your cheese.
The dried mint is traditional, but if you only have fresh mint, use twice the amount and add it after the butter has been removed from the heat to avoid bitterness. The garlic should be minced very finely so it disperses evenly. For a smoother dip, you can blend the yogurt and feta in a food processor, but be careful not to over-blend or it will become runny.
- Turkish white feta cheese: Use regular feta cheese; it will be slightly saltier and tangier, so reduce the added salt to 1/4 tsp.
- Thick strained Turkish yogurt: Greek yogurt (whole milk) works well; if it is very thick, use as is.
- Dried mint: Use 1 1/2 tbsp fresh mint, finely chopped, but add it after the butter sizzles to avoid bitterness.
Equipment
- Mixing bowl
- Fork or potato masher
- Small skillet
- Serving plate
- Rubber spatula
Up next · Part 2 of 3
5 steps · 5 min of cooking · what to look for at each stage
Step-by-step instructions (Part 2)