Breakfast · Part 1 of 3: Ingredients
Turkish Flower Brioche Buns with Hazelnut Chocolate
- Prep
- Cook
- Total
- Serves
- 8
Imagine pulling apart a warm, golden brioche bun that looks like a blooming flower, with a hidden pocket of melted hazelnut chocolate in the center. These Turkish flower brioche buns are as beautiful as they are delicious, with a soft, pillowy crumb and a lightly sweet, buttery flavor.
The petals are brushed with egg wash and sprinkled with seeds, giving them a gorgeous shine and a subtle crunch. Perfect for breakfast, brunch, or a special treat, these buns are sure to impress anyone who sees them.
These flower-shaped brioche buns are a stunning addition to any table. The dough is enriched with milk, oil, and egg, creating a tender, fluffy texture that practically melts in your mouth. Each bun is shaped into a flower with six petals, then filled with a spoonful of hazelnut chocolate cream.
As they bake, the petals open up and turn golden, making them look like edible art. The combination of soft, buttery bread and rich chocolate is irresistible. Serve them warm for the best experience, and watch them disappear quickly.
Ingredients
- 1 cup warm water
- 1/2 cup warm milk
- 1/2 cup vegetable oil
- 1 large egg
- 2 tbsp granulated sugar
- 1 packet instant yeast
- 5 cups all-purpose flour
- 1/2 cup hazelnut chocolate cream
- 1 egg yolk, beaten
- 1 tbsp white sesame seeds
- 1 tbsp nigella seeds
Why this recipe works
The dough for these buns is made with a simple combination of warm water, milk, oil, and egg, which creates a soft and supple texture. The oil adds moisture and tenderness, while the egg enriches the dough and helps it rise beautifully.
Kneading the dough until smooth and elastic develops the gluten, giving the buns their characteristic pillowy crumb. The warm liquid activates the yeast, ensuring a light and airy result.
The shaping technique is what makes these buns so special. Cutting six radial slits into the dough balls creates petals that spread open during baking, mimicking a flower.
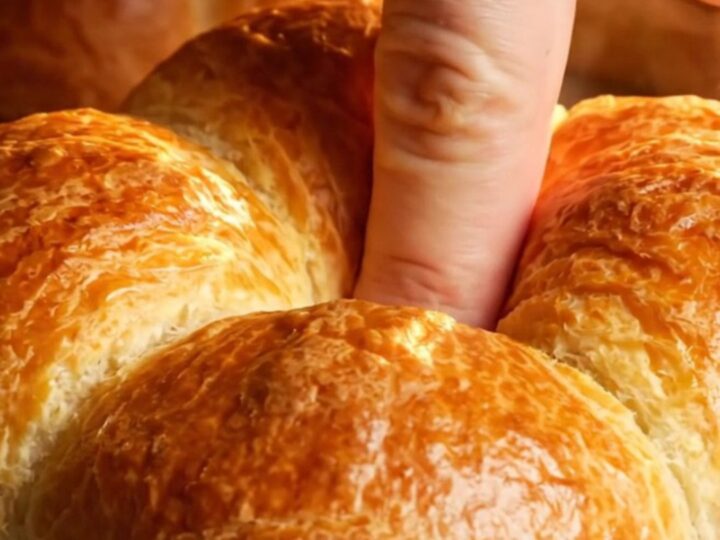
Pressing the center down creates a well for the chocolate filling, which stays soft and gooey as the buns bake. The egg wash gives the petals a glossy, golden finish, while the sesame and nigella seeds add a nutty flavor and visual contrast.
Notes and substitutions
Use instant yeast for this recipe, as it does not require proofing and mixes directly into the flour. If using active dry yeast, dissolve it in the warm water with a pinch of sugar and let it sit for 5 minutes before adding it to the other ingredients. The water and milk should be warm but not hot—about 110°F (43°C)—to activate the yeast without killing it.
Hazelnut chocolate cream is the classic filling, but any chocolate-hazelnut spread works well. For a different twist, try using a spoonful of jam, a piece of chocolate, or a sprinkle of cinnamon sugar. The seeds on top are traditional, but they can be omitted or replaced with poppy seeds. If the dough sticks to your hands while shaping, lightly oil your palms.
- vegetable oil: canola oil or melted butter (cooled) can be used; butter adds more flavor.
- hazelnut chocolate cream: any chocolate-hazelnut spread or a homemade chocolate filling works.
- nigella seeds: omit or use poppy seeds for a different look.
- all-purpose flour: bread flour can be used for a slightly chewier texture.
Equipment
- Large mixing bowl
- Wooden spoon or dough whisk
- Clean kitchen towel
- Baking sheet
- Parchment paper
- Pastry brush
- Sharp knife
- Cooling rack
Up next · Part 2 of 3
5 steps · 25 min of cooking · what to look for at each stage
Step-by-step instructions (Part 2)